一、获取国密证书
1、在您完成申请西部GDCA服务器证书的流程后,下载证书将获取一个证书包,有以下
*.***.com_sign.crt:签名证书
*.***.com_sign.key:签名证书私钥
*.***.com_encrypt.crt:加密证书
*.***.com_encryptKeyData.txt:内容为已加密的加密证书私钥片段

2、加密证书解密
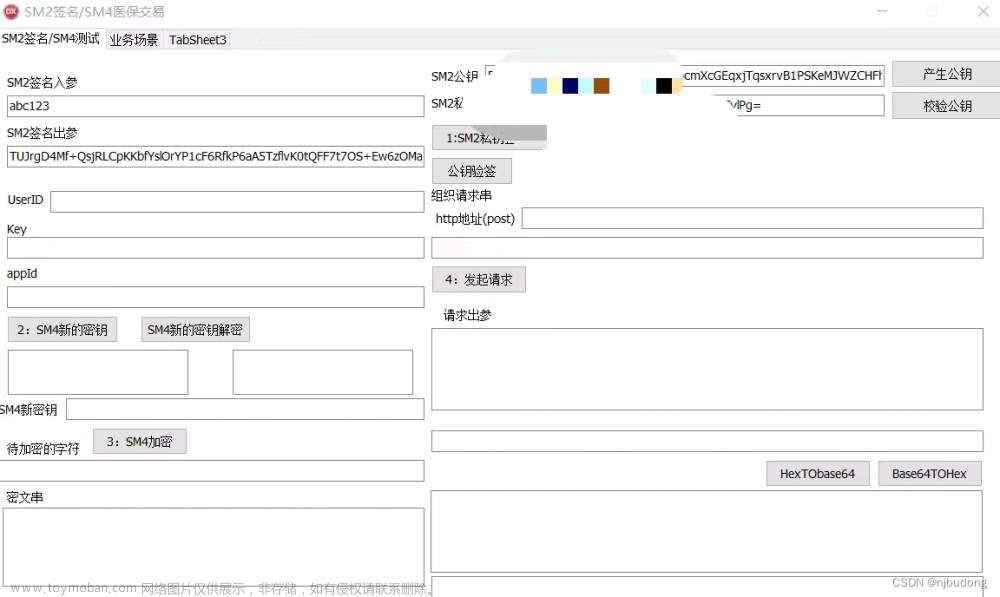
在线解密:私钥加解密


创建 *.**.com_encrypt.key 文件,将获取的解密后 解密证书私钥 内容填写进去。
二、部署国密nginx
国密OpenSSL与国密Nginx
gmssl_openssl_1.1_bxx.tar.gz
无缝nginx国密改造,支持nginx1.6+
编译部署(以nginx-1.18.0为例)
1) 下载 wget http://download.myhostadmin.net/gmssl/gmssl_openssl_1.1_b8.tar.gz到/root/下
2) 解压 tar xzfm gmssl_openssl_1.1_b8.tar.gz -C /usr/local
3) 下载wget http://download.myhostadmin.net/gmssl/nginx-1.18.0.zip 到/root/下
4) 解压 unzip nginx-1.18.0.zip
注:可能需要使用yum install pcre-devel需要安装pcre-devel
5) 进入目录 cd /root/nginx-1.18.0
6) 编译配置
./configure \
--without-http_gzip_module \
--with-http_ssl_module \
--with-http_stub_status_module \
--with-http_v2_module \
--with-file-aio \
--with-openssl="/usr/local/gmssl" \
--with-cc-opt="-I/usr/local/gmssl/include" \
--with-ld-opt="-lm"
7) 编译安装
make install
8) /usr/local/nginx即为生成的nginx目录
9)编译安装完成后,cd 进入/usr/local/nginx/sbin 目录,用 ./nginx -t 命令检测是否正常,如下:

配置示例(国密单向)
*.***.com_sign.crt:签名证书
*.***.com_sign.key:签名证书私钥
*.***.com_encrypt.crt:加密证书
*.***.com_encrypt.key : 加密证书私钥
server
{
listen 0.0.0.0:443 ssl;
ssl_protocols TLSv1 TLSv1.1 TLSv1.2;
ssl_ciphers ECDHE-RSA-AES128-GCM-SHA256:AES128-SHA:DES-CBC3-SHA:ECC-SM4-CBC-SM3:ECC-SM4-GCM-SM3;
ssl_verify_client off;
ssl_certificate /usr/local/nginx/conf/*.***.com_sign.crt;
ssl_certificate_key /usr/local/nginx/conf/*.***.com_sign.key;
ssl_certificate /usr/local/nginx/conf/*.***.com_encrypt.crt;
ssl_certificate_key /usr/local/nginx/conf/*.***.com_encrypt.key;
location /
{
root html;
index index.html index.htm;
}
}
配置示例(国密/RSA单向自适应)
server
{
listen 0.0.0.0:443 ssl;
ssl_protocols TLSv1 TLSv1.1 TLSv1.2;
ssl_ciphers ECDHE-RSA-AES128-GCM-SHA256:AES128-SHA:DES-CBC3-SHA:ECC-SM4-CBC-SM3:ECC-SM4-GCM-SM3;
ssl_verify_client off;
ssl_certificate /usr/local/nginx/conf/*.***.com.crt;
ssl_certificate_key /usr/local/nginx/conf/*.***.com.key;
ssl_certificate /usr/local/nginx/conf/*.***.com_sign.crt;
ssl_certificate_key /usr/local/nginx/conf/*.***.com_sign.key;
ssl_certificate /usr/local/nginx/conf/*.***.com_encrypt.crt;
ssl_certificate_key /usr/local/nginx/conf/*.***.com_encrypt.key; location /
{
root html;
index index.html index.htm;
}
}
测试配置是否正确/usr/local/nginx/sbin/nginx -t

启动/usr/local/nginx/sbin/nginx

三、访问测试
1、360企业浏览器 设置,打开浏览器点击右上角的
按钮-》“选项”-》“安全设置”,确保“国密通信协议”栏目已勾选
“启用国密SSL协议支持”的复选框,如下:

访问效果示例:
 文章来源:https://www.toymoban.com/news/detail-755850.html
原文链接:https://www.west.cn/faq/list.asp?unid=2513 文章来源地址https://www.toymoban.com/news/detail-755850.html
到了这里,关于国密 SM2 SSL 证书 Nginx 安装指南 linux版的文章就介绍完了。如果您还想了解更多内容,请在右上角搜索TOY模板网以前的文章或继续浏览下面的相关文章,希望大家以后多多支持TOY模板网!


