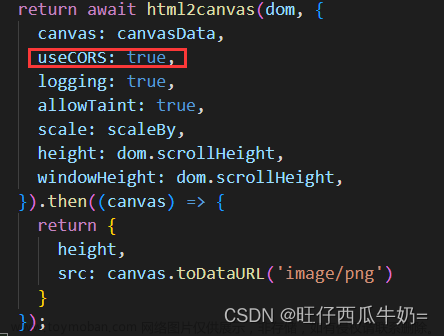
直接上代码:
<template>
  <el-dialog :visible.sync="printDialogVisible" width="1000px" :close-on-click-modal="false" append-to-body>
    <template>
      <div :id="print_content" ref="print_content">
        <slot />
      </div>
    </template>
    </div>
  </el-dialog>
</template>

<script>
  methods: {
    show() {
      this.printDialogVisible = true
      this.$nextTick(() => {
        this.saveImageNew()
      })
    },
  	saveImageNew() {
      let tabName = document.getElementById('print_content');
      // 手动创建一个 canvas 标签
      const canvas = document.createElement("canvas")
      // 获取父标签,意思是这个标签内的 DOM 元素生成图片
      // imageTofile是给截图范围内的父级元素自定义的ref名称
      let canvasBox = tabName
      // 获取父级的宽高
      const width = parseInt(window.getComputedStyle(canvasBox).width)
      const height = parseInt(window.getComputedStyle(canvasBox).height)
      // 宽高 * 2 并放大 2 倍 是为了防止图片模糊
      canvas.width = width * 2
      canvas.height = height * 2
      canvas.style.width = width + 'px'
      canvas.style.height = height + 'px'
      const context = canvas.getContext("2d");
      context.scale(2, 2);
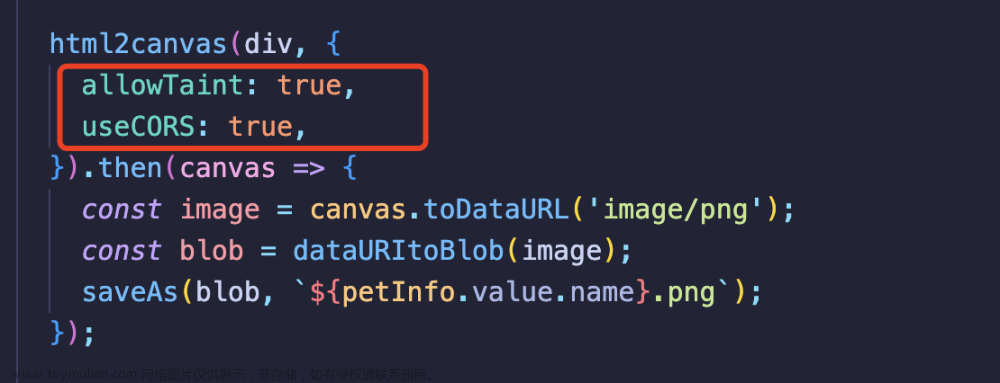
      const options = {
        backgroundColor: null,
        canvas: canvas,
        useCORS: true
      }
      html2canvas(canvasBox, options).then((canvas) => {
        // toDataURL 图片格式转成 base64
        let dataURL = canvas.toDataURL("image/png")
        console.log(dataURL)
      })
    },
  }
</script>
**文章来源:https://www.toymoban.com/news/detail-756828.html
注意注意注意:
如果要截取的dom元素、区域涉及到v-if或者v-show的条件表达式时,截取的方法请在nextTick里面调用----例如: this.$nextTick(() => { this.saveImageNew() }) 否之获取dom元素的时候会获取不到!!!!!!!!文章来源地址https://www.toymoban.com/news/detail-756828.html
到了这里,关于vue-element使用html2canvas实现网页指定区域(指定dom元素)截图的文章就介绍完了。如果您还想了解更多内容,请在右上角搜索TOY模板网以前的文章或继续浏览下面的相关文章,希望大家以后多多支持TOY模板网!

