1. 安装CUDA与CUDNN
- csdn大佬安装步骤
【CUDA】cuda安装 (windows版)
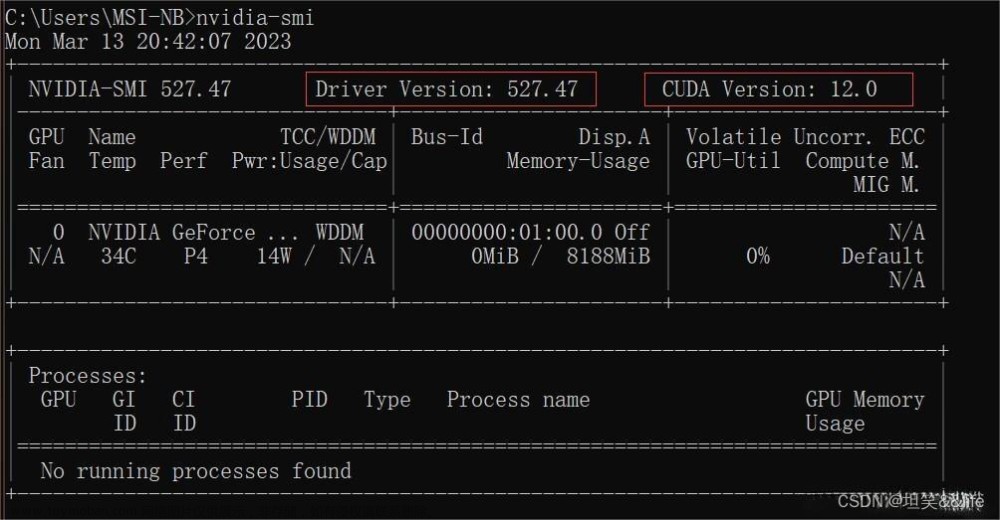
- 查看此电脑的CUDA版本配置
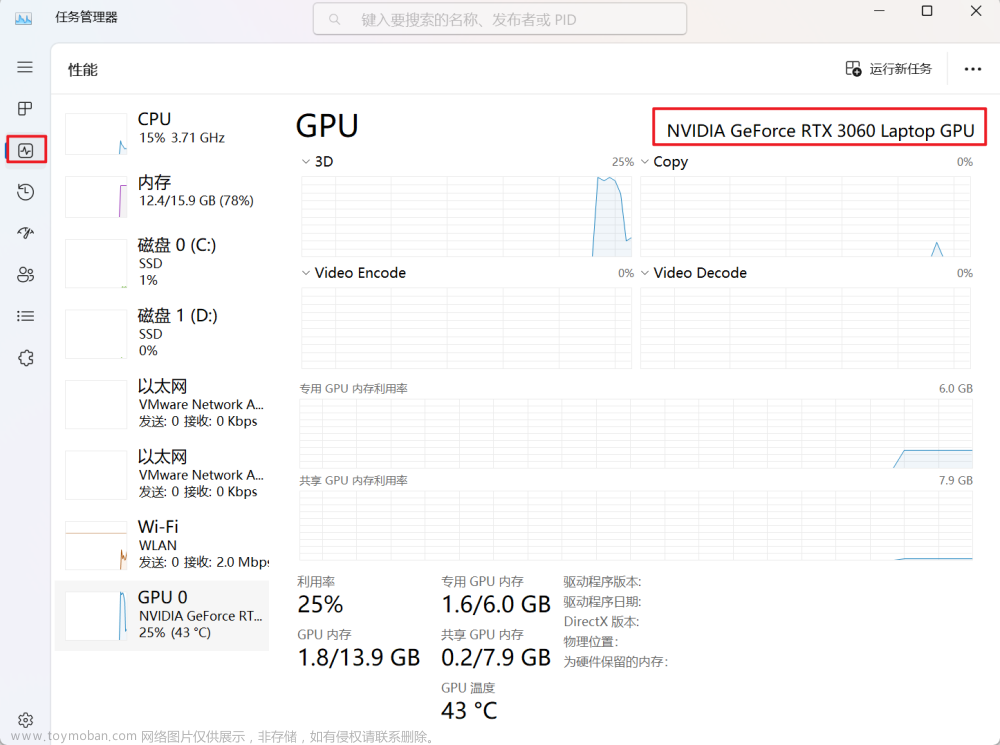
自己电脑上GPU使用的详细参数
nvidia-smi
- 安装对应版本的CUDA
大佬链接 - 安装对应的CUDNN
大佬链接 - 查看安装的CUDA驱动的版本
nvcc --version
- 查看 CUDA 设置的环境变量
set cuda
2. Anaconda安装PyTorch
1.查看 conda 环境文章来源地址https://www.toymoban.com/news/detail-756914.html
conda env list
- 创建虚拟环境
conda create -n 环境名 python=X.X
- 进入创建的虚拟环境
conda activate 环境名
- 安装pytroch(如pytorch1.12)
conda install pytorch==1.12.0 torchvision==0.13.0 torchaudio==0.12.0 cudatoolkit=11.3 -c pytorch -y
- 退出虚拟环境
conda deactivate
3. notebook添加自己创建的环境
- 在base环境中执行:
conda install nb_conda_kernels
- 在相应的环境下执行:
conda install ipykernel
- 重新启动notebook
4. 卸载创建的虚拟环境及所有库
conda remove -n 环境名 --all
5. Anaconda安装相关的库
- 例如:安装pandas库
- 先进入创建的虚拟环境
- 在安装对应的库(使用清华源,解决连接超时的问题)
pip install pandas -i https://pypi.tuna.tsinghua.edu.cn/simple/
python -m pip install tb-nightly -i https://mirrors.aliyun.com/pypi/simple
5. GPU测试
import torch
# 使用GPU训练
if not torch.cuda.is_available():
    print('CUDA is not available.  Training on CPU ...')
else:
    print('CUDA is available.  Training on GPU ...')
device = torch.device("cuda:0" if torch.cuda.is_available() else "cpu")
文章来源:https://www.toymoban.com/news/detail-756914.html
到了这里,关于深入学习之anaconda、pytorch、cuda安装的文章就介绍完了。如果您还想了解更多内容,请在右上角搜索TOY模板网以前的文章或继续浏览下面的相关文章,希望大家以后多多支持TOY模板网!


