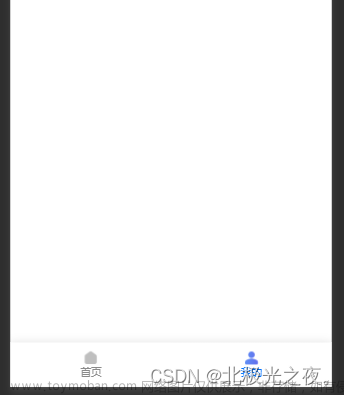
进入下面小程序可以体验效果:

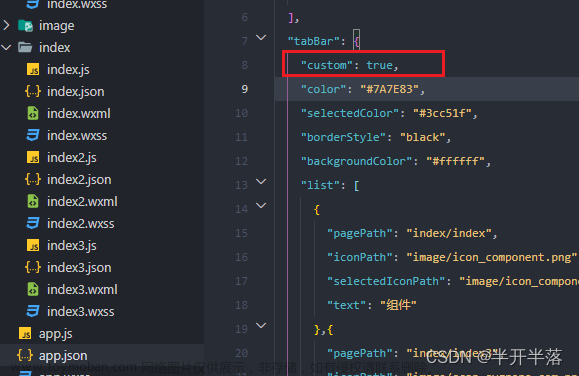
1、需要在app.json配置
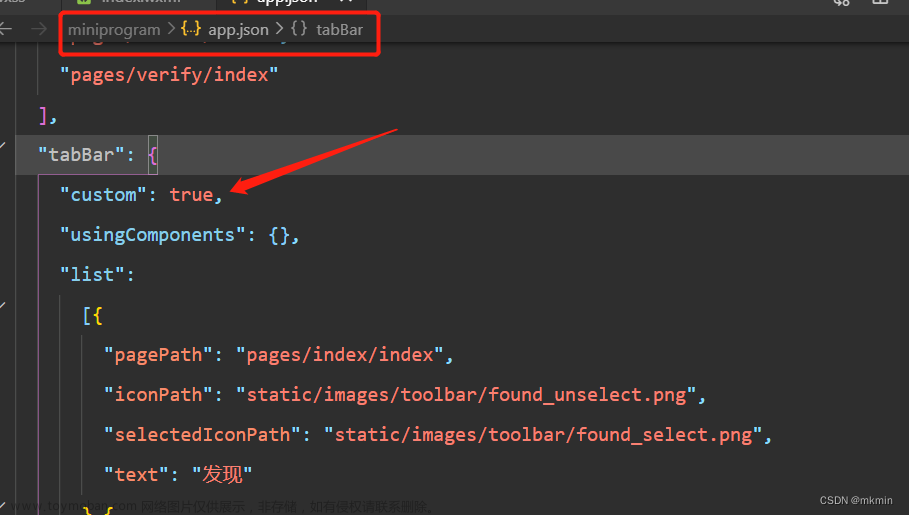
custom 必须是true
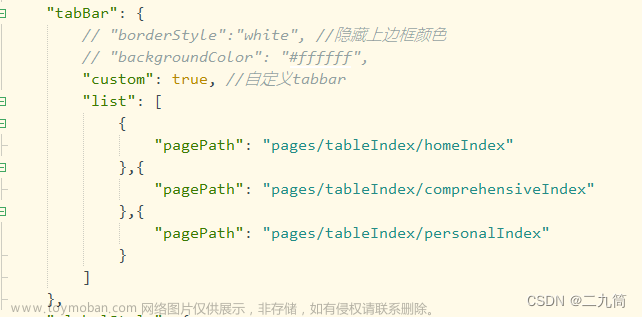
"tabBar": {
"custom": true,
"selectedColor": "#33a3dc",
"list": [
{
"iconPath": "asset/imge/hu.png",
"selectedIconPath": "asset/imge/hu-fill.png",
"pagePath": "pages/index/index",
"text": "心动"
},
{
"iconPath": "asset/imge/per.png",
"selectedIconPath": "asset/imge/per-fill.png",
"pagePath": "pages/my/my",
"text": "我的"
}
]
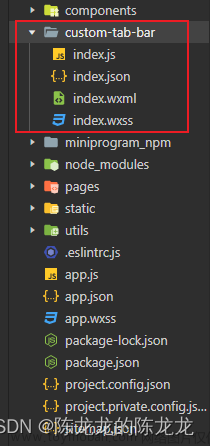
},2、根目录新建文件夹
必须是 “custom-tab-bar” 这个名字
custom-tab-bar/index ,必须是index
然后该文件夹目录下的代码
WXML代码:
<view class="tabbar">
    <view style="{{select==index&&index==0?'color: #ef3166;':''}}"
        class="tabbar-item {{ select === index ? 'tabbar-select' : '' }}" wx:for="{{ list }}"
        wx:key="index"
        data-page="{{ item.pagePath }}"
        data-index="{{ index }}"
        bindtap="selectPage"
    >
        <block>
            <image class="tabbar-item-image"src="{{ select === index ?  item.selectedIconPath : item.iconPath }}"></image>
            <text  class="tabbar-item-text">{{ item.text }}</text>
        </block>
    </view>
</view>
js代码:
Component({
  data: {
      select: 0,
      list: [
          {
            iconPath: "/asset/imge/hu.png",
            selectedIconPath: "/asset/imge/hu-fill.png",
            pagePath: "/pages/index/index",
            text: "心动"
          },
         {
            iconPath: "/asset/imge/per.png",
            selectedIconPath: "/asset/imge/per-fill.png",
            pagePath: "/pages/my/my",
            text: "我的"
         }
      ]
  },
  methods: {
      selectPage(e) {
          const { page } = e.currentTarget.dataset;
          wx.switchTab({
            url: page,
          })
      }
  }
})
wxss代码:
高斯模糊代码
backdrop-filter: blur(10px);
background-color: rgb(0 0 0 / .10);
.tabbar {
  width: 100%;
  display: flex;
  backdrop-filter: blur(10px);
  background-color: rgb(0 0 0 / .10);
  position: fixed;
  bottom: 0;
  padding-top: 10rpx;
  z-index: 9999;
  box-shadow: 0rpx -2rpx 20rpx 2rpx rgba(165,165,165,0.34);
  background-color: rgba(238, 238, 238, 0.89);
  padding-bottom:calc(10rpx + env(safe-area-inset-bottom) / 2);
}

.tabbar-item {
  flex: 1;
  display: flex;
  flex-direction: column;
  justify-content: center;
  align-items: center;
  color: #7c7c7c;
}

.tabbar-item-image {
  width: 50rpx;
  height: 50rpx;
}

.tabbar-item-text {
  font-size: 28rpx;
  margin-top: 1rpx;
}

.tabbar-select {
  color: #0a993a;
}
page 索引页面代码(必须)
例如:我的
在需要跳转的页面当作加入下面代码,否则tabBar不生效。微信自定义tabBar必须的方式文章来源:https://www.toymoban.com/news/detail-757780.html
js代码中需要加入该函数,select 根据索引属性填数值就行文章来源地址https://www.toymoban.com/news/detail-757780.html
/**
   * 生命周期函数--监听页面显示
   */
  onShow(){
    if (typeof this.getTabBar === 'function' &&
      this.getTabBar()) {
      this.getTabBar().setData({
        // 根据tab的索引顺序是1
        select: 1
      })
    }
  },
到了这里,关于微信小程序自定义tabBar详细教程,且自适应尺寸和实现高斯模糊版的文章就介绍完了。如果您还想了解更多内容,请在右上角搜索TOY模板网以前的文章或继续浏览下面的相关文章,希望大家以后多多支持TOY模板网!