本是青灯不归客,却因浊酒恋红尘
一,基本使用
关于Room数据库的基本使用,请参考文章Android--Jetpack--数据库Room详解一-CSDN博客
二,Room与ViewModle,LiveData的结合使用
LiveData与ViewModle的使用,请参考文章Android--Jetpack--LiveData-CSDN博客
我们通过结合Room与LiveData和ViewModle的使用,可以使当我们的数据库发生变化的时候,自动的去更新UI。
下面来看一个简单的使用案例:
1,还是 Android--Jetpack--数据库Room详解一-CSDN博客
中创建的数据库,表还是YuanZhen这张表, 我们把YuanZhenDao这个Dao类添加一个新的方法,使得可以查询到LiveData包装的集合:
@Dao
public interface YuanZhenDao {

    @Insert
    void insert(YuanZhen... yuanzhens);

    @Delete
    void delete(YuanZhen yuanZhen);

    @Update
    void update(YuanZhen yuanZhen);

    @Query("select * from YuanZhen")
    List<YuanZhen> getAll();

    @Query("select * from YuanZhen where name like :name")
    YuanZhen getByName(String name);

    @Query("select * from YuanZhen where age in(:ages)")
    List<YuanZhen> getByAges(int[] ages);

    @Query("select name,address from YuanZhen ")
    public List<YuanZhenNew> getNew();

   @Query("select * from YuanZhen")
    LiveData<List<YuanZhen>> getAllLiveDataYZ();
}
2,将数据库MyDatabase修改为单例模式:
@Database(entities = {YuanZhen.class},version = 1)
public abstract class MyDatabase extends RoomDatabase {

    private static MyDatabase instance;
    public static synchronized MyDatabase getInstance(Context context){
        if(instance==null){
            instance= Room.databaseBuilder(context.getApplicationContext(),MyDatabase.class
                            ,"YuanZhenDb")
                    .build();

        }
        return instance;
    }

    public abstract YuanZhenDao yuanZhenDao();

}
3,创建一个包装类,包装LiveData给ViewModel使用:
public class YuanZhenDecorate {

    private LiveData<List<YuanZhen>> liveDataAllYZ;

    private YuanZhenDao yuanZhenDao;

    public YuanZhenDecorate(Context context) {
        yuanZhenDao =MyDatabase.getInstance(context).yuanZhenDao();
        if(liveDataAllYZ==null){
            liveDataAllYZ=yuanZhenDao.getAllLiveDataYZ();
        }
    }
    void insert(YuanZhen... yuanZhens){
        yuanZhenDao.insert(yuanZhens);
    }
    void delete(YuanZhen yuanZhen){
        yuanZhenDao.delete(yuanZhen);
    }
    void update(YuanZhen yuanZhen){
        yuanZhenDao.update(yuanZhen);
    }
    List<YuanZhen> getAll(){
        return yuanZhenDao.getAll();
    }

    LiveData<List<YuanZhen>> getAllLiveDataYZ(){
        return yuanZhenDao.getAllLiveDataYZ();
    }

}
4,创建一个viewmodle:
public class YZViewModdel extends AndroidViewModel {

    private YuanZhenDecorate yuanZhenDecorate;

    public YZViewModdel(@NonNull Application application) {
        super(application);
        yuanZhenDecorate =new YuanZhenDecorate(application);
    }
    void insert(YuanZhen... yuanZhens){
        yuanZhenDecorate.insert(yuanZhens);
    }
    void delete(YuanZhen yuanZhen){
        yuanZhenDecorate.delete(yuanZhen);
    }
    void update(YuanZhen yuanZhen){
        yuanZhenDecorate.update(yuanZhen);
    }
    List<YuanZhen> getAll(){
        return yuanZhenDecorate.getAll();
    }

    LiveData<List<YuanZhen>> getAllLiveDataYZ(){
        return yuanZhenDecorate.getAllLiveDataYZ();
    }

}
5,创建一个recyclerview的adapter:
public class MyAdapter extends RecyclerView.Adapter {
    private LayoutInflater mLayoutInflater;

    private List<YuanZhen> mList;

    public MyAdapter(Context context,List<YuanZhen> mList) {
        mLayoutInflater =LayoutInflater.from(context);
        this.mList =mList;
    }

    public void setData(List<YuanZhen> mList) {
        this.mList = mList;
    }

    @NonNull
    @Override
    public RecyclerView.ViewHolder onCreateViewHolder(@NonNull ViewGroup parent, int viewType) {
        return new ViewHolder(mLayoutInflater.inflate(R.layout.item, parent, false));
    }

    @Override
    public void onBindViewHolder(@NonNull RecyclerView.ViewHolder holder, int position) {
        ((ViewHolder)holder).mTxt.setText(mList.get(position).getName());
    }

    @Override
    public int getItemCount() {
        if(mList!=null){
            return mList.size();
        }
        return 0;
    }

    class ViewHolder extends RecyclerView.ViewHolder {

        TextView mTxt;

        public ViewHolder(@NonNull View itemView) {
            super(itemView);
            mTxt = (TextView) itemView.findViewById(R.id.txt);
        }
    }


}
6,activity的xml布局:
<?xml version="1.0" encoding="utf-8"?>
<androidx.constraintlayout.widget.ConstraintLayout xmlns:android="http://schemas.android.com/apk/res/android"
    xmlns:app="http://schemas.android.com/apk/res-auto"
    xmlns:tools="http://schemas.android.com/tools"
    android:layout_width="match_parent"
    android:layout_height="match_parent"
    tools:context=".MainActivity">

    <androidx.recyclerview.widget.RecyclerView
        android:id="@+id/rv_room"
        android:layout_width="match_parent"
        android:layout_height="match_parent"
        app:layout_constraintBottom_toBottomOf="parent"
        app:layout_constraintEnd_toEndOf="parent"
        app:layout_constraintStart_toStartOf="parent"
        app:layout_constraintTop_toTopOf="parent" />

</androidx.constraintlayout.widget.ConstraintLayout>
7,item的xml布局:
<?xml version="1.0" encoding="utf-8"?>
<RelativeLayout xmlns:android="http://schemas.android.com/apk/res/android"
    android:layout_width="wrap_content"
    android:layout_height="wrap_content">
    <TextView
        android:id="@+id/txt"
        android:layout_width="match_parent"
        android:layout_height="30dp"
        android:textSize="16sp"/>


</RelativeLayout>
8,使用:
public class MainActivity extends AppCompatActivity {

    StudentViewModel studentViewModel;
    ListView listView;

    @Override
    protected void onCreate(Bundle savedInstanceState) {
        super.onCreate(savedInstanceState);
        setContentView(R.layout.activity_main);
        listView = findViewById(R.id.listView);

        studentViewModel = ViewModelProviders.of(this).get(StudentViewModel.class);
        studentViewModel.getAllLiveDataStudent().observe(this, new Observer<List<Student>>() {
            @Override
            public void onChanged(List<Student> students) {
                listView.setAdapter(new GoodsAdapter(MainActivity.this, students));
            }
        });

        for (int i = 0; i < 50; i++) {
            studentViewModel.insert(new Student("jett", "123", 1));
        }

        new Thread() {
            @Override
            public void run() {
                for (int i = 0; i < 50; i++) {
                    try {
                        Thread.sleep(1000);
                    } catch (Exception e) {
                        e.printStackTrace();
                    }
                    studentViewModel.update(new Student(6, "jett" + i, "123", 1));
                }
            }
        }.start();

    }
}
9,运行:

三,数据库的升级
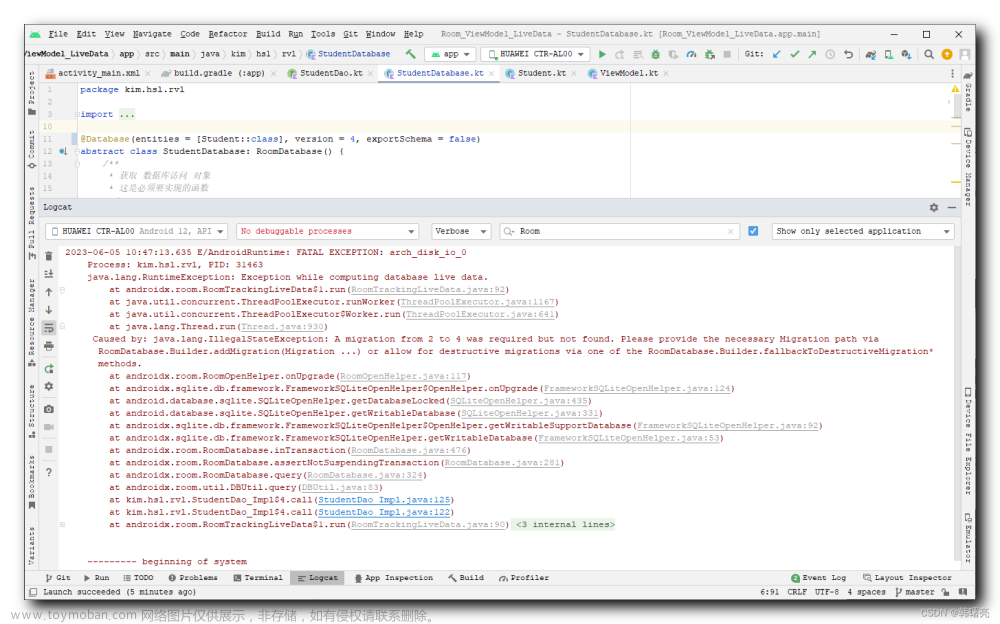
1,强制升级,执行之后数据库的结构会发生变化,但是数据库的数据会丢失。
这种情况比较适合toB开发,数据库版本高降到低的情况,紧急发一版新的程序给现场升级。
使用 :fallbackToDestructiveMigration()
@Database(entities = {YuanZhen.class},version = 2)
public abstract class MyDatabase extends RoomDatabase {

    private static MyDatabase instance;
    public static synchronized MyDatabase getInstance(Context context){
        if(instance==null){
            instance= Room.databaseBuilder(context.getApplicationContext(),MyDatabase.class
                            ,"YuanZhenDb")
                    //强制升级
                    .fallbackToDestructiveMigration()
                    .build();

        }
        return instance;
    }

    public abstract YuanZhenDao yuanZhenDao();

}
2,一般的升级方式
假如我们要增加一个字段price:
@Entity
public class YuanZhen {

    @PrimaryKey(autoGenerate = true)
    private int id;

    @ColumnInfo(name ="name")
    private String name;

    @ColumnInfo(name ="age")
    private int age;

    @ColumnInfo(name ="address")
    private String address;

    @ColumnInfo(name = "price")
    private int price;

    @Ignore
    private String sex;

    public YuanZhen(String name, int age, String address) {
        this.name = name;
        this.age = age;
        this.address = address;
    }

    public void setId(int id) {
        this.id = id;
    }

    public void setName(String name) {
        this.name = name;
    }

    public void setAge(int age) {
        this.age = age;
    }

    public void setAddress(String address) {
        this.address = address;
    }

    public int getId() {
        return id;
    }

    public String getName() {
        return name;
    }

    public int getAge() {
        return age;
    }

    public String getAddress() {
        return address;
    }

    @Override
    public String toString() {
        return "YuanZhen{" +
                "id=" + id +
                ", name='" + name + '\'' +
                ", age=" + age +
                ", address='" + address + '\'' +
                ", sex='" + sex + '\'' +
                '}';
    }
}在MyDatabase中增加升级功能:文章来源:https://www.toymoban.com/news/detail-759147.html
@Database(entities = {YuanZhen.class},version = 2,exportSchema = false)
public abstract class MyDatabase extends RoomDatabase {

    private static MyDatabase instance;
    public static synchronized MyDatabase getInstance(Context context){
        if(instance==null){
            instance= Room.databaseBuilder(context.getApplicationContext(),MyDatabase.class
                            ,"YuanZhenDb")
                    //强制升级
                   // .fallbackToDestructiveMigration()
                    .addMigrations(MIGRATION_1_2)
                    .build();

        }
        return instance;
    }

    public abstract YuanZhenDao yuanZhenDao();

    static final Migration MIGRATION_1_2=new Migration(1,2) {
        @Override
        public void migrate(@NonNull SupportSQLiteDatabase database) {
            //在这里用sql脚本完成数据变化
            database.execSQL("alter table yuanzhen add column price integer not null default 1");
        }
    };

}这里和greendao最大的不同就是,这里需要自己去写升级脚本,虽然增加了工作量,但是也更加灵活了。文章来源地址https://www.toymoban.com/news/detail-759147.html
到了这里,关于Android--Jetpack--数据库Room详解二的文章就介绍完了。如果您还想了解更多内容,请在右上角搜索TOY模板网以前的文章或继续浏览下面的相关文章,希望大家以后多多支持TOY模板网!


