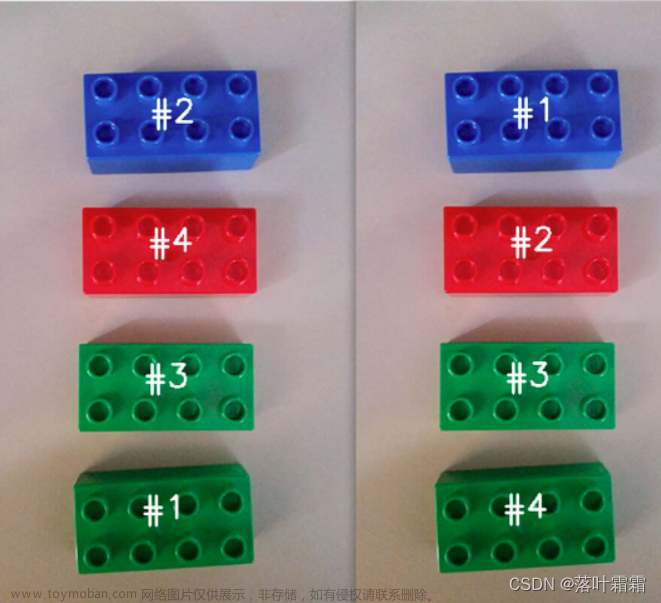
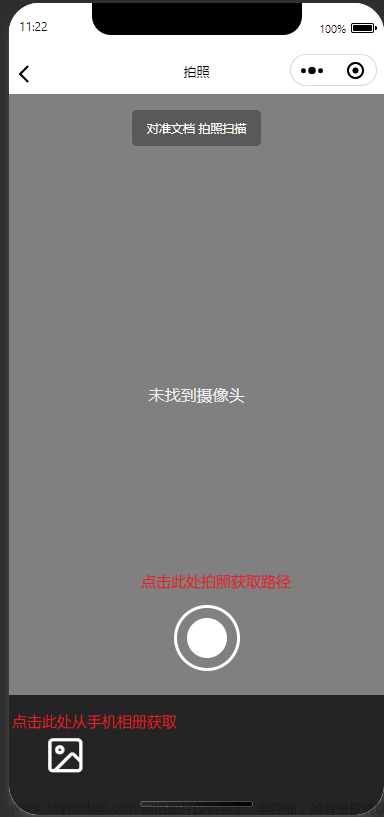
1.效果图片


2.下载opencv.js
比如下载 4.5.0 版本的 opencv.js 文件
https://docs.opencv.org/4.5.0/opencv.js
3.引入
opencv.js放在static文件夹下
页面中引入
let cv = require('../../static/opencv/opencv.js');
4.进入正题
//页面先放一个隐藏图片
<img id="imageUrl" alt="No Image" style="display: none;" />
//获取图片
var imgSrcElement = document.getElementById('imageUrl');
//读取图片,将彩色图转为灰度图
let img = cv.imread(imgSrcElement)
let gray = new cv.Mat();
cv.cvtColor(img, gray, cv.COLOR_RGBA2GRAY);
const binary = new cv.Mat();
cv.threshold(gray, binary, 0, 255, cv.THRESH_BINARY | cv.THRESH_OTSU);
//高斯模糊去除噪点
let blur = new cv.Mat();
cv.GaussianBlur(gray, blur, new cv.Size(5, 5), 0, 0, cv.BORDER_DEFAULT);
//边缘检测,使用
let edges = new cv.Mat();
cv.Canny(blur, edges, 50, 150, 3, false);
//查找轮廓
const contours = new cv.MatVector();
const hierarchy = new cv.Mat();
cv.findContours(edges, contours, hierarchy, cv.RETR_EXTERNAL, cv
.CHAIN_APPROX_SIMPLE);
//计算最大面积
let maxContourIndex = -1;
let maxContourArea = 0;
for (let i = 0; i < contours.size(); i++) {
const contourArea = cv.contourArea(contours.get(i));
if (contourArea > maxContourArea) {
maxContourIndex = i;
maxContourArea = contourArea;
}
}
const contour = contours.get(maxContourIndex );
const area = cv.contourArea(contour);
const perimeter = cv.arcLength(contour, true);
const approx = new cv.Mat();
// 近似轮廓
cv.approxPolyDP(contour, approx, 0.02 * perimeter, true);
const rect1 = cv.minAreaRect(contour);
const vertices = cv.RotatedRect.points(rect1);
// 获取提取纸张的四个坐标点
const corners = [];
for (let i = 0; i < vertices.length; ++i) {
corners.push({
x: vertices[i].x,
y: vertices[i].y
});
}
console.log("输出新坐标1", corners)
this.newPint = corners
// 矩形的四个顶点坐标
const pints = [{
x: this.newPint[0].x,
y: this.newPint[0].y
}, //左上角
{
x: this.newPint[1].x,
y: this.newPint[1].y
}, //右上角
{
x: this.newPint[2].x,
y: this.newPint[2].y
}, //右下角
{
x: this.newPint[3].x,
y: this.newPint[3].y
} //左下角
];
//显示图片(效果测试)
// document.getElementsByTagName("canvas")[0].setAttribute("id",
// "canvas1");
// cv.imshow('canvas1', img);
const ctx = uni.createCanvasContext('canvas', this);
//先清除上一次的
ctx.clearRect(0, 0, this.innerWidth, this
.innerHeight - 360);
// 绘制图片
ctx.drawImage(res.tempFilePaths[0], 0, 0, this.innerWidth, this
.innerHeight - 360);
// 创建蒙层
ctx.fillStyle = 'rgba(0, 0, 0, 0.4)';
ctx.fillRect(0, 0, this.innerWidth, this
.innerHeight - 360);
// 设置蒙层混合模式
ctx.globalCompositeOperation = 'destination-out';
ctx.beginPath();
for (let i = 0; i < pints.length; i++) {
const screenX = pints[i].x * $this.innerWidth / img
.cols;
const screenY = pints[i].y * ($this.innerHeight -
360) / img
.rows;
if (i === 0) {
ctx.moveTo(screenX, screenY);
} else {
ctx.lineTo(screenX, screenY);
}
}
ctx.closePath();
// 描边路径
ctx.stroke();
// 使用反向路径绘制,将未连接线外的区域作为裁剪区域
ctx.globalCompositeOperation = 'destination-out';
// 填充路径
ctx.fillStyle = "rgba(255,255,255,0.2)"; // 设置填充颜色
ctx.fill();
//填充节点颜色
for (let i = 0; i < pints.length; i++) {
ctx.beginPath();
//计算屏幕坐标
const screenX = pints[i].x * $this.innerWidth / img
.cols;
const screenY = pints[i].y * ($this.innerHeight -
360) / img
.rows;
let temp = {}
temp.x = screenX
temp.y = screenY
$this.pintList.push(temp)
ctx.arc(screenX, screenY, 6, 0, 2 * Math
.PI);
// 绘制圆 参数依次为 圆的横坐标/纵坐标/半径/绘制圆的起始位置/绘制圆的弧度大小
ctx.closePath();
ctx.stroke();
ctx.fill();
}
ctx.globalCompositeOperation = 'source-over'; // 恢复默认混合模式
ctx.draw();
approx.delete();
}
}文章来源:https://www.toymoban.com/news/detail-762221.html
文章来源地址https://www.toymoban.com/news/detail-762221.html
到了这里,关于关于uniapp中使用opencv.js拍照提取纸张轮廓的文章就介绍完了。如果您还想了解更多内容,请在右上角搜索TOY模板网以前的文章或继续浏览下面的相关文章,希望大家以后多多支持TOY模板网!


![[C++] opencv - drawContours(绘制轮廓)函数介绍和使用场景](https://imgs.yssmx.com/Uploads/2024/01/803487-1.png)


