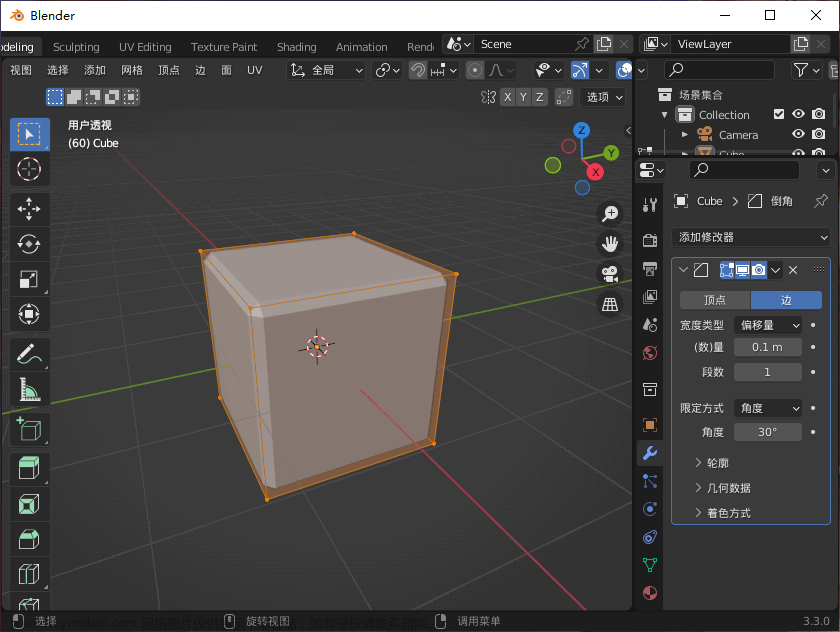
一、查看ui按钮对应的代码

二、查看或修改对象名称
 文章来源:https://www.toymoban.com/news/detail-762303.html
三、案例:渲染多张图片并导出对应的相机参数
注:通过ui交互都设置好,如果ui能渲染,该代码就能运行成功。文章来源地址https://www.toymoban.com/news/detail-762303.html
import bpy
import math
import os
from mathutils import Vector, Matrix
from math import radians
import bmesh
import datetime
import time
import numpy as np
import os
#from os import path

scenenumber='baseline_scene6_clean'

#basefolder=os.path.join(os.path.expanduser('~'), 'Documents', 'Zantis', scenenumber)
scene = bpy.data.scenes["Scene"]
#scene.camera.rotation_mode='YZX'
def length():
    leg=0.00
    p1=[0.0,0.0]
    temp=0
    ob = bpy.context.object # active object
    for p in ob.data.splines.active.bezier_points:
        p2=p1
        p1=[p.co.x,p.co.y]
        if(temp==0):
            temp=1
            continue
        distance = math.sqrt( ((p1[0]-p2[0])**2)+((p1[1]-p2[1])**2) )
        leg=leg+distance
    return leg

item=0
multiply=40
camera = bpy.data.objects['Camera']
target=bpy.data.objects['mesh.001']
my_obj=[]


#my_obj.append("019")
#my_obj.append("021")
#my_obj.append("029")
#my_obj.append("030")
#my_obj.append("031")
#my_obj.append("032")
#my_obj.append("033")
#my_obj.append("034")
my_obj.append("040")
#my_obj.append("042")

t1 = time.time()

#import bpy

#for ob in bpy.context.selected_editable_objects:
  #  ob.active_material_index = 0
 #   for i in range(len(ob.material_slots)):
#        bpy.ops.object.material_slot_remove({'object': ob})

for item in my_obj:
    #break
    # basefolder=os.path.join(os.path.expanduser('~'), 'Desktop', 'Urban_Enviroment_Texturing','Mesh_Texturing_Pipeline', 'Scenes', '005', 'images')
    basefolder = os.path.join('E:\\', 'chromeDownload', 'mvs_test', 'scenes', '006', 'images')
    t2 = time.time()
    for ob in bpy.context.selected_objects:
        ob.select_set(False)
    curv='Curve.'+item
    path = bpy.data.objects[curv]
    camera.select_set(True)
    path.select_set(True)
    # bpy.context.view_layer.objects.active = path # parent
    # bpy.ops.object.parent_set(type='FOLLOW') # follow path
    # camera.location=path.matrix_world @ bpy.context.object.data.splines.active.bezier_points[0].co
    # target.location=path.matrix_world @ bpy.context.object.data.splines.active.bezier_points[1].co
    # direc=target.location-camera.location
    frames=(int)(length()*multiply)
    # bpy.data.scenes["Scene"].frame_end=frames
    # bpy.context.object.data.path_duration=frames
    frame_is=0
    frames=frames+1
    print(frames)
    count=0
    for frame_is in range(scene.frame_start, scene.frame_end + 1):
    # for frame_is in range(frames - 3):
        t3 = time.time()
        scene.frame_current=frame_is
        #print(scene.frame_currents
#        s=str(scene.objects['Camera'].matrix_world[0][3])+"_"+str(scene.objects['Camera'].matrix_world[1][3])+"_"+str(scene.objects['Camera'].matrix_world[2][3])+"_"
#        s=s+str(direc[0])+"_"+str(direc[1])+"_"+str(direc[2])+".jpg"
        s = str(scene.frame_current).zfill(5)+".jpg"
        image_filepath=os.path.join(basefolder,s)
        #print(s)
        bpy.data.scenes['Scene'].render.filepath = image_filepath
#        bpy.ops.render.render(write_still=True)
        elapsedTime = time.time() - t3
        print("Frame time passed {hours:d}:{minutes:d}:{seconds:d}"
        .format(hours=int((elapsedTime / 60 ** 2) % (60 ** 2)), minutes=int((elapsedTime / 60) % (60)),
            seconds=int(elapsedTime % 60)))


#        print('path to create: ', os.path.join(os.path.expanduser('~'), 'Desktop', 'Data','Depth_data',scenenumber+'_'+item))
        if not os.path.exists(os.path.join(os.path.expanduser('~'), basefolder)):
            os.mkdir(os.path.join(os.path.expanduser('~'), basefolder))

        if not os.path.exists(os.path.join(os.path.expanduser('~'), basefolder, 'RTm/')):
            os.mkdir(os.path.join(os.path.expanduser('~'), basefolder, 'RTm/'))

        # Set up rendering of depth map:
        bpy.context.scene.use_nodes = True
        tree = bpy.context.scene.node_tree
        links = tree.links

        # clear default nodes
        for n in tree.nodes:
            tree.nodes.remove(n)

        # create input render layer node
        rl = tree.nodes.new('CompositorNodeRLayers')

        RGB2BW = tree.nodes.new(type="CompositorNodeRGBToBW")
        links.new(rl.outputs[0], RGB2BW.inputs[0])

        map = tree.nodes.new(type="CompositorNodeMapValue")
        # Size is chosen kind of arbitrarily, try out until you're satisfied with resulting depth map.
        map.size = [0.05]
        map.use_min = True
        map.min = [0]
        map.use_max = True
        map.max = [1]
        links.new(rl.outputs[2], map.inputs[0])

        mix_multi = tree.nodes.new(type="CompositorNodeMixRGB")
        # Size is chosen kind of arbitrarily, try out until you're satisfied with resulting depth map.
        mix_multi.blend_type = 'MULTIPLY'
        mix_multi.inputs[2].default_value[0] = 0.5
        mix_multi.inputs[2].default_value[1] = 0.5
        mix_multi.inputs[2].default_value[2] = 0.5
#        mix_multi.inputs[2].default = [0.5 , 0.5, 0.5, 1.0]
        links.new(rl.outputs[3], mix_multi.inputs[1])

        mix_multi2 = tree.nodes.new(type="CompositorNodeMixRGB")
        # Size is chosen kind of arbitrarily, try out until you're satisfied with resulting depth map.
        mix_multi2.blend_type = 'ADD'
        mix_multi2.inputs[2].default_value[0] = 0.5
        mix_multi2.inputs[2].default_value[1] = 0.5
        mix_multi2.inputs[2].default_value[2] = 0.5
        links.new(mix_multi.outputs[0], mix_multi2.inputs[1])

        invert = tree.nodes.new(type="CompositorNodeInvert")
        links.new(map.outputs[0], invert.inputs[1])

        # The viewer can come in handy for inspecting the results in the GUI
        depthViewer = tree.nodes.new(type="CompositorNodeViewer")
        links.new(invert.outputs[0], depthViewer.inputs[0])
        # Use alpha from input.
        links.new(rl.outputs[1], depthViewer.inputs[1])
        # Normal map
        # The viewer can come in handy for inspecting the results in the GUI
        depthViewer2 = tree.nodes.new(type="CompositorNodeViewer")
        links.new(rl.outputs[1], depthViewer2.inputs[1])
        links.new(mix_multi2.outputs[0], depthViewer2.inputs[0])

#        fileOutput = tree.nodes.new(type="CompositorNodeOutputFile")
#        fileOutput.base_path = os.path.join(os.path.expanduser('~'), 'Desktop', 'Data','Depth_data',scenenumber+'_'+item, 'depth')
##        fileOutput.file_slots[0].path = str(scene.frame_current).zfill(5)
#        links.new(invert.outputs[0], fileOutput.inputs[0])
#
#        fileOutput2 = tree.nodes.new(type="CompositorNodeOutputFile")
#        fileOutput2.base_path = os.path.join(os.path.expanduser('~'), 'Desktop', 'Data','Depth_data',scenenumber+'_'+item,'normal')
##        fileOutput2.file_slots[0].path = str(scene.frame_current).zfill(5)
#        links.new(mix_multi2.outputs[0], fileOutput2.inputs[0])
#
#        fileOutput3 = tree.nodes.new(type="CompositorNodeOutputFile")
#        fileOutput3.base_path = os.path.join(os.path.expanduser('~'), 'Desktop', 'Data','Depth_data',scenenumber+'_'+item,'panoramas_BW')
##        fileOutput3.file_slots[0].path = str(scene.frame_current).zfill(5)
#        links.new(RGB2BW.outputs[0], fileOutput3.inputs[0])

        bpy.ops.render.render(write_still=True)

        location, rotation = scene.objects['Camera'].matrix_world.decompose()[0:2]
        R_world2bcam = rotation.to_matrix().transposed()
        T_world2bcam = -1*R_world2bcam @ location

        Camera_RT_matrix =  Matrix((
        R_world2bcam[0][:] + (T_world2bcam[0],),
        R_world2bcam[1][:] + (T_world2bcam[1],),
        R_world2bcam[2][:] + (T_world2bcam[2],),
        [0,0,0,1],))

        np.savetxt(os.path.join(os.path.expanduser('~'), basefolder, 'RTm')+'/'+str(frame_is).zfill(6)+"_RTm.txt",np.array(Camera_RT_matrix))
        # break

    scene.frame_current=0
    path.select_set(False)
    bpy.ops.object.parent_clear(type='CLEAR')
    # camera.select_set(False)
elapsedTime = time.time() - t1
print("Total time passed {hours:d}:{minutes:d}:{seconds:d}"
    .format(hours=int((elapsedTime / 60 ** 2) % (60 ** 2)), minutes=int((elapsedTime / 60) % (60)),
            seconds=int(elapsedTime % 60)))
print("Finished")
到了这里,关于blender scripting 编写的文章就介绍完了。如果您还想了解更多内容,请在右上角搜索TOY模板网以前的文章或继续浏览下面的相关文章,希望大家以后多多支持TOY模板网!