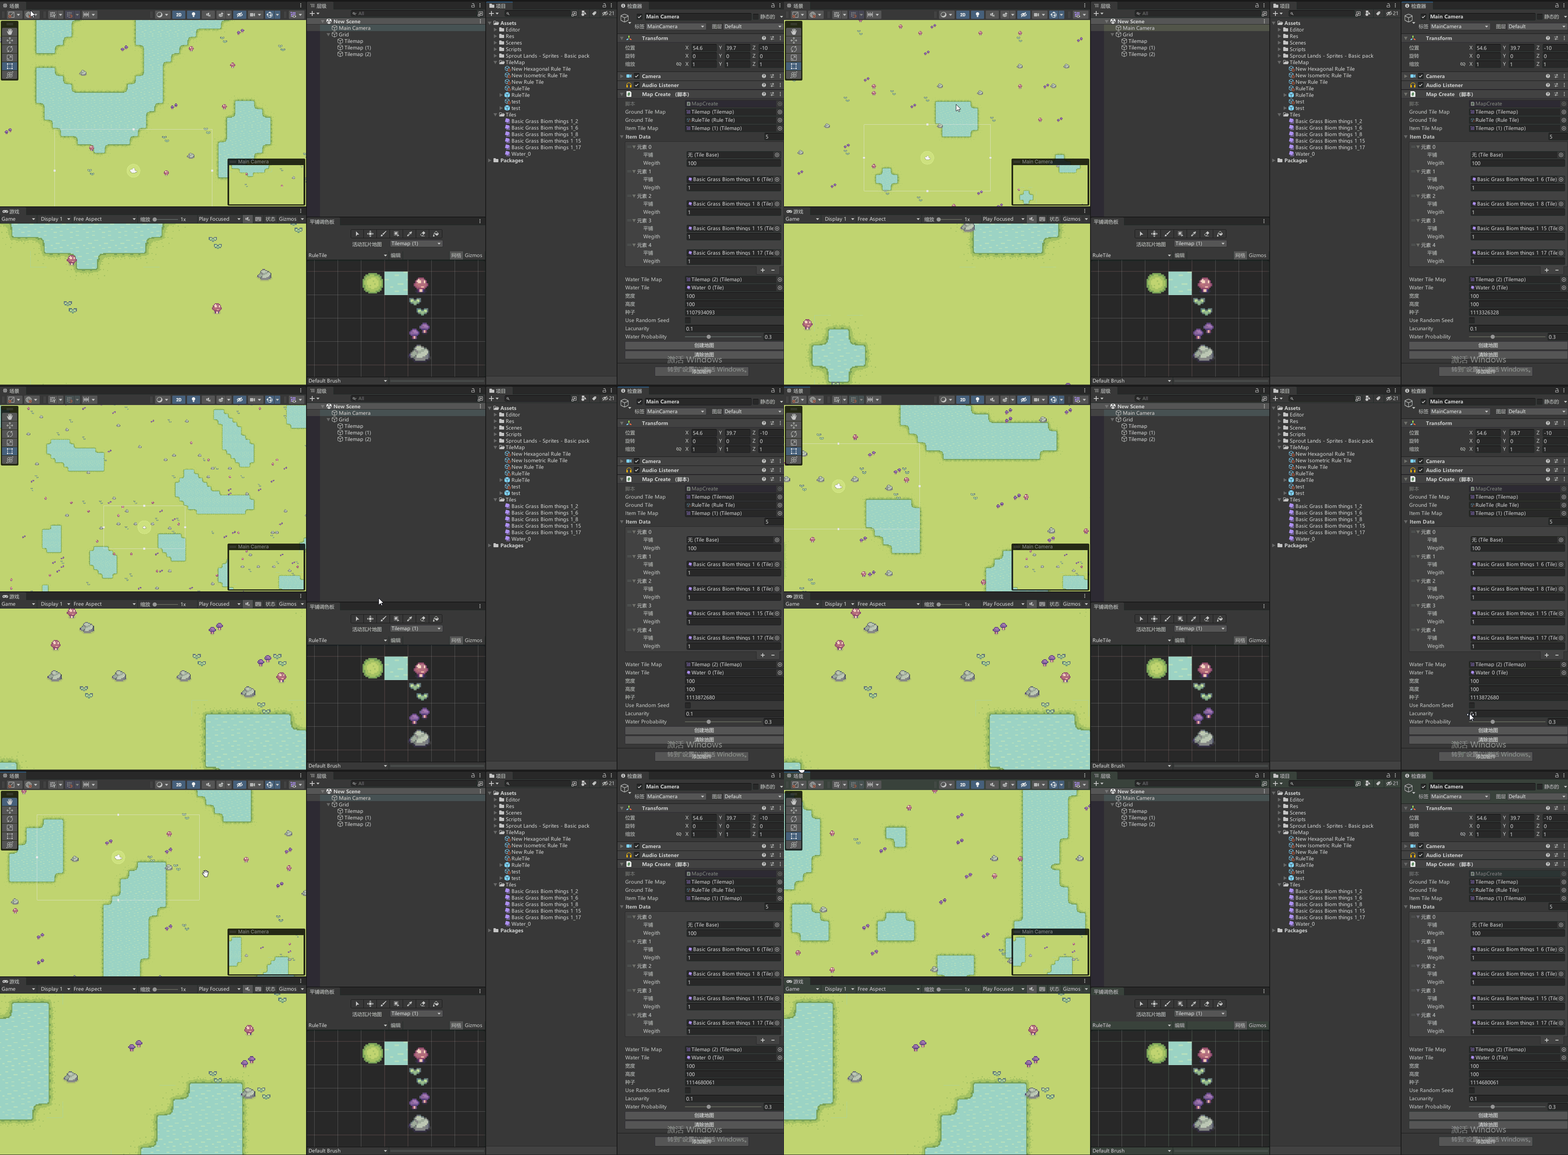
先看本次实现的最终效果

前言
当今,塔防游戏已经成为游戏市场上备受欢迎的一类游戏类型。《保卫萝卜》作为其中的经典之作,深受玩家喜爱。本项目旨在基于《保卫萝卜》的玩法和特点,开发一个Unity2D塔防游戏,让玩家可以在游戏中体验到精彩的策略对抗与刺激的关卡挑战。
本项目将通过Unity引擎进行开发,利用2D游戏开发相关技术,包括但不限于精灵动画、碰撞检测、UI界面设计等。我们将实现萝卜作为关键角色的防守任务,并设计各种怪物和防御塔,使得游戏具有多样的战术策略和游戏乐趣。同时,也会注重游戏的视觉效果和用户交互体验,力求为玩家呈现一个真实、丰富的游戏世界。
通过学习本项目的源码,您将有机会了解到塔防游戏的基本架构和开发流程,以及如何利用Unity引擎实现一个完整的游戏项目。希望本项目能够为正在学习游戏开发的朋友们提供一些参考和帮助,同时也为塔防游戏爱好者带来乐趣和启发。
本项目比较长,可能会分几期来讲。
本期主要内容是实现本期主要内容是实现路径配置和怪物生成器。
素材
链接:https://pan.baidu.com/s/1J73O163Rcz0eOV144LkVNQ?pwd=cj0m
提取码:cj0m
一、绘制路径点和连线
我们需要先绘制路径点,可以方便的控制敌人行进路径
1. 新建Waypoint ,绘制路径点和连线
public class Waypoint : MonoBehaviour
{
    [SerializeField] private Vector3[] points; // 存储路径点的数组
    private Vector3 _currentPosition; // 当前位置
    private bool _gameStarted; // 游戏是否已经开始

    private void Start()
    {
        _gameStarted = true;
        _currentPosition = transform.position;
    }

    // 在Scene视图中绘制路径点和连线
    private void OnDrawGizmos()
    {
        if (!_gameStarted && transform.hasChanged)
        {
            _currentPosition = transform.position;
        }

        // 绘制路径点
        for (int i = 0; i < points.Length; i++)
        {
            Gizmos.color = Color.green;
            Gizmos.DrawWireSphere(center: points[i] + _currentPosition, radius: 0.5f);

            // 绘制路径线
            if (i < points.Length - 1)
            {
                Gizmos.color = Color.gray;
                Gizmos.DrawLine(points[i] + _currentPosition, points[i + 1] + _currentPosition);
            }
        }
    }
}
测试
效果
2. 绘制路径点按钮效果
新增Editor脚本,绘制路径点
[CustomEditor(typeof(Waypoint))]
public class WaypointEditor : Editor
{
    Waypoint Waypoint => target as Waypoint; // 获取目标 Waypoint 组件

    // 在Scene视图中绘制编辑器
    private void OnSceneGUI()
    {
        Handles.color = Color.red;

        // 遍历路径点
        for (int i = 0; i < Waypoint.Points.Length; i++)
        {
            // 创建可移动的 Handles
            Vector3 currentWaypointPoint = Waypoint.CurrentPosition + Waypoint.Points[i];
            var fmh_20_17_638355057726425685 = Quaternion.identity; Vector3 newWaypointPoint = Handles.FreeMoveHandle(currentWaypointPoint,
                0.7f,
                new Vector3(0.3f, 0.3f, 0.3f),
                Handles.SphereHandleCap
            );
        }
    }
}
效果
3. 显示路径顺序文本
修改WaypointEditor
private void OnSceneGUI()
{
    Handles.color = Color.red;

    // 遍历路径点
    for (int i = 0; i < Waypoint.Points.Length; i++)
    {
        // 。。。

        // 创建文本样式
        GUIStyle textStyle = new GUIStyle();
        textStyle.fontStyle = FontStyle.Bold;
        textStyle.fontSize = 16;
        textStyle.normal.textColor = Color.yellow;

        // 设置文本位置
        Vector3 textAlignment = new Vector3(0, -0.35f, 0.35f);

        // 在Scene视图中创建标签文本
        Handles.Label(
            position: Waypoint.CurrentPosition + Waypoint.Points[i] + textAlignment,
            text: $"{i + 1}", // 显示路径点的索引(从1开始)
            style: textStyle
        );
    }
}
效果
4. 实时修改路径点位置
每次都要手动的去修改路径点的值无疑是非常麻烦的,所以我们需要实现在场景中点击拖拽路径点,修改路径点位置
修改WaypointEditor
private void OnSceneGUI()
{
    Handles.color = Color.red;

    // 遍历路径点
    for (int i = 0; i < Waypoint.Points.Length; i++)
    {
        EditorGUI.BeginChangeCheck();

        //。。。

        EditorGUI.EndChangeCheck();

        // 检查编辑是否结束并且有变化
        if (EditorGUI.EndChangeCheck())
        {
            // 在Undo系统中记录对象状态,以便进行撤销操作
            Undo.RecordObject(target, "Free Move Handle");

            // 更新路径点的位置为新的位置
            Waypoint.Points[i] = newWaypointPoint - Waypoint.CurrentPosition;
        }
    }
}
效果
二、生成敌人
新增敌人生成器类
public enum SpawnModes // 生成模式枚举
{
    Fixed, // 固定生成
    Random // 随机生成
}

public class Spawner : MonoBehaviour // 生成器类
{
    [SerializeField, Header("生成模式")]
    private SpawnModes spawnMode = SpawnModes.Fixed;
    [SerializeField, Header("敌人数量")]
    private int enemyCount = 10;
    [SerializeField, Header("测试游戏对象")]
    private GameObject testGO;
    [SerializeField, Header("生成间隔")]
    private float delayBtwSpawns;
    [SerializeField, Header("随机生成的最小延迟")]
    private float minRandomDelay;
    [SerializeField, Header("随机生成的最大延迟")]
    private float maxRandomDelay;

    private float _spawnTimer; // 生成计时器
    private int _enemiesSpawned; // 已生成敌人数量

    private void Update() // 每帧更新
    {
        _spawnTimer -= Time.deltaTime; // 更新生成计时器

        if (_spawnTimer <= 0) // 如果生成计时器小于等于0
        {
            _spawnTimer = GetSpawnDelay(); // 根据生成模式获取生成延迟

            if (_enemiesSpawned < enemyCount) // 如果已生成的敌人数量小于总数
            {
                _enemiesSpawned++; // 增加已生成敌人数量
                SpawnEnemy(); // 生成敌人
            }
        }
    }

    private void SpawnEnemy() // 生成敌人方法
    {
        Instantiate(testGO, transform.position, Quaternion.identity); // 在指定位置生成游戏对象
    }

    private float GetRandomDelay() // 获取随机生成延迟的方法
    {
        float randomTimer = Random.Range(minRandomDelay, maxRandomDelay); // 在最小和最大延迟之间获取一个随机值
        return randomTimer; // 返回随机生成的延迟时间
    }

    private float GetSpawnDelay()
    {
        float delay = 0f;
        if (spawnMode == SpawnModes.Fixed)
        {
            delay = delayBtwSpawns;// 如果生成模式为固定生成,则使用固定的生成间隔
        }
        else
        {
            delay = GetRandomDelay();// 如果生成模式为随机生成,则使用随机的生成间隔
        }
        return delay;
    }
}
新建一个敌人预制体
1. 固定生成敌人配置

效果每秒生成一个敌人
2. 随机生成敌人配置

随机1-3秒生成一个敌人
三、对象池
新增对象池类
public class ObjectPooler : MonoBehaviour // 对象池类
{
    [SerializeField] private GameObject prefab; // 预制体
    [SerializeField] private int poolSize = 10; // 对象池大小

    private List<GameObject> _pool; // 对象池列表
    private GameObject _poolContainer;//对象池父级

    private void Awake() // 在对象被唤醒时调用
    {
        _pool = new List<GameObject>(); // 初始化对象池列表
        _poolContainer = new GameObject($"Pool - {prefab.name}");
        CreatePooler(); // 创建对象池
    }

    private void CreatePooler() // 创建对象池方法
    {
        for (int i = 0; i < poolSize; i++) // 循环生成指定数量的对象
        {
            _pool.Add(CreateInstance()); // 往对象池中添加新实例
        }
    }

    private GameObject CreateInstance() // 创建单个实例方法
    {
        GameObject newInstance = Instantiate(prefab); // 实例化预制体
        newInstance.transform.SetParent(_poolContainer.transform);//设置父级
        newInstance.SetActive(false); // 设置实例为非激活状态
        return newInstance; // 返回新实例
    }

	public GameObject GetInstanceFromPool() // 从对象池获取实例的方法
    {
        for (int i = 0; i < _pool.Count; i++) // 遍历对象池
        {
            if (!_pool[i].activeInHierarchy) // 如果对象未激活
            {
                return _pool[i]; // 返回未激活的对象
            }
        }
        return CreateInstance(); // 如果对象池中没有未激活的对象,则创建一个新实例并返回
    }
}
挂载配置参数
修改Spawner,引入对象池,生成敌人
private ObjectPooler _pooler;

private void Start()
{
    _pooler = GetComponent<ObjectPooler>();
}

private void SpawnEnemy() // 生成敌人方法
{
    // Instantiate(testGO, transform.position, Quaternion.identity); // 在指定位置生成游戏对象
    GameObject newInstance = _pooler.GetInstanceFromPool();
    newInstance.SetActive(true);
}
效果
创造敌人
四、控制敌人沿前面绘制路径点移动
修改Waypoint,获取指定索引的路径点位置
//获取指定索引的路径点位置
public Vector3 GetWaypointPosition(int index)
{
    return CurrentPosition + Points[index];
}
修改ObjectPooler,回收对象
public class Enemy : MonoBehaviour
{
    [SerializeField] private float moveSpeed = 3f;  // 控制敌人移动速度的参数
    [SerializeField] private Waypoint waypoint;      // 敌人移动路径的路标点

    public Vector3 CurrentPointPosition => waypoint.GetWaypointPosition(_currentWaypointIndex);//获取指定索引的路径点位置

    private int _currentWaypointIndex;  // 当前路标点的索引

    private void Start()
    {
        _currentWaypointIndex = 0;  // 初始化当前路标点索引为0
    }

    private void Update()
    {
        Move();  // 调用移动方法
        if (CurrentPointPositionReached())
        {
            UpdateCurrentPointIndex();
        }
    }

    //移动敌人至下一个路径点
    private void Move()
    {
        // 使敌人向目标位置移动
        transform.position = Vector3.MoveTowards(current: transform.position,
                                                CurrentPointPosition,
                                                moveSpeed * Time.deltaTime);
    }

    //检查是否到达当前路径点的位置
    private bool CurrentPointPositionReached()
    {
        float distanceToNextPointPosition = (transform.position - CurrentPointPosition).magnitude;
        if (distanceToNextPointPosition < 0.1f)
        {
            return true;
        }
        return false;
    }

    //更新当前路径点的索引
    private void UpdateCurrentPointIndex()
    {
        int lastWaypointIndex = waypoint.Points.Length - 1;
        if (_currentWaypointIndex < lastWaypointIndex)
        {
            _currentWaypointIndex++;
        }
        else
        {
            ReturnEnemyToPool();//到达最后回收敌人
        }
    }

    //回收敌人
    private void ReturnEnemyToPool()
    {
        ObjectPooler.ReturnToPool(gameObject);
    }
}
挂载脚本,测试
效果
五、控制玩家的生命值
走到终点敌人没有被杀死,我们的生命值将-1
修改Enemy,定义敌人到达终点的委托事件
public static Action OnEndReached;

//回收敌人
private void ReturnEnemyToPool()
{
    OnEndReached?.Invoke();
    ObjectPooler.ReturnToPool(gameObject);
}
新增LevelManager
public class LevelManager : MonoBehaviour
{
    [SerializeField] private int lives = 10; // 玩家生命值

    public int TotalLives {get; set;}

    private void Start() {
        TotalLives = lives;
    }

    // 减少生命值
    private void ReduceLives()
    {
        TotalLives--;
        if (TotalLives < 0)
        {
            TotalLives = 0;
            //TODO:游戏结束
        }
    }

    // 当脚本组件启用时注册事件监听
    private void OnEnable()
    {
        Enemy.OnEndReached += ReduceLives; // 当敌人到达终点时减少生命值
    }

    // 当脚本组件禁用时取消事件监听
    private void OnDisable()
    {
        Enemy.OnEndReached -= ReduceLives; // 取消对减少生命值事件的监听
    }
}
效果,敌人到达终点时TotalLives -1
六、产生敌人并自动分配寻路点
修改Enemy
//重置寻路索引
public void ResetEnemy()
{
    _currentWaypointIndex = 0;
}
修改Spawner
private Waypoint _waypoint;

private void Start()
{
    _pooler = GetComponent<ObjectPooler>();
    _waypoint = GetComponent<Waypoint>();
}

private void SpawnEnemy() // 生成敌人方法
{
    // Instantiate(testGO, transform.position, Quaternion.identity); // 在指定位置生成游戏对象
    GameObject newInstance = _pooler.GetInstanceFromPool();
    Enemy enemy = newInstance.GetComponent<Enemy>();
    enemy.waypoint = _waypoint;
    enemy.ResetEnemy();
    enemy.transform.localPosition = transform.position;
    newInstance.SetActive(true);
}
配置
效果
一波结束在产生一波新敌人
修改Spawner
[SerializeField, Header("下一波敌人生成间隔")]
private float delayBtwWaves = 1f;

private int _enemiesRamaining;

private void Start()
{
    _pooler = GetComponent<ObjectPooler>();
    _waypoint = GetComponent<Waypoint>();
    _enemiesRamaining = enemyCount;
}

//生成下一波敌人
private IEnumerator NextWave()
{
    yield return new WaitForSeconds(delayBtwWaves);
    _enemiesRamaining = enemyCount;
    _spawnTimer = 0f;
    _enemiesSpawned = 0;
}

private void RecordEnemyEndReached()
{
    _enemiesRamaining--;
    if (_enemiesRamaining < 0) StartCoroutine(NextWave());
}

private void OnEnable()
{
    Enemy.OnEndReached += RecordEnemyEndReached;
}

private void OnDisable() {
    Enemy.OnEndReached -= RecordEnemyEndReached;
}
为了测试,把每波生成敌人数量改为1
可以看到,一个敌人走到终点后隔1秒继续生成下一波敌人
源码
见本项目最后一节
完结
赠人玫瑰,手有余香!如果文章内容对你有所帮助,请不要吝啬你的点赞评论和关注,以便我第一时间收到反馈,你的每一次支持都是我不断创作的最大动力。当然如果你发现了文章中存在错误或者有更好的解决方法,也欢迎评论私信告诉我哦!
好了,我是向宇,https://xiangyu.blog.csdn.net文章来源:https://www.toymoban.com/news/detail-763542.html
一位在小公司默默奋斗的开发者,出于兴趣爱好,于是最近才开始自习unity。如果你遇到任何问题,也欢迎你评论私信找我, 虽然有些问题我可能也不一定会,但是我会查阅各方资料,争取给出最好的建议,希望可以帮助更多想学编程的人,共勉~ 文章来源地址https://www.toymoban.com/news/detail-763542.html
到了这里,关于【用unity实现100个游戏之15】开发一个类保卫萝卜的Unity2D塔防游戏1(附项目源码)的文章就介绍完了。如果您还想了解更多内容,请在右上角搜索TOY模板网以前的文章或继续浏览下面的相关文章,希望大家以后多多支持TOY模板网!


