软件见文末
一、连接步骤
前提是先安装好sqllite---->无脑式next安装
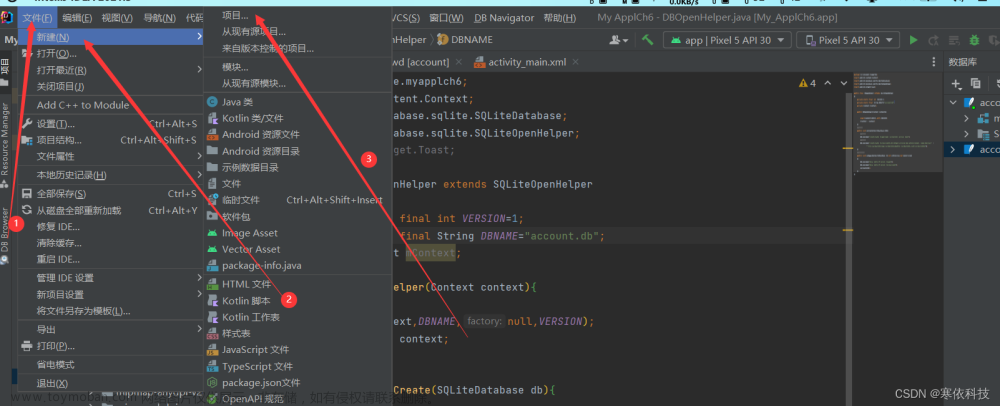
1、打开Android studio 创建一对Activity,


2、书写相关代码
//   在 StudentActivity.java
package com.example.myapplication01;

import androidx.appcompat.app.AppCompatActivity;

import android.database.Cursor;
import android.database.sqlite.SQLiteDatabase;
import android.os.Bundle;
import android.view.View;
import android.widget.EditText;
import android.widget.TextView;
import android.widget.Toast;

public class StudentActivity extends AppCompatActivity {
    private EditText bianhao;
    private EditText name;
    private EditText age;
    private EditText czbianhao;
    private EditText czname;
    private TextView czresult;
    private SQLiteDatabase database;


    @Override
    protected void onCreate(Bundle savedInstanceState) {
        super.onCreate(savedInstanceState);
        setContentView(R.layout.activity_student);

        bianhao = findViewById(R.id.bianhao);
        name = findViewById(R.id.name);
        age = findViewById(R.id.age);

        czbianhao = findViewById(R.id.czbianhao);
        czname = findViewById(R.id.czxingming);
        czresult = findViewById(R.id.result);

        Mydatabase mydatabase = new Mydatabase(StudentActivity.this);
        database = mydatabase.getWritableDatabase();

    }
    public void  insert(View view) {
        String sql1 = "select * from user where 编号=?";
        Cursor cursor = database.rawQuery(sql1, new String[]{bianhao.getText().toString()});
        if (cursor.getCount() == 0) {
            String sql = "insert into user(编号,姓名,年龄)values(?,?,?)";
            database.execSQL(sql, new Object[]{Integer.parseInt(bianhao.getText().toString()), name.getText().toString(),
                    Integer.parseInt(age.getText().toString())});
            Toast.makeText(getApplicationContext(), "已成功添加!!!", Toast.LENGTH_SHORT).show();
        } else {
            Toast.makeText(getApplicationContext(), "数据已存在!!!", Toast.LENGTH_SHORT).show();
            bianhao.setText("");
            bianhao.requestFocus();
        }
    }
    //方法二
        /*String sql1="select * from user where 编号=?";
        Cursor cursor = database.rawQuery(sql1,new String[]{bianhao.getText().toString()});
        if(cursor.getCount()==0){
            ContentValues contentValues = new ContentValues();
            contentValues.put("编号",Integer.parseInt(bianhao.getText().toString()));
            contentValues.put("姓名",name.getText().toString());
            contentValues.put("年龄",Integer.parseInt(age.getText().toString()));
            Toast.makeText(getApplicationContext(),"已成功添加!!!",Toast.LENGTH_SHORT).show();
        }else {
            Toast.makeText(getApplicationContext(),"数据已存在!!!",Toast.LENGTH_SHORT).show();
            bianhao.setText("");
            bianhao.requestFocus();
        }*/
    public void  delete(View view){
        String sql = "delete from user where 编号=?";
        database.execSQL(sql,new Object[]{Integer.parseInt(bianhao.getText().toString())});
        Toast.makeText(getApplicationContext(),"数据已删除!!!",Toast.LENGTH_SHORT).show();
    }
    public void update(View view){
        String sql = "update user set 姓名=?,年龄=? where 编号=?";
        database.execSQL(sql,new Object[]{name.getText().toString(),Integer.parseInt(age.getText().toString()),
                Integer.parseInt(bianhao.getText().toString())});
        Toast.makeText(getApplicationContext(),"数据已更新!!!",Toast.LENGTH_SHORT).show();
    }
    public void findbianhao(View view){
        String sql="select * from user where 编号=?";
        Cursor cursor = database.rawQuery(sql,new String[]{czbianhao.getText().toString()});
        if(cursor.moveToNext()){
            int bianhao1 = cursor.getInt(cursor.getColumnIndex("编号"));
            String name1 = cursor.getString(cursor.getColumnIndex("姓名"));
            int age1 = cursor.getInt(cursor.getColumnIndex("年龄"));

            czresult.setText("查找结果->编号: "+bianhao1+"\t姓名:"+name1+"\t年龄:"+age1);
        }else {
            Toast.makeText(getApplicationContext(),"无记录!!!",Toast.LENGTH_SHORT).show();
            czresult.setText("");
        }
    }
    public void findname(View view){
        String sql="select * from user where 姓名=?";
        Cursor cursor = database.rawQuery(sql,new String[]{czname.getText().toString()});
        if(cursor.moveToNext()){
            int bianhao2 = cursor.getInt(cursor.getColumnIndex("编号"));
            String name2 = cursor.getString(cursor.getColumnIndex("姓名"));
            int age2 = cursor.getInt(cursor.getColumnIndex("年龄"));

            czresult.setText("查找结果->编号: "+bianhao2+"\t姓名:"+name2+"\t年龄:"+age2);
        }else {
            Toast.makeText(getApplicationContext(),"无记录!!!",Toast.LENGTH_SHORT).show();
            czresult.setText("");
        }
    }
}
<!--在 activity_student_xml中-->

<?xml version="1.0" encoding="utf-8"?>
<LinearLayout xmlns:android="http://schemas.android.com/apk/res/android"
    xmlns:tools="http://schemas.android.com/tools"
    android:layout_width="match_parent"
    android:layout_height="match_parent"
    android:paddingBottom="@dimen/activity_vertical_margin"
    android:paddingLeft="@dimen/activity_horizontal_margin"
    android:paddingRight="@dimen/activity_horizontal_margin"
    android:paddingTop="@dimen/activity_vertical_margin"
    android:background="@drawable/bg6"
    android:orientation="vertical"
    android:gravity="center"
    tools:context="com.example.myapplication01.StudentActivity">
    <TextView
        android:textSize="40dp"
        android:textStyle="bold"
        android:textColor="@android:color/holo_red_dark"
        android:layout_width="wrap_content"
        android:layout_height="wrap_content"
        android:text="学生信息管理系统"
        android:layout_marginBottom="36dp"
        android:id="@+id/textView11" />

    <LinearLayout
        android:paddingLeft="20dp"
        android:paddingRight="20dp"
        android:orientation="horizontal"
        android:layout_width="match_parent"
        android:layout_marginBottom="20dp"
        android:layout_height="wrap_content">

        <TextView
            android:textColor="@android:color/black"
            android:textSize="25dp"
            android:textStyle="bold"
            android:layout_width="wrap_content"
            android:layout_height="wrap_content"
            android:text="编  号"
            android:id="@+id/textView" />

        <EditText
            android:textColor="@android:color/black"
            android:textSize="25dp"
            android:textStyle="bold"
            android:layout_width="match_parent"
            android:layout_height="wrap_content"
            android:id="@+id/bianhao" />
    </LinearLayout>

    <LinearLayout
        android:paddingLeft="20dp"
        android:paddingRight="20dp"
        android:orientation="horizontal"
        android:layout_marginBottom="20dp"
        android:layout_width="match_parent"
        android:layout_height="wrap_content">

        <TextView
            android:textColor="@android:color/black"
            android:textSize="25dp"
            android:textStyle="bold"
            android:layout_width="wrap_content"
            android:layout_height="wrap_content"
            android:text="姓  名"
            android:id="@+id/textView2" />

        <EditText
            android:textColor="@android:color/black"
            android:textSize="25dp"
            android:textStyle="bold"
            android:layout_width="match_parent"
            android:layout_height="wrap_content"
            android:id="@+id/name" />
    </LinearLayout>

    <LinearLayout
        android:paddingLeft="20dp"
        android:paddingRight="20dp"
        android:orientation="horizontal"
        android:layout_width="match_parent"
        android:layout_marginBottom="20dp"
        android:layout_height="wrap_content">

        <TextView
            android:textColor="@android:color/black"
            android:textSize="25dp"
            android:textStyle="bold"
            android:layout_width="wrap_content"
            android:layout_height="wrap_content"
            android:text="年  龄"
            android:id="@+id/textView3" />

        <EditText
            android:textColor="@android:color/black"
            android:textSize="25dp"
            android:textStyle="bold"
            android:layout_width="match_parent"
            android:layout_height="wrap_content"
            android:inputType="numberDecimal"
            android:maxLength="3"
            android:id="@+id/age"
            />
    </LinearLayout>

    <LinearLayout
        android:paddingLeft="20dp"
        android:paddingRight="20dp"
        android:orientation="horizontal"
        android:layout_width="match_parent"
        android:layout_marginBottom="20dp"
        android:layout_height="wrap_content">

        <TextView
            android:textColor="@android:color/black"
            android:textSize="25dp"
            android:textStyle="bold"
            android:layout_width="wrap_content"
            android:layout_height="wrap_content"
            android:text="查找的编号"
            android:id="@+id/textView4" />

        <EditText
            android:textColor="@android:color/black"
            android:textSize="25dp"
            android:textStyle="bold"
            android:layout_width="260dp"
            android:layout_height="wrap_content"
            android:id="@+id/czbianhao" />

        <Button
            android:onClick="findbianhao"
            android:textSize="20dp"
            android:textStyle="bold"
            android:background="@drawable/buttonpress2"
            android:textColor="@android:color/white"
            android:layout_width="wrap_content"
            android:layout_height="wrap_content"
            android:text="查 找"
            android:id="@+id/buttonczbianhao" />
    </LinearLayout>

    <LinearLayout
        android:paddingLeft="20dp"
        android:paddingRight="20dp"
        android:orientation="horizontal"
        android:layout_width="match_parent"
        android:layout_marginBottom="20dp"
        android:layout_height="wrap_content">

        <TextView
            android:textColor="@android:color/black"
            android:textSize="25dp"
            android:textStyle="bold"
            android:layout_width="wrap_content"
            android:layout_height="wrap_content"
            android:text="查找的姓名"
            android:id="@+id/textView5" />

        <EditText
            android:textColor="@android:color/black"
            android:textSize="25dp"
            android:textStyle="bold"
            android:layout_width="260dp"
            android:layout_height="wrap_content"
            android:id="@+id/czxingming" />

        <Button
            android:onClick="findname"
            android:textSize="20dp"
            android:textStyle="bold"
            android:background="@drawable/buttonpress2"
            android:textColor="@android:color/white"
            android:layout_width="wrap_content"
            android:layout_height="wrap_content"
            android:text="查 找"
            android:id="@+id/buttonczxingming" />

    </LinearLayout>

    <LinearLayout
        android:orientation="horizontal"
        android:layout_width="match_parent"
        android:layout_marginBottom="10dp"
        android:gravity="center"
        android:layout_height="wrap_content">

        <Button
            android:onClick="insert"
            android:textSize="20dp"
            android:textStyle="bold"
            android:background="@drawable/buttonpress2"
            android:textColor="@android:color/white"
            android:layout_width="wrap_content"
            android:layout_height="wrap_content"
            android:text="添 加"
            android:id="@+id/btnadd" />

        <Button
            android:onClick="delete"
            android:textSize="20dp"
            android:textStyle="bold"
            android:background="@drawable/buttonpress2"
            android:textColor="@android:color/white"
            android:layout_width="wrap_content"
            android:layout_height="wrap_content"
            android:text="删 除"
            android:layout_marginLeft="30dp"
            android:id="@+id/btndel" />

        <Button
            android:onClick="update"
            android:textSize="20dp"
            android:textStyle="bold"
            android:background="@drawable/buttonpress2"
            android:textColor="@android:color/white"
            android:layout_width="wrap_content"
            android:layout_height="wrap_content"
            android:text="修 改"
            android:layout_marginLeft="30dp"
            android:id="@+id/btnupdate" />
    </LinearLayout>

    <LinearLayout
        android:orientation="vertical"
        android:layout_width="match_parent"
        android:layout_height="wrap_content">

        <TextView
            android:textSize="25dp"
            android:textStyle="bold"
            android:textColor="@android:color/holo_red_dark"
            android:layout_width="wrap_content"
            android:layout_height="wrap_content"
            android:text="查找结果:"
            android:id="@+id/result1" />
        <TextView
            android:textSize="25dp"
            android:textStyle="bold"
            android:textColor="@android:color/holo_red_dark"
            android:layout_width="wrap_content"
            android:layout_height="wrap_content"
            android:text=""
            android:id="@+id/result" />
    </LinearLayout>
</LinearLayout>
提示:.xml有些资源需要用自己有的,否者有可能会报错!!!!
3、创建一个Mydatabase的一个Java类。


//在Mydatanase.java中书写
package com.example.myapplication01;

import android.content.Context;
import android.database.sqlite.SQLiteDatabase;
import android.database.sqlite.SQLiteOpenHelper;

public class Mydatabase extends SQLiteOpenHelper {
    static String name = "www.db";
    static int version = 1;

    public Mydatabase(Context context){
        super(context,name,null,version);
    }


    @Override
    public void onCreate(SQLiteDatabase db) {
        String sql = "create table user(编号 Integer,姓名 varchar(10),年龄 Integer)";
        //逗号是英文的
        db.execSQL(sql);
    }


    @Override
    public void onUpgrade(SQLiteDatabase db, int oldVersion, int newVersion) {

    }
}
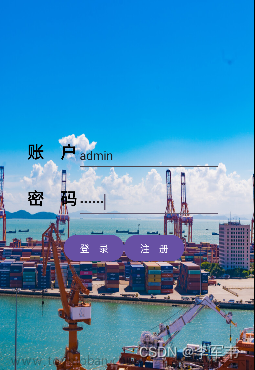
4、运行
5、启动monitor连接数据库
1、打开SDK后,查看SDK路径


2、在SDK路径下右键鼠标运行命令行,输入命令monitor,即可启动Android monitor Device如下图所示:


执行完monitor,正常情况下会直接跳转出以下界面
以上是正常不出错的连接步骤
6、使用模拟器运行的界面进行操作可能出现的问题
1、执行后前台显示成功,数据库里面的refresh没反应的问题
解决方案:
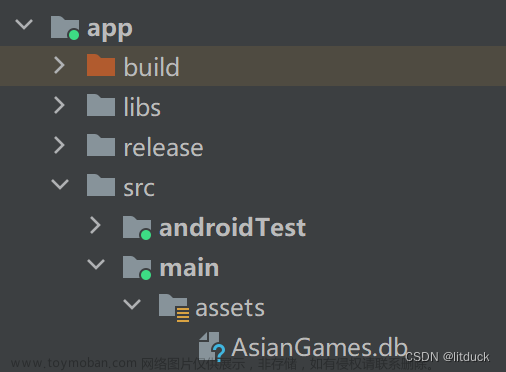
打开Android studio,在如下图所示的地方可以打开data文件夹
打开sqllite
二、常见错误
0、在运行monitor时跳转页面时有可能会弹出

1、以上这是由于有端口号冲突问题,如果点击ok以后不是这个界面并且右边的data能点开,那就问题不大,可以忽略以下操作


2、 如果是这个界面,并且data也点不开要进行的操作
将端口号修改一下:


data打不开是由于权限不够需要进行以下操作:

执行以下操作之前需要配置platform-tools环境变量
1、找到这个目录

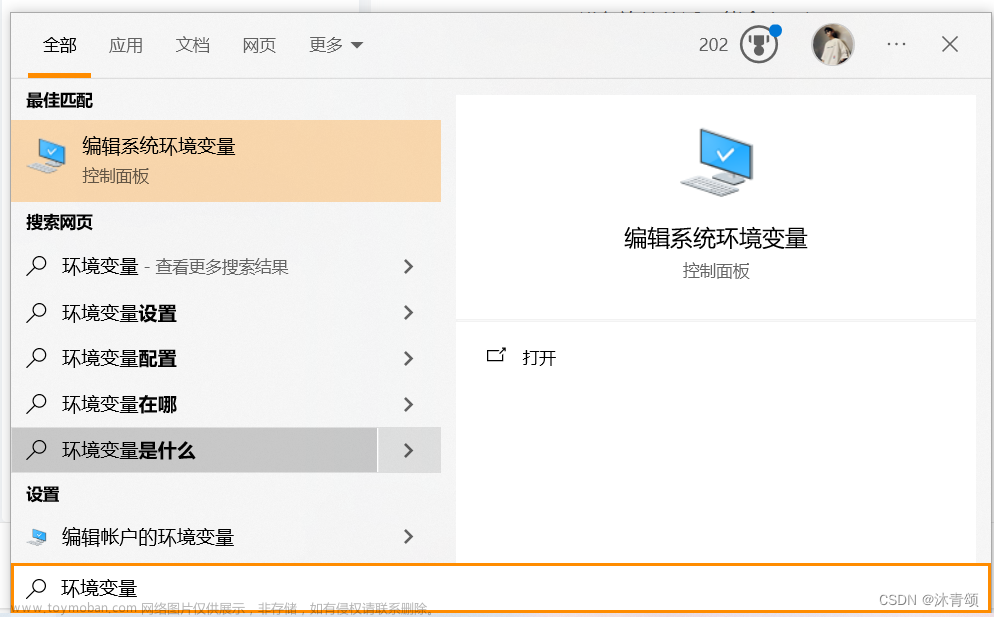
2、打开高级设置


配好直接点三次确定退出
3、打开cmd输入adb shell,显示以下转态就是可以了。

3、关于/system/bin/sh: su: not found的解决办法
c:\user\zg>adb shell
generic_x86:/ $ su
/system/bin/sh: su: not found
原因是
Android Studio带(Google Play)的模拟器无法获得root权限安装
该换成为带(Google APIs)的模拟器即可,如下
4、解决无法打开data文件夹,原因是权限不够,需要设置权限
可以一层一层的给权限
C:\Users\zg>adb shell
generic_x86_64:/ $ su
generic_x86_64:/ # chmod 777 /data
generic_x86_64:/ # exit
generic_x86_64:/ $ su
generic_x86_64:/ # chmod 777 /data/data
generic_x86_64:/ # exit
generic_x86_64:/ $ exit
结束以上操作,退出Android device monitor,重新执行以下命令
弹出这个界面(之前的爆红就消失了)
左边依旧是问号,这时执行以下操作即可
1、首先先获取root权限
打开cmd执行
2、在返回Android device monitor中执行以下操作
 文章来源:https://www.toymoban.com/news/detail-764688.html
相关资料
链接:https://pan.baidu.com/s/14TrrJlCP7b5gxQPC3PpQlg?pwd=nduf
提取码:nduf文章来源地址https://www.toymoban.com/news/detail-764688.html
到了这里,关于Android Studio + sqllite 数据库连接的步骤以及常见问题的文章就介绍完了。如果您还想了解更多内容,请在右上角搜索TOY模板网以前的文章或继续浏览下面的相关文章,希望大家以后多多支持TOY模板网!


