前沿
地址
本人代码仓库:https://github.com/Lihua-cpu/BlockPage
个人博客地址:https://lihua-cpu.github.io/BlockPage/
展示效果
pc展示效果

app展示效果

入门
快速开始
快速开始同 VuePress 官网:
npx
# 初始化,并选择 2.x
npx @vuepress-reco/theme-cli init
npm
# 初始化,并选择 2.x
npm install @vuepress-reco/theme-cli@1.0.7 -g
theme-cli init
yarn
# 初始化,并选择 2.x
yarn global add @vuepress-reco/theme-cli@1.0.7
theme-cli init
手动安装
npm install vuepress@next vuepress-theme-reco@next --save-dev

# or
yarn add vuepress@next vuepress-theme-reco@next
// .vuepress/config.ts

import { defineUserConfig } from 'vuepress'
import { recoTheme } from 'vuepress-theme-reco'

export default defineUserConfig({
  theme: recoTheme({
    // options
  })
})
部署
官方部署
部署gitee、github是可以的,但是gitee部署需要实名认证,github则不需要.
官网:https://vuepress.vuejs.org/zh/guide/deploy.html#github-pages
23-12-17目前我的部署
官网有给出多个平台部署到步骤,但是他只是给出大概部署
总结起来的脚本就是:
1、打包——build
2、进入打包的产物,将打包的产物提到另外的分支
3、部署关于这个分支的代码到githubpage上
三个步骤
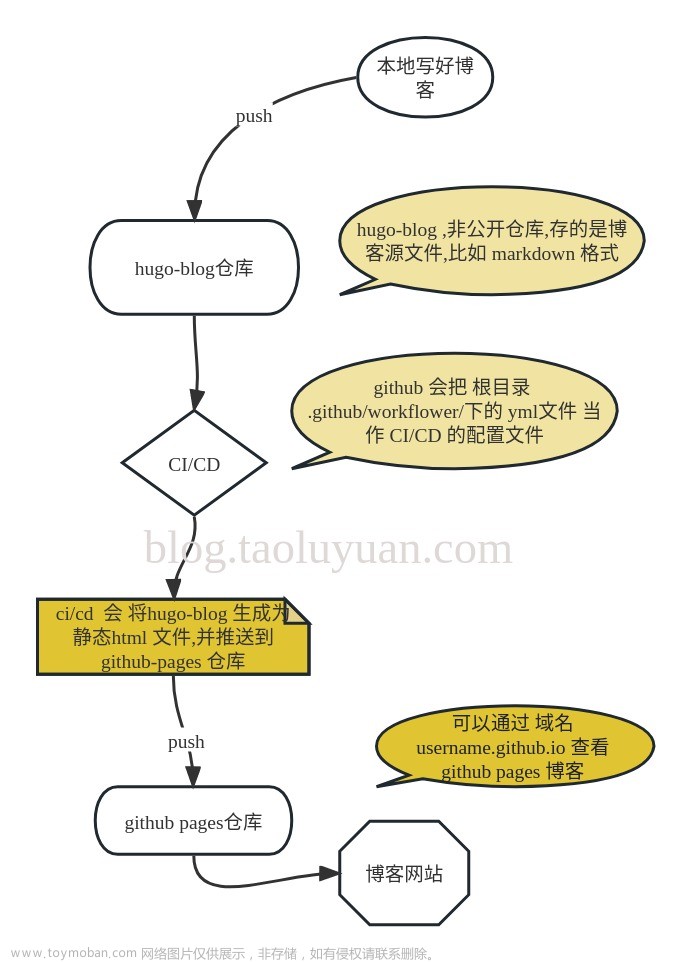
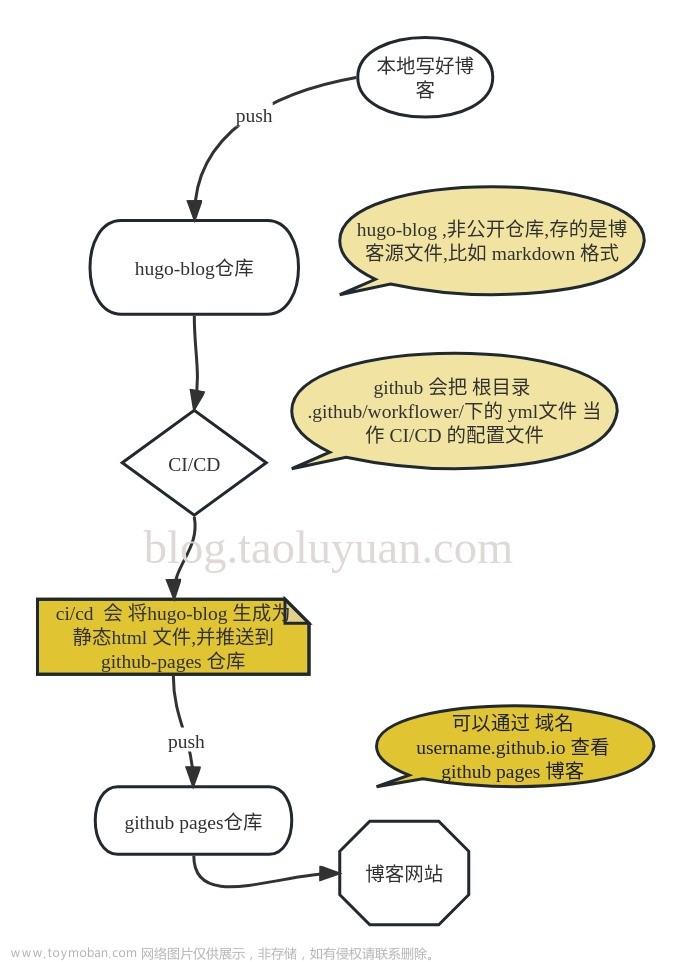
如果需要到时候写一下关于“提交代码立刻触发这个脚本”的博客
因为没有写流水线打包只能手动打包啦
1、创建分支gh-pages
2、打包build
3、将打包产物提交分支gh-pages
4、开启github的page,然后将服务器指向gh-pages文章来源:https://www.toymoban.com/news/detail-765204.html
1、创建分支gh-pages

2、打包build

3、将打包产物提交分支gh-pages

4、开启github的page,然后将服务器指向gh-pages

参考
1、通过iconfont使用图标
https://juejin.cn/post/7242181894116573245
2、官网
https://vuepress-theme-reco.recoluan.com/
3、从创建到部署
这个比较全面,但是有不好的就是,他的部署也是看着官方写的,如果不会部署的,直接自己build,然后把产物直接丢到github,然后就是开启github的githubPage,流水线先别写等熟悉再文章来源地址https://www.toymoban.com/news/detail-765204.html
https://juejin.cn/post/7041134607869149215
到了这里,关于基于vuepress快速实现个人博客-github免费部署的文章就介绍完了。如果您还想了解更多内容,请在右上角搜索TOY模板网以前的文章或继续浏览下面的相关文章,希望大家以后多多支持TOY模板网!


