前话:
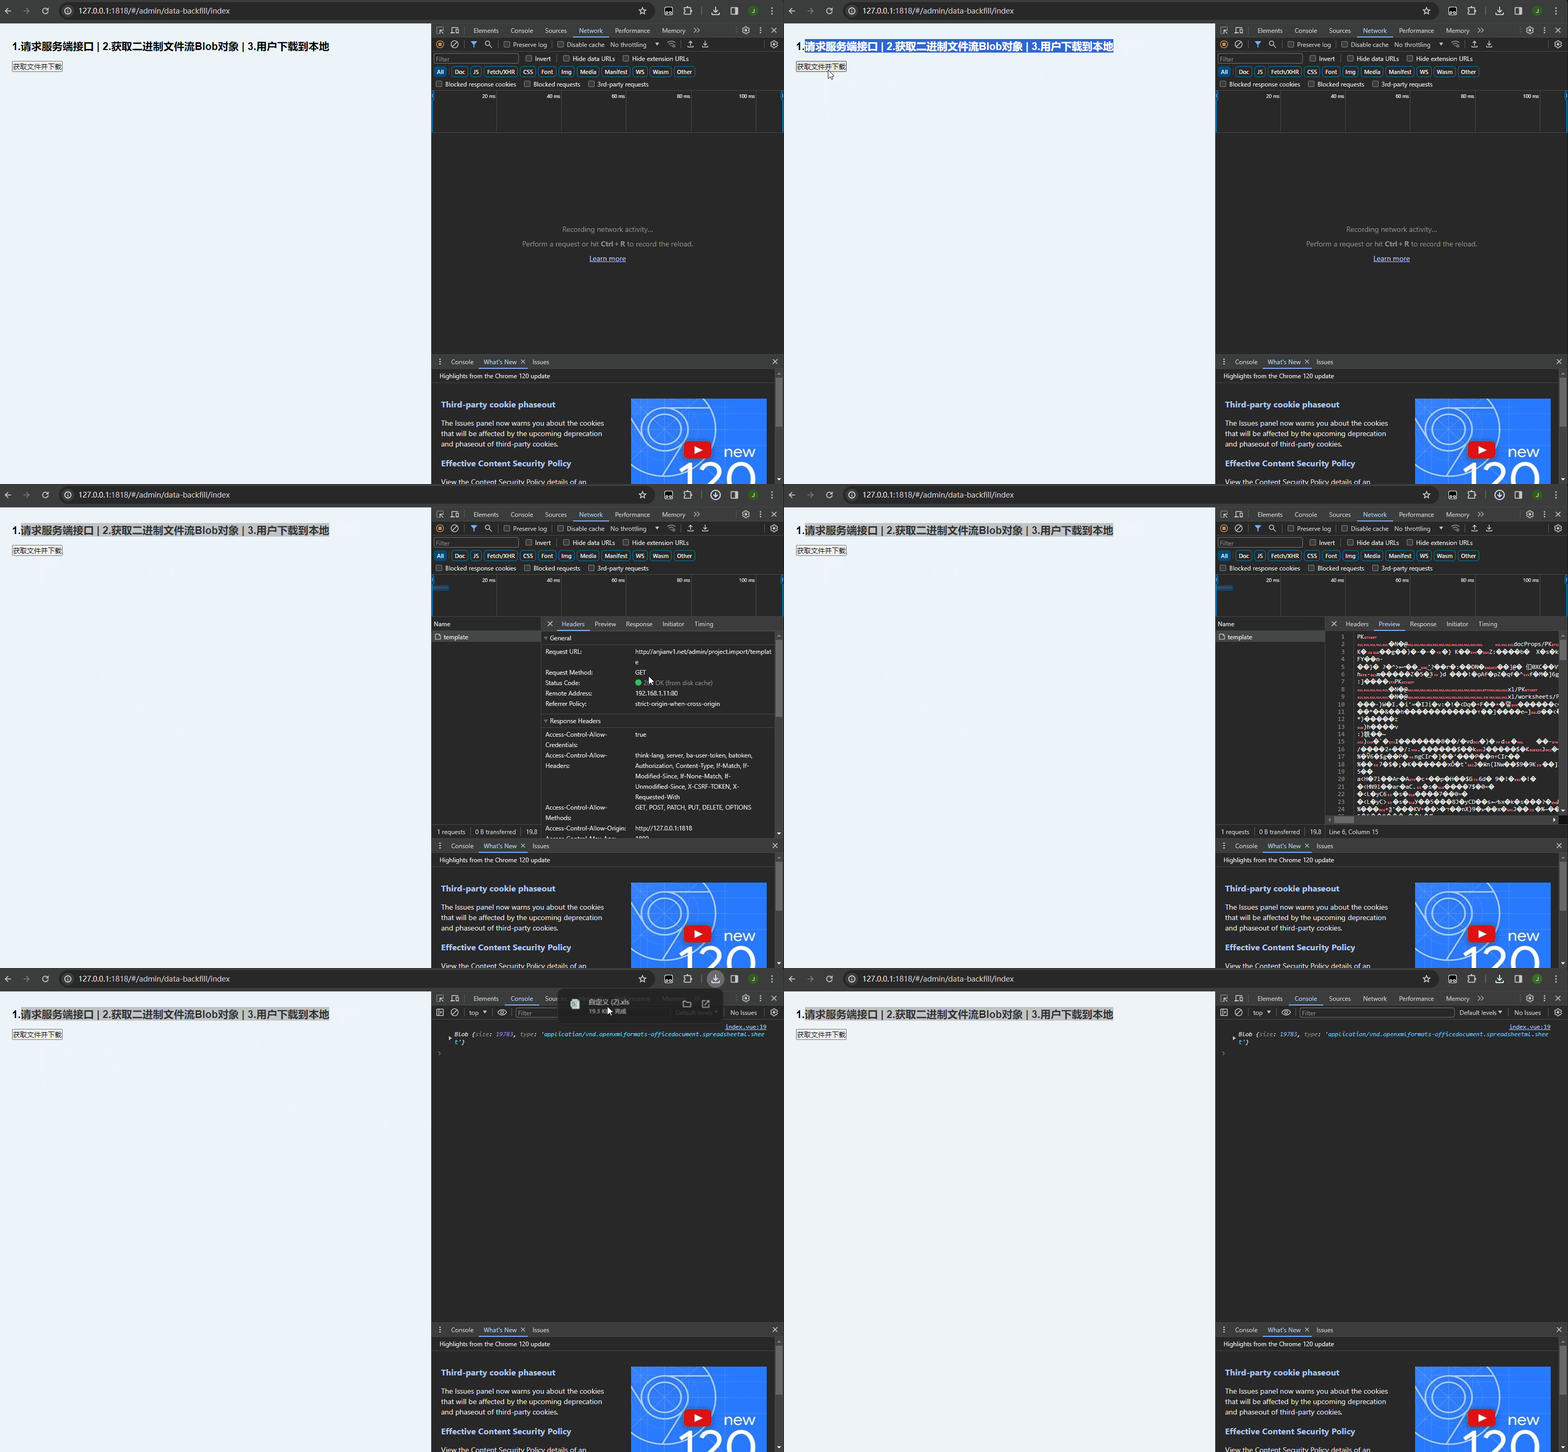
1. 在实际开发过程中,实现文件下载功能,后端一般是返回一个文件流,我们只需要拿到这个文件流后,再使用new Blob转化成blob格式的数据,然后创建一个a链接元素进行下载就行了:
(“本段代码是之前写案例时从别处copy的,都有注释省了自己写,哈哈哈,侵删”)
fetch("后端给的下载功能的url", {
              method: "get",
            })
              .then((res) => {
                console.log(res, "文件流对象---------,可以打印下来看看");
                // 创建blob对象,将二进制数据封装为BLOB对象
                const blob = new Blob([res], {
                // 如何后端没返回下载文件类型,则需要手动设置:type: 'application/pdf;chartset=UTF-8' 表示下载文档为pdf,如果是word则设置为msword,excel为excel
                   type: type
                })
                const a = document.createElement("a");
                // 兼容webkix浏览器,处理webkit浏览器中herf自动添加blob前缀,默认在浏览器打开而不是下载
                const URL = window.URL || window.webkitURL;
                // 根据blob对象创建URL 对象,生成本地URL
                const herf = URL.createObjectURL(blob);
                // 下载链接
                a.href = herf;
                // 下载文件名,如果后端没有返回,可以自己写a.download = '文件.pdf'
                a.download = filename;
                document.body.appendChild(a);
                a.click();
                document.body.removeChild(a);
                // 在内存中移除URL 对象
                URL.revokeObjectURL(herf);
              });
          });
2. 但是这次后端直接给我返回了个url地址:http://127.0.0.1:3000/attchment/test.png,再用这种方式就不适合了,如果拿到结果直接硬塞进去发现不得行,浏览器对于 txt、png、jpeg 等这些后缀的文件会直接新窗口打开,让你进行预览,并不会执行下载操作;看到这里你是不是也头大了?我也是,后面就想着既然上面这种方式是通过文件流下载的,那我拿到url的地址后,把url地址文件里面的内容转为blob文件流不就好了?说干就干:
fetch(
  "后端给你的下载地址的url",{
              method: "get",
            }
   .then((response) => response.json())
          .then((res) => {
            console.log(res, "res--------------拿到后端返回的url");
            // window.open(res.url)
            fetch(res.url, {
              method: "get",
              responseType: "blob",
            })
              .then((response) => response.blob())
              .then((blob) => {
                const a = document.createElement("a");
                const URL = window.URL || window.webkitURL;
                // 根据blob对象创建URL 对象,生成本地URL
                const herf = URL.createObjectURL(blob);
                a.href = herf;
                // 下载文件名,如果后端没有返回,可以自己写a.download = '文件.pdf'
                a.download = filename;
                document.body.appendChild(a);
                a.click();
                document.body.removeChild(a);
                // 在内存中移除URL 对象
                URL.revokeObjectURL(herf);
              });
          });
按上面的方式,请求后端的下载功能接口后,拿到url再进行一次请求,然后就可以通过返回值拿到文件流,再使用第一种传统方式就可以实现下载了。
后言:
注意:由于后端返回的url地址和我们的前端项目地址存在跨域问题,所以我们需要配置proxy代理,部署上线需要配置nginx反向代理配置,或者后端直接配置cors文章来源:https://www.toymoban.com/news/detail-766863.html
server {
    listen      80;
    server_name  www.xxxxx.cn;

    location ^~ /attchment/ {
		proxy_pass   http://127.0.0.1:3000/;
    }

}后端示例代码,可参考测试:文章来源地址https://www.toymoban.com/news/detail-766863.html
const express = require("express")
const router = express()
const multer = require("multer");
const fs = require("fs")
const cors = require('cors'); //allow CORS
router.use(cors());
//存储静态资源文件位置,方便前端直接通过url拿取
router.use(express.static("./upload"))

router.post("/upload",multer({
    dest:"upload"
}).single("file"),(req,res)=>{
   console.log(req.file)
   //处理上传操作存储起来,存当前文件夹或者mysql数据库
})

router.get("/download",(req,res)=>{
   req.query.url ? res.download(`upload/${req.query.url}`) : res.send({
       success:false
   })
   res.send({
        url:"http://localhost:3000/"+req.query.url
    })
})
router.listen(3000,()=>{
    console.log("服务开启在3000端口")
})
到了这里,关于后端返回URL,前端如何实现下载的文章就介绍完了。如果您还想了解更多内容,请在右上角搜索TOY模板网以前的文章或继续浏览下面的相关文章,希望大家以后多多支持TOY模板网!


