随着vue3的成熟,vue2将在2023.12.31停止维护,所以有必要搞一下vue3项目静态页面怎么部署到gitee中了
如果还有想部署vue2静态页面到gitee中的话,访问https://blog.csdn.net/qq_45952585/article/details/122514028?spm=1001.2014.3001.5502
vue3+vite+ts脚手架创建就不写了,随便搜一搜,一大把,直接上重点
gitee创建开源仓库
- 仓库名字自定义 ,例如我的仓库名字是vue3_viteapp;
- 一定是要开源
修改项目部署到gitee中
1.修改vite.config.ts
import { defineConfig } from 'vite'
import vue from '@vitejs/plugin-vue'

// https://vitejs.dev/config/
export default defineConfig({
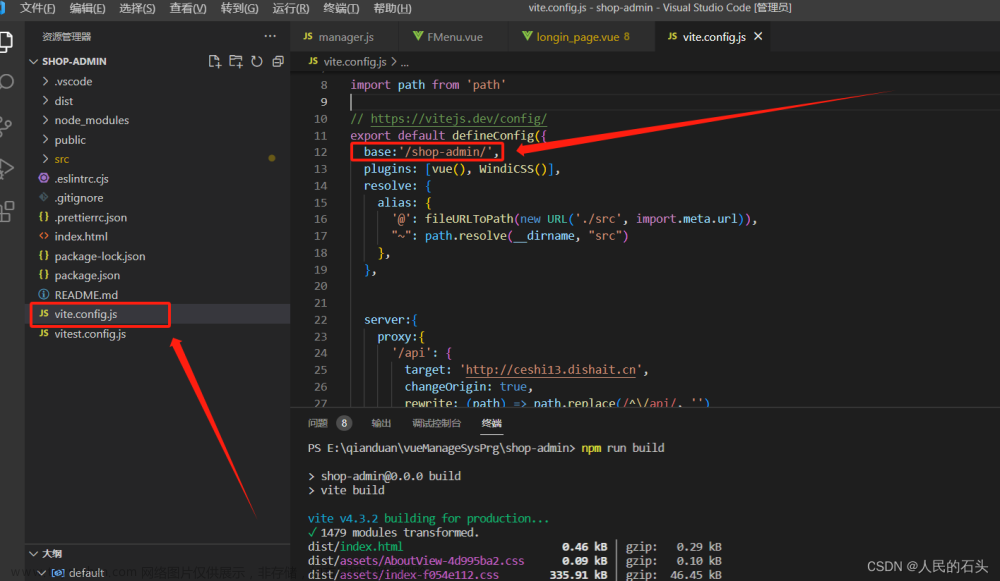
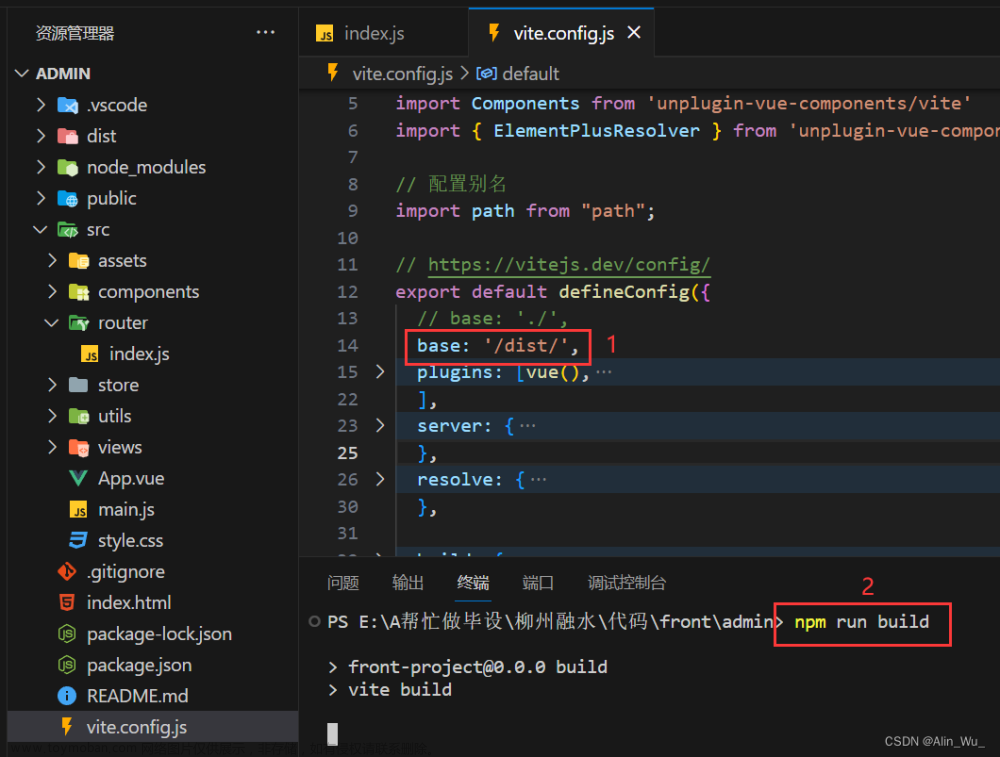
    base: process.env.NODE_ENV === 'production' ? "/vue3_viteapp" : "/",
    plugins: [vue()],
    server: {
        proxy: {
            '/api': {
                target: 'http://192.168.1.10:9999',
                changeOrigin: true,
                rewrite: (path) => path.replace(/^\/api/, '/api')
            },

        }
    }
})
注意base属性,这个是最关键的,process.env.NODE_ENV当为production的时候,是代表生产环境,就一定要加上gitee开源仓库的仓库名,否则本地的话就直接斜杠,也就是默认。不要问为什么,因为我也不知道,部署到gitee中生成静态页面的链接就需要这样写才能访问到
2.找到router文件
// router/index.ts
import { createRouter, createWebHashHistory } from 'vue-router';

// 导入组件
import Home from '../views/Home.vue';
import About from '../views/About.vue';
import index from '../views/index.vue';
import list from '../views/list.vue';
import news from '../views/list/news.vue';
import system from '../views/list/system.vue';

// 定义路由规则
const routes = [
    { path: '/home', component: Home },
    { path: '/about', component: About },
    { path: '/', component: index },
    {
        path: '/list',
        component: list ,
        children: [
            {
                path: 'news',
                component: news,
            },
            {
                path: 'system',
                component: system,
            },
        ]
    },
];

// 创建并导出路由实例
export const router = createRouter({
    history: createWebHashHistory(),
    routes,
});
注意history一定是要createWebHashHistory模式,也就是vue2里面的hash模式,也就是在链接后面加/#/这种
如果你用了createWebHistory也不是不可以,就是有点麻烦,需要在路由上面都加上仓库名字,首页默认是/,那么就要改成/vue3_viteapp,例如
const routes = [
    { path: '/vue3_viteapp', component: index },
    {
        path: '/vue3_viteapp/list',
        component: list ,
        children: [
            {
                path: 'news',
                component: news,
            },
        ]
    },
];
还有用createWebHistory模式的话,部署到gitee中,切换到其他路由,再次刷新会报404,这个时候就得创建一个404.html,把打包后的index.html中的代码全部复制到404.html就可以了
所以如果没有特殊要求的话,就用createWebHashHistory模式,以免有上述这些麻烦
3.修改.gitignore文件,把里面的dist注释掉,也就是dist也要提交到gitee里面中,不清楚为什么的话就先继续往下看
4.执行打包脚本生成dist
5.初始化本地git仓库,git提交流程就不写了,提交到gitee后,如图所示

点击图上所圈出来的,再如图所示
部署分支,就是当前提交的分支,上面第三条有说到,为什么要把dist也提交上来,为的是在这个分支里面有dist目录,那么部署目录,就选择dist就ok,然后点击更新就会生成一个链接,访问这个链接就可以了,你会发现链接后面会默认有一个仓库的名字,只有加上仓库名字,gitee生成的链接才能访问到我们的项目文章来源:https://www.toymoban.com/news/detail-767943.html
6.ok的了,差不多这些操作,就可以实现部署,如果有疑问的或者文章中有错误的,可以留下评论,如果有小伙伴挺急的话,就+q515773148,很快会收到,共同进步,欢迎来搞,感谢支持。文章来源地址https://www.toymoban.com/news/detail-767943.html
到了这里,关于vue3+vite静态页面部署到gitee pages的文章就介绍完了。如果您还想了解更多内容,请在右上角搜索TOY模板网以前的文章或继续浏览下面的相关文章,希望大家以后多多支持TOY模板网!


