RT-Thread STM32L4R9ZI-MKSBOX1V1开发板BSP说明

简介
由 supperthomas 为 STM32L4R9ZI-MKSBOX1V1 开发板提供的 BSP (板级支持包) 说明。
主要内容如下:
- 开发板资源介绍
- BSP 快速上手
- 进阶使用方法
通过阅读快速上手章节开发者可以快速地上手该 BSP,将 RT-Thread 运行在开发板上。在进阶使用指南章节,将会介绍更多高级功能,帮助开发者利用 RT-Thread 驱动更多板载资源。
开发板介绍
开发板外观如下图所示:
该开发板常用 板载资源 如下:
- MCU:STM32L4R9,主频 120MHz,2048KB FLASH ,640KB RAM
- 常用外设
- 状态指示灯:2个,LED1(PB5)LED 2(PF2)
- UART1: RX(PA9) TX(PA10)
- 按键:1个,USER_PB1(PG1)
- 板载 BLE 模组SPBTLE-1S(SPI/UART)
- 温度传感器STTS751(I2C3_SDA PG8 I2C3_SCL PG7 )
- 温湿度HTS221 压力传感器LPS22HH I2C3_SDA(PB7) I2C3_SCL(PB6)
- 加速度LIS2DW12 CS_ACC(PE11)
- 常用接口:SD 卡接口、USB OTG Micro USB 接口
- 调试接口,ST-LINK Micro USB 接口
开发板更多详细信息请参考 ST 的 STM32L4R9ZI-MKSBOX1V1介绍。
外设支持
本 BSP 目前对外设的支持情况如下:
| 板载外设 | 支持情况 | 备注 |
|---|---|---|
| 板载 ST-LINK 转串口 | 支持 | RX(PA9) TX(PA10) 需要外接ST-LINK 有ST-LINK插槽 |
| BLE 模组SPBTLE-1S | 待支持 | |
| 传感器 | 待支持 | |
| 片上外设 | 支持情况 | 备注 |
| GPIO | 支持 | LED1(PB5)LED 2(PF2) USER_PB1(PG1) |
| UART | 支持 | UART1: RX(PA9) TX(PA10) CONSOLE |
| USBD | 支持 | USBD CDC 虚拟串口已验证 |
| SPI1 | 待支持 | SPI1_MOSI(PE15) SPI1_MISO(PE14) SPI1_CLK(PE13) |
| SPI2 | 待支持 | SPI2_MOSI(PC3) SPI2_MISO(PD3) SPI2_SCK(PD1) SPI2_CS(PD0) |
| IIC1 | 待支持 | I2C1_SCL(PB6) I2C_SDA(PB7) |
使用说明
使用说明分为如下两个章节:
-
快速上手
本章节是为刚接触 RT-Thread 的新手准备的使用说明,遵循简单的步骤即可将 RT-Thread 操作系统运行在该开发板上,看到实验效果 。
-
进阶使用
本章节是为需要在 RT-Thread 操作系统上使用更多开发板资源的开发者准备的。通过使用 ENV 工具对 BSP 进行配置,可以开启更多板载资源,实现更多高级功能。
快速上手
本 BSP 为开发者提供 MDK5 和 IAR 工程,并且支持 GCC 开发环境。下面以 MDK5 开发环境为例,介绍如何将系统运行起来。
硬件连接
使用数据线连接开发板到 PC,打开电源开关。
编译下载
双击 project.uvprojx 文件,打开 MDK5 工程,编译并下载程序到开发板。
工程默认配置使用 STLINK 仿真器下载程序,你可以在你的其他NUCLEO板上接一个STLINK到开发板的SWD接口上
下载程序成功之后,系统会自动运行,观察开发板上 LED 的运行效果, LED 会周期性闪烁。
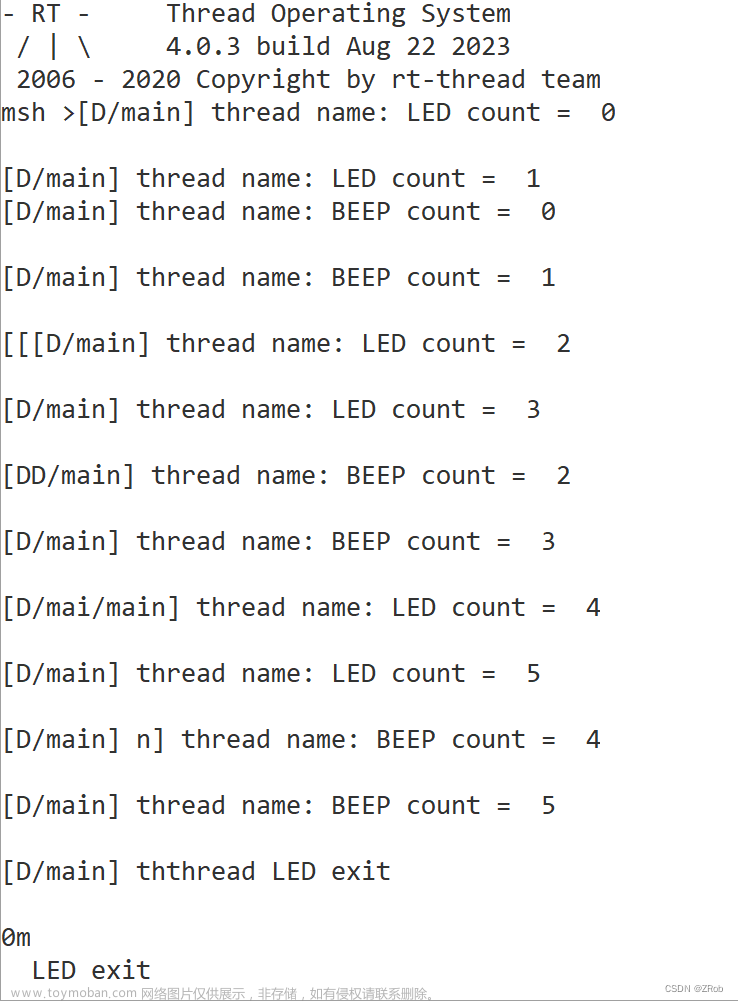
连接开发板对应串口到 PC , 在终端工具里打开相应的串口(由STLINK连接的串口)(115200-8-1-N),复位设备后,可以看到 RT-Thread 的输出信息:
 \ | /
- RT -     Thread Operating System
 / | \     4.0.3 build Mar 22 2020
 2006 - 2020 Copyright by rt-thread team
msh >
进阶使用
此 BSP 默认只开启了 GPIO 和 串口1的功能,如果需使用 SD 卡、Flash 等更多高级功能,需要利用 ENV 工具对BSP 进行配置,步骤如下:
-
在 bsp 下打开 env 工具。
-
输入
menuconfig命令配置工程,配置好之后保存退出。 -
输入
pkgs --update命令更新软件包。 -
输入
scons --target=mdk5/iar命令重新生成工程。
本章节更多详细的介绍请参考 STM32 系列 BSP 外设驱动使用教程。
注意事项
- 调试串口为串口1 映射到PA9 PA10,由ST-LINK连接
- 板子上的外接接口有限,建议使用官方提供的转接板ST-LINK进行调试,也可以用DFU的方式进行烧入
示例代码
…\src\ipc.c
rt_err_t rt_sem_detach(rt_sem_t sem)
{
    rt_base_t level;

    /* parameter check */
    RT_ASSERT(sem != RT_NULL);
    RT_ASSERT(rt_object_get_type(&sem->parent.parent) == RT_Object_Class_Semaphore);
    RT_ASSERT(rt_object_is_systemobject(&sem->parent.parent));

    level = rt_spin_lock_irqsave(&(sem->spinlock));
    /* wakeup all suspended threads */
    _ipc_list_resume_all(&(sem->parent.suspend_thread));

    /* detach semaphore object */
    rt_object_detach(&(sem->parent.parent));
    rt_spin_unlock_irqrestore(&(sem->spinlock), level);

    return RT_EOK;
}
RTM_EXPORT(rt_sem_detach);

#ifdef RT_USING_HEAP
/**
 * @brief    Creating a semaphore object.
 *
 * @note     For the semaphore object, its memory space is allocated automatically.
 *           By contrast, the rt_sem_init() function will initialize a static semaphore object.
 *
 * @see      rt_sem_init()
 *
 * @param    name is a pointer to the name you would like to give the semaphore.
 *
 * @param    value is the initial value for the semaphore.
 *           If used to share resources, you should initialize the value as the number of available resources.
 *           If used to signal the occurrence of an event, you should initialize the value as 0.
 *
 * @param    flag is the semaphore flag, which determines the queuing way of how multiple threads wait
 *           when the semaphore is not available.
 *           The semaphore flag can be ONE of the following values:
 *
 *               RT_IPC_FLAG_PRIO          The pending threads will queue in order of priority.
 *
 *               RT_IPC_FLAG_FIFO          The pending threads will queue in the first-in-first-out method
 *                                         (also known as first-come-first-served (FCFS) scheduling strategy).
 *
 *               NOTE: RT_IPC_FLAG_FIFO is a non-real-time scheduling mode. It is strongly recommended to
 *               use RT_IPC_FLAG_PRIO to ensure the thread is real-time UNLESS your applications concern about
 *               the first-in-first-out principle, and you clearly understand that all threads involved in
 *               this semaphore will become non-real-time threads.
 *
 * @return   Return a pointer to the semaphore object. When the return value is RT_NULL, it means the creation failed.
 *
 * @warning  This function can NOT be called in interrupt context. You can use macor RT_DEBUG_NOT_IN_INTERRUPT to check it.
 */
rt_sem_t rt_sem_create(const char *name, rt_uint32_t value, rt_uint8_t flag)
{
    rt_sem_t sem;

    RT_ASSERT(value < 0x10000U);
    RT_ASSERT((flag == RT_IPC_FLAG_FIFO) || (flag == RT_IPC_FLAG_PRIO));

    RT_DEBUG_NOT_IN_INTERRUPT;

    /* allocate object */
    sem = (rt_sem_t)rt_object_allocate(RT_Object_Class_Semaphore, name);
    if (sem == RT_NULL)
        return sem;

    /* initialize ipc object */
    _ipc_object_init(&(sem->parent));

    /* set initial value */
    sem->value = value;

    /* set parent */
    sem->parent.parent.flag = flag;
    rt_spin_lock_init(&(sem->spinlock));

    return sem;
}
RTM_EXPORT(rt_sem_create);


/**
 * @brief    This function will delete a semaphore object and release the memory space.
 *
 * @note     This function is used to delete a semaphore object which is created by the rt_sem_create() function.
 *           By contrast, the rt_sem_detach() function will detach a static semaphore object.
 *           When the semaphore is successfully deleted, it will resume all suspended threads in the semaphore list.
 *
 * @see      rt_sem_detach()
 *
 * @param    sem is a pointer to a semaphore object to be deleted.
 *
 * @return   Return the operation status. When the return value is RT_EOK, the operation is successful.
 *           If the return value is any other values, it means that the semaphore detach failed.
 *
 * @warning  This function can ONLY delete a semaphore initialized by the rt_sem_create() function.
 *           If the semaphore is initialized by the rt_sem_init() function, you MUST NOT USE this function to delete it,
 *           ONLY USE the rt_sem_detach() function to complete the detachment.
 */
rt_err_t rt_sem_delete(rt_sem_t sem)
{
    /* parameter check */
    RT_ASSERT(sem != RT_NULL);
    RT_ASSERT(rt_object_get_type(&sem->parent.parent) == RT_Object_Class_Semaphore);
    RT_ASSERT(rt_object_is_systemobject(&sem->parent.parent) == RT_FALSE);

    RT_DEBUG_NOT_IN_INTERRUPT;

    /* wakeup all suspended threads */
    _ipc_list_resume_all(&(sem->parent.suspend_thread));

    /* delete semaphore object */
    rt_object_delete(&(sem->parent.parent));

    return RT_EOK;
}
RTM_EXPORT(rt_sem_delete);
#endif /* RT_USING_HEAP */
源码下载
…\bsp\stm32\stm32l4r9-st-sensortile-box\project.uvproj 文章来源:https://www.toymoban.com/news/detail-769821.html
RT-Thread STM32L4R9ZI-MKSBOX1V1开发板BSP说明 源码下载文章来源地址https://www.toymoban.com/news/detail-769821.html
维护人:
- 华为奋斗者精神, 邮箱:1992152446@qq.com
到了这里,关于RT-Thread STM32L4R9ZI-MKSBOX1V1开发板BSP说明的文章就介绍完了。如果您还想了解更多内容,请在右上角搜索TOY模板网以前的文章或继续浏览下面的相关文章,希望大家以后多多支持TOY模板网!

