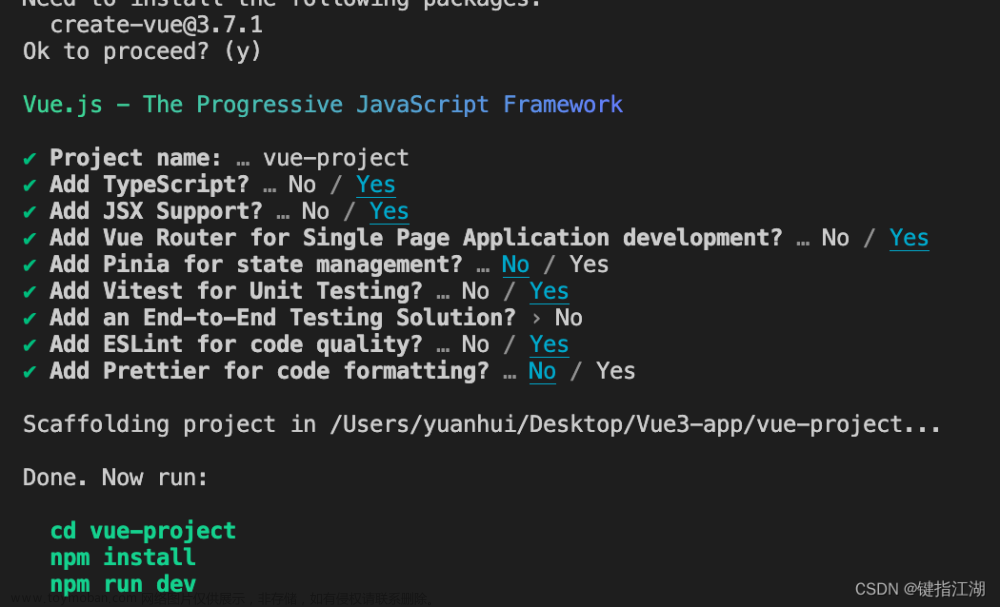
运行一个pro-vue3的前端项目,以及后端服务
在基础设施-代码生成模块中选择某张数据库表导入,并编辑生成信息,前端类型:Vue2+Element UI标准模板
在vue3项目中创建一个vue文件
<template>
</template>

<script>
// import {create} from '@/api/test'

export default{
  created(){
    create().then(res => {
      console.log(res);
    })
  }
}
</script>
1.4 src\api\test.js
import request from '@/utils/request'

// 创建药品
export function create(data) {
  return request({
    url: '/drug//create',
    method: 'post',
    data: data
  })
}
Vue2+Element UI标准模板生成的前端封装好的request请求接口对象
1.5 报错
09:47:36 [vite] hmr update /src/views/tb/drug/index.vue
Failed to load url /src/utils/request (resolved id: C:/Users/lxz/Desktop/project/drug-system/ruoyi-vue-pro-drug/yudao-ui-admin-vue3/src/utils/request) in C:/Users/lxz/Desktop/project/drug-system/ruoyi-vue-pro-drug/yudao-ui-admin-vue3/src/api/test.js. Does the file exist?
问题:在 更新的/src/views/tb/drug/index.vue 文件中,没有找到 /src/utils/request 这个文件
解决办法: 从vue2项目中将/src/utils/request.js 这个文件复制到vue3项目的对应文件夹下
1.6 报错
09:44:01 [vite] Internal server error: Failed to resolve import "element-ui" from "src\utils\request.js". Does the file exist?
  Plugin: vite:import-analysis
  File: C:/Users/lxz/Desktop/project/drug-system/ruoyi-vue-pro-drug/yudao-ui-admin-vue3/src/utils/request.js:2:51
  1  |  import axios from 'axios'
  2  |  import {Message, MessageBox, Notification} from 'element-ui'
     |                                                    ^
  3  |  import store from '@/store'
  4  |  import {getAccessToken, getRefreshToken, getTenantId, setToken} from '@/utils/auth'
-
import axios from ‘axios’
这个是vue2项目中直接引入使用的外部axios依赖
 "dependencies": {
    "@babel/parser": "7.18.4",
    "@riophae/vue-treeselect": "0.4.0",
    "axios": "0.27.2",
     ...
在vue3项目中没有直接使用这个依赖,而是对axios进行了扩展
  "dependencies": {
    "@element-plus/icons-vue": "^2.1.0",
    "@form-create/designer": "^3.1.3",
    "@form-create/element-ui": "^3.1.24",
    "@iconify/iconify": "^3.1.1",
    "@videojs-player/vue": "^1.0.0",
    "@vueuse/core": "^10.6.1",
    "@wangeditor/editor": "^5.1.23",
    "@wangeditor/editor-for-vue": "^5.1.10",
    "@zxcvbn-ts/core": "^3.0.4",
    "animate.css": "^4.1.1",
    "axios": "^1.6.1",
vue3项目中的axios封装链:
-
从vue3项目的src/system/area/index.ts文件中封装的request对象进行向底层追溯
import request from '@/config/axios' // 获得地区树 export const getAreaTree = async () => { return await request.get({ url: '/system/area/tree' }) } // 获得 IP 对应的地区名 export const getAreaByIp = async (ip: string) => { return await request.get({ url: '/system/area/get-by-ip?ip=' + ip }) } -
进入 src/config/axios/index.ts文件中
import { service } from './service'

import { config } from './config'

const { default_headers } = config

const request = (option: any) => {
  const { url, method, params, data, headersType, responseType, ...config } = option
  return service({
    url: url,
    method,
    params,
    data,
    ...config,
    responseType: responseType,
    headers: {
      'Content-Type': headersType || default_headers
    }
  })
}

export default {
  get: async <T = any>(option: any) => {
    const res = await request({ method: 'GET', ...option })
    return res.data as unknown as T
  },
  post: async <T = any>(option: any) => {
    const res = await request({ method: 'POST', ...option })
    return res.data as unknown as T
  },
  postOriginal: async (option: any) => {
    const res = await request({ method: 'POST', ...option })
    return res
  },
  delete: async <T = any>(option: any) => {
    const res = await request({ method: 'DELETE', ...option })
    return res.data as unknown as T
  },
  put: async <T = any>(option: any) => {
    const res = await request({ method: 'PUT', ...option })
    return res.data as unknown as T
  },
  download: async <T = any>(option: any) => {
    const res = await request({ method: 'GET', responseType: 'blob', ...option })
    return res as unknown as Promise<T>
  },
  upload: async <T = any>(option: any) => {
    option.headersType = 'multipart/form-data'
    const res = await request({ method: 'POST', ...option })
    return res as unknown as Promise<T>
  }
}
封装http请求对象,并导出get、post、postOriginal、delete、put、download、upload等公共方法
-
进入 ./config文件中
const config: {
  base_url: string
  result_code: number | string
  default_headers: AxiosHeaders
  request_timeout: number
} = {
  /**
   * api请求基础路径
   */
  base_url: import.meta.env.VITE_BASE_URL + import.meta.env.VITE_API_URL,
  /**
   * 接口成功返回状态码
   */
  result_code: 200,

  /**
   * 接口请求超时时间
   */
  request_timeout: 30000,

  /**
   * 默认接口请求类型
   * 可选值:application/x-www-form-urlencoded multipart/form-data
   */
  default_headers: 'application/json'
}

export { config }
封装了http请求的请求基础路径、返回结果状态码、请求头、请求超时时间等配置信息
-
进入./service文件中
import axios, {
  AxiosError,
  AxiosInstance,
  AxiosRequestHeaders,
  AxiosResponse,
  InternalAxiosRequestConfig
} from 'axios'
-
在这里可以看到vue2项目中使用的axios对象,此时,vue3项目中使用的axios版本和vue2项目中使用的版本不一致可能会存在隐患
- import {Message, MessageBox, Notification} from ‘element-ui’
此处引用了element-ui的依赖,在vue3项目中已经弃用了element-ui而是采用Element Plus
vue3项目中的依赖
"element-plus": "2.4.2",
vue2项目中依赖
"element-ui": "2.15.12",
需要对vue2项目中的request.js中使用的element-ui进行改造成element-plus中的组件!
-
import store from ‘@/store’
在vue2项目中使用的vuex来做状态管理的,在vue3项目中是没有引入vuex依赖的
在vue3项目中使用了vue-demi来解决这个问题吗,那么我们在保证vue-demi可用的前提下可以不用考虑这个问题!
-
import {getAccessToken, getRefreshToken, getTenantId, setToken} from ‘@/utils/auth’
这个在vue3项目中已经兼容了并且做了局部功能升级,在vue2版本的项目中没有对AccessTokenKey,RefreshTokenKey加入到浏览器本地存储中,在vue3项目中引入了web-storage-cache来做本地存储
"web-storage-cache": "^1.1.1",
可以在使用生成Vue2+Element UI标准模板的api.js文件中使用vue3项目封装的ts文件中对象
// import request from '@/utils/request'
// 这个是vue3项目中使用.ts文件封装的http请求对象
import request from '@/config/axios'

// 创建药品
export function create(data) {
  return request({
    url: '/drug//create',
    method: 'post',
    data: data
  })
}

// 获得地区树 这个是ts文件封装的http请求对象的使用方法
export const getAreaTree = async () => {
  return await request.get({ url: '/system/area/tree' })
}
这个文件是src\api\test.js文章来源:https://www.toymoban.com/news/detail-771678.html
<template>
111
</template>

<script>
import {getAreaTree} from '@/api/test'

export default{
  created(){
    getAreaTree().then(res => {
      console.log(res);
    })
  }
}
</script>
这是测试的vue文件打印到请求的数据 文章来源地址https://www.toymoban.com/news/detail-771678.html
根据vue2模板生成的vue页面代码无法直接在vue3项目中使用,需要逐个修改生成的.vue文件中的代码
  Plugin: vite-plugin-eslint
  File: C:/Users/lxz/Desktop/project/drug-system/ruoyi-vue-pro-drug/yudao-ui-admin-vue3/src/views/tb/drug/index.vue
12:13:26 [vite] Internal server error:
C:\Users\lxz\Desktop\project\drug-system\ruoyi-vue-pro-drug\yudao-ui-admin-vue3\src\views\tb\drug\index.vue
    7:89   error    '.native' modifier on 'v-on' directive is deprecated                                  vue/no-deprecated-v-on-native-modifier
   10:99   error    '.native' modifier on 'v-on' directive is deprecated                                  vue/no-deprecated-v-on-native-modifier
   13:95   error    '.native' modifier on 'v-on' directive is deprecated                                  vue/no-deprecated-v-on-native-modifier
   16:92   error    '.native' modifier on 'v-on' directive is deprecated                                  vue/no-deprecated-v-on-native-modifier
   19:100  error    '.native' modifier on 'v-on' directive is deprecated                                  vue/no-deprecated-v-on-native-modifier
   22:96   error    '.native' modifier on 'v-on' directive is deprecated                                  vue/no-deprecated-v-on-native-modifier
   25:25   warning  Expected a linebreak before this attribute                                            vue/first-attribute-linebreak
到了这里,关于rouyi-vue-pro+vue3+vite4+Element Plus项目中使用生成Vue2+Element UI标准模板的文章就介绍完了。如果您还想了解更多内容,请在右上角搜索TOY模板网以前的文章或继续浏览下面的相关文章,希望大家以后多多支持TOY模板网!


