使用VitePress搭建个人博客
VitePress官网Getting Started | VitePress
VitePress 是一个静态站点生成器 (SSG),旨在构建快速、以内容为中心的网站。
环境配置
-
Node.js (nodejs.org)Node版本18或更高版本
**使用
node -v**查看node版本
初始化项目
-
创建文件夹并进入到项目的目录
mkdir vitepress && cd vitepress -
初始化项目
npm vitepress init这里会带有设置向导
┌ Welcome to VitePress! │ ◇ Where should VitePress initialize the config? │ ./docs │ ◇ Site title: │ My Awesome Project │ ◇ Site description: │ A VitePress Site │ ◆ Theme: │ ● Default Theme (Out of the box, good-looking docs) │ ○ Default Theme + Customization │ ○ Custom Theme └ -
安装项目所需的
vitepress依赖npm add -D vitepress -
在
package.json中存在着对应的运行指令{ "scripts": { "docs:dev": "vitepress dev docs", "docs:build": "vitepress build docs", "docs:preview": "vitepress preview docs" }, "devDependencies": { "vitepress": "^1.0.0-rc.31" } } -
在终端执行
npm run docs:dev,打开对应浏览器端口看到如下界面说明运行成功
使用GitHub Action发布
-
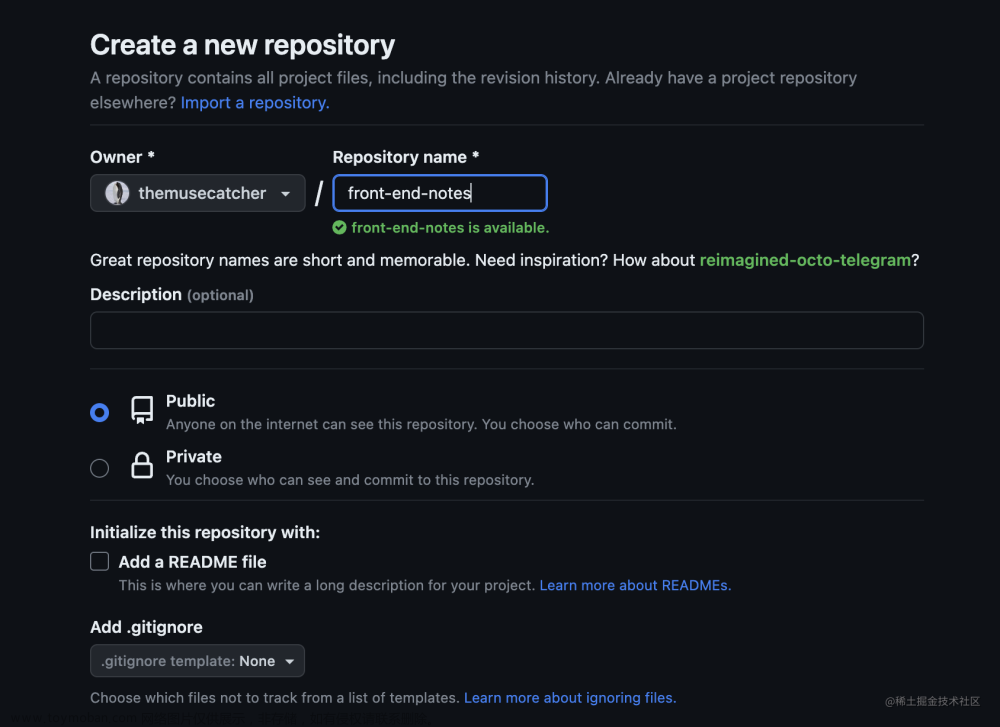
创建github仓库
可以根据个人喜好选择创建
master分支或者是默认的main分支 -
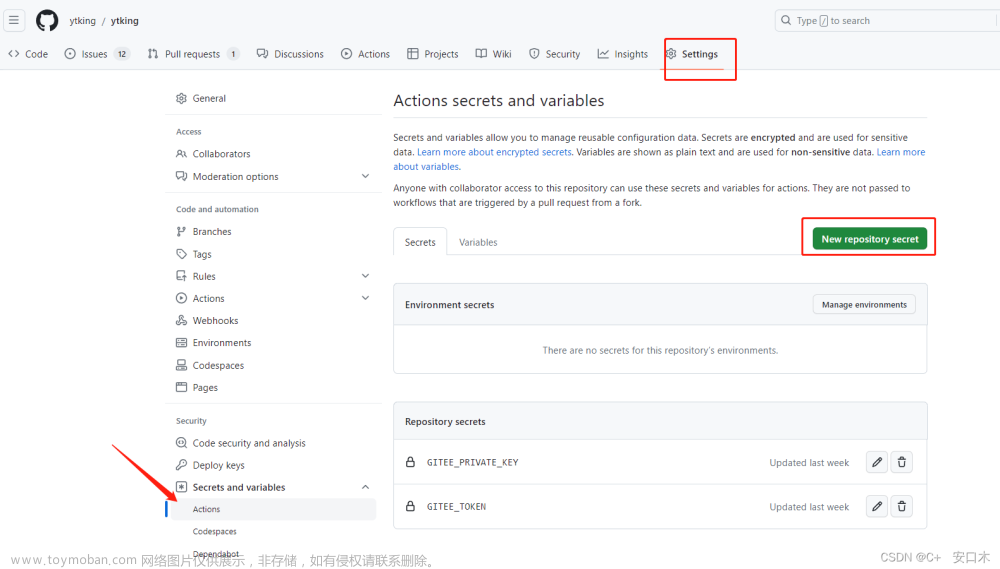
选择GitHub Actions

-
在项目根目录下创建一个名为
.github/workflows/deploy.yml的文件# 创建文件夹 mkdir .github/workflows/ # 创建deploy.yml文件 echo "" > .github/workflows/deploy.yml -
编写
deploy.yml文件# Sample workflow for building and deploying a VitePress site to GitHub Pages # name: Deploy VitePress site to Pages on: # Runs on pushes targeting the `main` branch. Change this to `master` if you're # using the `master` branch as the default branch. push: branches: [main] # Allows you to run this workflow manually from the Actions tab workflow_dispatch: # Sets permissions of the GITHUB_TOKEN to allow deployment to GitHub Pages permissions: contents: read pages: write id-token: write # Allow only one concurrent deployment, skipping runs queued between the run in-progress and latest queued. # However, do NOT cancel in-progress runs as we want to allow these production deployments to complete. concurrency: group: pages cancel-in-progress: false jobs: # Build job build: runs-on: ubuntu-latest steps: - name: Checkout uses: actions/checkout@v3 with: fetch-depth: 0 # Not needed if lastUpdated is not enabled # - uses: pnpm/action-setup@v2 # Uncomment this if you're using pnpm # - uses: oven-sh/setup-bun@v1 # Uncomment this if you're using Bun - name: Setup Node uses: actions/setup-node@v3 with: node-version: 18 cache: npm # or pnpm / yarn - name: Setup Pages uses: actions/configure-pages@v3 - name: Install dependencies run: npm ci # or pnpm install / yarn install / bun install - name: Build with VitePress run: | npm run docs:build # or pnpm docs:build / yarn docs:build / bun run docs:build touch docs/.vitepress/dist/.nojekyll - name: Upload artifact uses: actions/upload-pages-artifact@v2 with: path: docs/.vitepress/dist # Deployment job deploy: environment: name: github-pages url: ${{ steps.deployment.outputs.page_url }} needs: build runs-on: ubuntu-latest name: Deploy steps: - name: Deploy to GitHub Pages id: deployment uses: actions/deploy-pages@v2 -
修改
config配置文件export default defineConfig({ base: '/vitepress/', // vitepress是我的仓库名,根据自己的进行修改 ... }) -
推送我们的项目
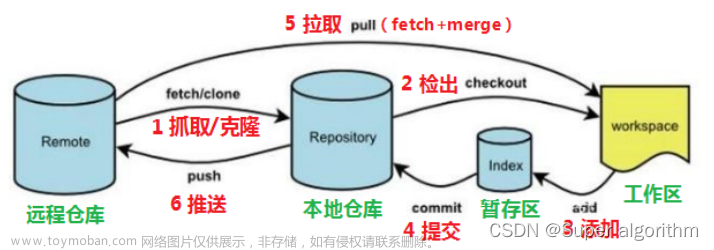
# 添加文件到缓冲区 git add . # 提交文件 这里推荐使用vscode插件中的 git-commit-plugin 规范的提交 git commit -m "初始化项目" # 推送项目到远端仓库 (master为本地分支、main为远端分支,根据自己的分支进行修改) git push origin master:main -
推送成功后访问我们的仓库地址
https://<username>.github.io/[repository]/,如果能够访问成功,并且显示正确,说明使用GitHub Actions部署成功。文章来源:https://www.toymoban.com/news/detail-771770.html
 文章来源地址https://www.toymoban.com/news/detail-771770.html
到了这里,关于10分钟 使用VitePress和GitHub Actions快速搭建发布个人博客的文章就介绍完了。如果您还想了解更多内容,请在右上角搜索TOY模板网以前的文章或继续浏览下面的相关文章,希望大家以后多多支持TOY模板网!


