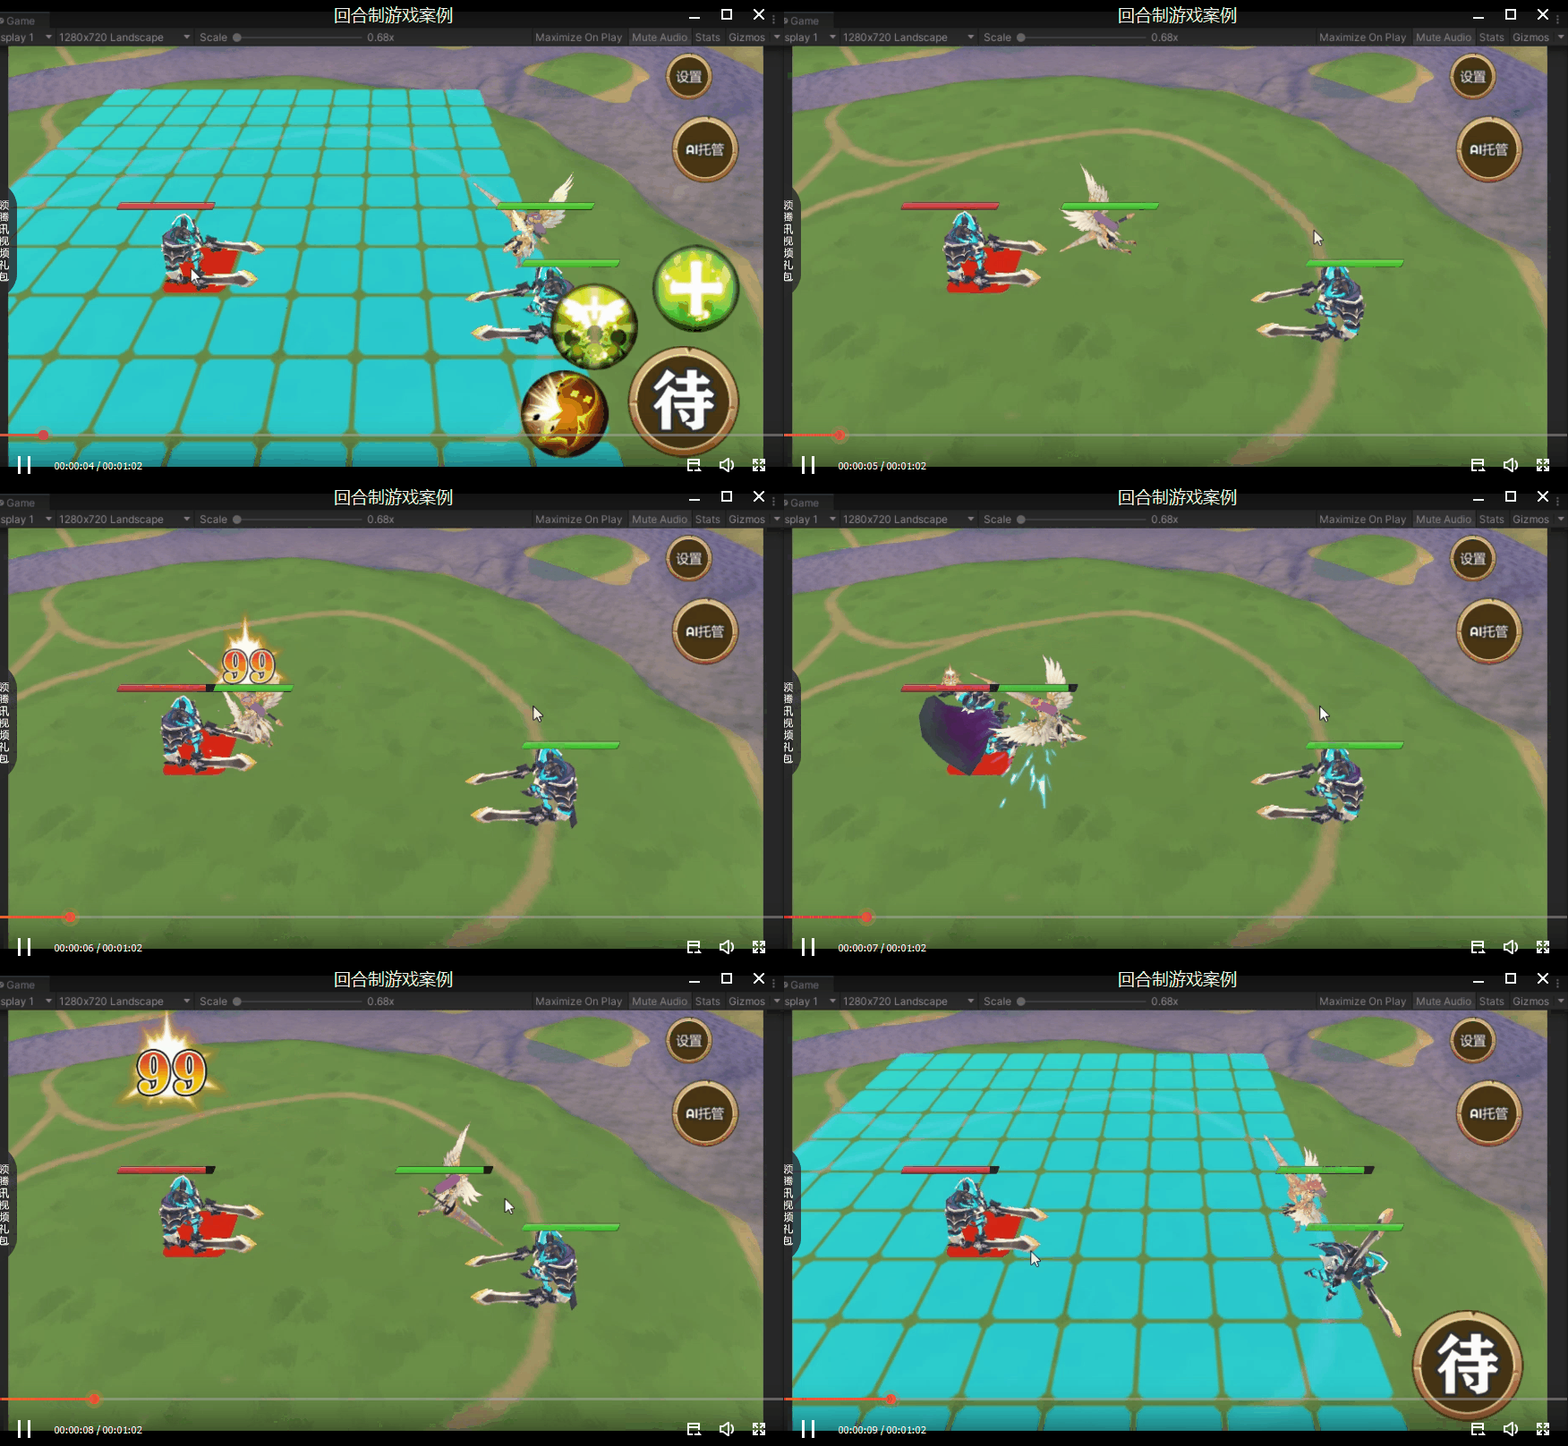
本教程将介绍如何使用 Unity 和 Azure Kinect SDK 开发体感游戏。我们将重点介绍环境安装和手势的实现。
1. 准备工作
确保你已经拥有以下硬件和软件:
- Azure Kinect DK 设备
- Windows 10
- Unity 2020或更高版本
- Visual Studio 2019或更高版本
2. 安装 Azure Kinect SDK
- 访问 Azure Kinect DK 官方页面 并下载 Azure Kinect SDK。
- 双击下载的
.msi文件并按照提示完成安装。
3. 在 Unity 中安装 Azure Kinect 插件
- 打开 Unity,创建一个新项目或打开一个现有项目。
- 访问 Unity Asset Store,搜索 "Azure Kinect for Unity"。下载并导入合适的插件到你的项目中。
4. 设置 Kinect
- 连接 Azure Kinect DK 到你的计算机。
- 打开 Unity,你应该能够在 Unity 的 Inspector 面板中看到 Azure Kinect 的设置选项。
5. 手势的实现
a. 定义手势
在 Unity 中,为 Kinect 创建一个新的 GameObject,并将其命名为 KinectGestureHandler。为该对象添加一个新的 C# 脚本,并命名为 GestureHandler。
在 GestureHandler 脚本中,我们可以定义和检测手势。
using UnityEngine;
using Microsoft.Azure.Kinect.BodyTracking;

public class GestureHandler : MonoBehaviour
{
    // 参考 Azure Kinect Body Tracking SDK
    private Skeleton skeleton;

    void Update()
    {
        if (skeleton != null)
        {
            // 这只是一个简单示例,用于检测两手在头顶的手势
            Vector3 rightHandPosition = new Vector3(skeleton.GetJoint(JointId.HandRight).Position.X, skeleton.GetJoint(JointId.HandRight).Position.Y, skeleton.GetJoint(JointId.HandRight).Position.Z);
            Vector3 leftHandPosition = new Vector3(skeleton.GetJoint(JointId.HandLeft).Position.X, skeleton.GetJoint(JointId.HandLeft).Position.Y, skeleton.GetJoint(JointId.HandLeft).Position.Z);
            Vector3 headPosition = new Vector3(skeleton.GetJoint(JointId.Head).Position.X, skeleton.GetJoint(JointId.Head).Position.Y, skeleton.GetJoint(JointId.Head).Position.Z);

            if (rightHandPosition.y > headPosition.y && leftHandPosition.y > headPosition.y)
            {
                Debug.Log("Hands above head gesture detected!");
            }
        }
    }
}
b. 从 Azure Kinect 插件获取数据
根据你导入的 Unity Asset Store 的插件,确保你正确地将数据流从 Azure Kinect 传递到 GestureHandler 脚本中,以便实时更新 skeleton 对象。
6. 总结
现在,你已经配置了 Unity 和 Azure Kinect 的开发环境,并实现了一个简单的手势检测。你可以扩展这个教程,增加更复杂的手势,或将手势与游戏中的交互相结合。文章来源:https://www.toymoban.com/news/detail-772511.html
记住,体感技术的关键是实时和准确,因此,测试和优化是非常重要的部分。祝你开发顺利!文章来源地址https://www.toymoban.com/news/detail-772511.html
到了这里,关于Unity 结合 Azure Kinect 开发体感游戏教程的文章就介绍完了。如果您还想了解更多内容,请在右上角搜索TOY模板网以前的文章或继续浏览下面的相关文章,希望大家以后多多支持TOY模板网!


