最终目的:在微信小程序内实现对局域网发起TCP通信
实现步骤:建立TCP服务 + 小程序发起通信
建立TCP服务
第一步:引入net模块(http模块是基于net模块之上的)
const net = require('net');
第二步:新建TCP服务,同时进行各种生命周期事件的监听
const server = net.createServer((socket) => {
  console.log('接收到了tcp请求');

  // 发送数据到客户端
  socket.write('服务器tcp连接成功,接下来每三秒会推送消息给你', 'utf8');

  // 每隔三秒发送一次数据进行测试
  let timer = null
  let i = 1
  timer = setInterval(() => {
    socket.write(`tcp推送的第${i++}条消息`);
  }, 3000)


  // 关闭链接时清除定时器
  server.on('close', () => {
    timer && clearInterval(timer)
    i = 0
    console.log('关闭tcp链接');
  });

 // 监听客户端服务发送
  server.on('data', (data) => {
    console.log('接收到了数据,数据为 ' + data);
  });

  server.on('error', (err) => {
    console.error('失败: ' + err);
  });

});
第三步:开启TCP服务文章来源:https://www.toymoban.com/news/detail-773341.html
server.listen(1400, '192.168.7.102', () => {
  console.log('开始监听');
  // 在这里可以发送和接收数据
});
小程序发起通信
<template>
  <view>
    <button @click="getWifiInfo">获取正在连接的wifi信息</button>
    局域网ip
    <input type="text" v-model="ip" />
    局域网端口
    <input type="text" v-model="port" />

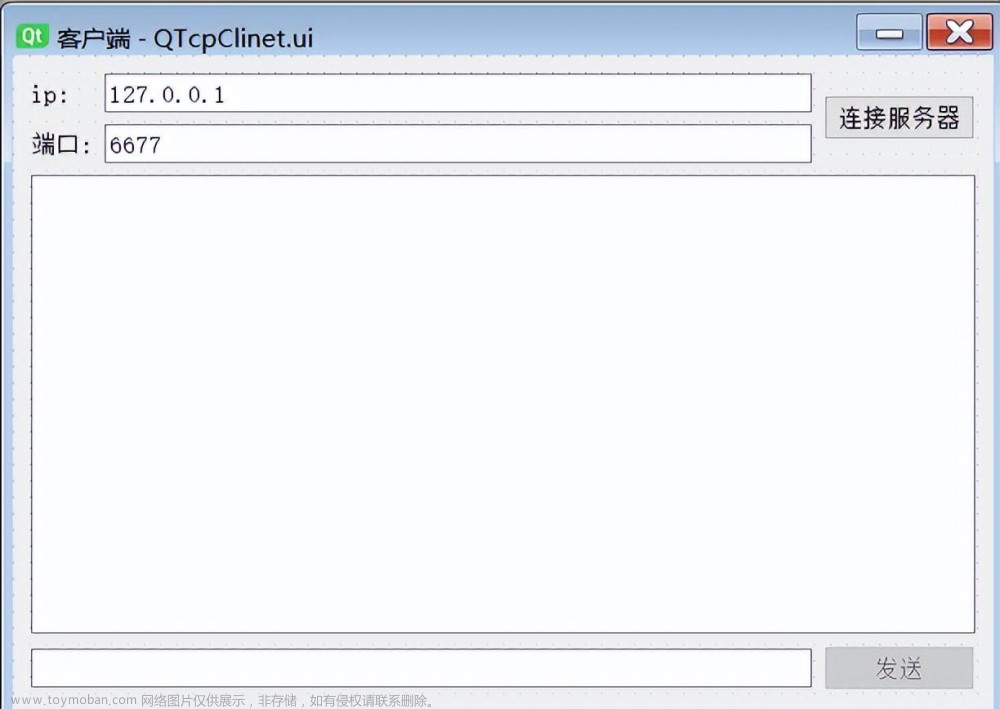
    <button @click="connect">建立tcp链接</button>

    <!-- 打印信息 -->
    <view v-for="(item, index) in infoList" :key="index">
      {{ item }}
    </view>
  </view>
</template>

<script>
  // ArrayBuffer转string
  const transitionArrayBufferToString = arrayBuffer => {
    // 将 ArrayBuffer 转换为 Uint8Array
    const uint8Array = new Uint8Array(arrayBuffer)

    // 创建一个存放字符的数组
    const characters = []

    // 遍历 Uint8Array 并将每个字节转换为字符
    for (let i = 0; i < uint8Array.length; i++) {
      characters.push(String.fromCharCode(uint8Array[i]))
    }

    // 使用数组的 join 方法将字符连接成字符串,并指定字符编码为 UTF-8
    const text = decodeURIComponent(escape(characters.join('')))

    return text
  }

  export default {
    data() {
      return {
        data: '拉',
        tcp: '',
        infoList: [],
        ip: '192.168.7.102',
        port: '1400',
        message: '',
      }
    },
    onLoad() {
      this.wifiInit()
    },
    methods: {
      // 初始化wifi模块
      wifiInit() {
        wx.startWifi({
          fail(error) {
            console.log('初始化wifi-失败', error)
          },
          success(res) {
            console.log('初始化wifi-成功', res)
          },
        })
      },
      // 获取wifi信息
      getWifiInfo() {
        wx.getConnectedWifi({
          partialInfo: true,
          fail(error) {
            console.log('获取失败', error)
          },
          success(res) {
            console.log('wifi信息', res)
          },
        })
      },
      // tcp链接
      connect() {
        // 初始化TCP实例
        this.tcp = wx.createTCPSocket()
        // tcp实例向服务端发起连接
        this.tcp.connect({ address: this.ip, port: ~~this.port })
        this.infoList.push(`向${this.ip}:${~~this.port}建立链接`)

        this.tcp.onClose(() => {
          this.infoList.push('关闭')
          this.tcp.close()
        })
        this.tcp.offClose(() => {
          this.infoList.push('offClose')
        })
        this.tcp.onConnect(() => {
          this.infoList.push('连接成功')
        })
        this.tcp.offConnect(() => {
          this.infoList.push('offConnect')
        })
        this.tcp.onError(error => {
          this.infoList.push('异常:' + error)
        })
        this.tcp.onMessage(data => {
          // data是一个对象,服务端发送的数据在message属性里,且message微信这边得到的是一个ArrayBuffer格式的数据,所以需要转换一下
          this.infoList.push('接收到数据: ' + transitionArrayBufferToString(data.message))
        })
      },
    },
  }
</script>
注意:文章来源地址https://www.toymoban.com/news/detail-773341.html
- 微信小程序的TCP只能访问局域网以及通过备案且在小程序后台配置好的公网
- 小程序示例代码中的wifi部分是为了查看用户连接的wifi是否有问题,可按需删除
到了这里,关于微信小程序使用TCP通信的文章就介绍完了。如果您还想了解更多内容,请在右上角搜索TOY模板网以前的文章或继续浏览下面的相关文章,希望大家以后多多支持TOY模板网!


