Red Hat YUM 源是需要注册付费的,如果要使用 Red Hat 系统安装软件,需要将Red Hat 源替换为CentOS对应的源,在替换 YUM 源的过程以及所遇到的问题;如不一定要使用 Red Hat 系统,建议直接下载使用 CentOS

当前Red Hat 版本 测试环境三台,分别为 Red Hat 7 /8 9.2 /
[root@localhost ~]# vi /etc/hosts  修改计算机名称
[root@localhost ~]# nmcli general hostname xx 修改计算机名称
[root@localhost ~]# cat /etc/redhat-release  查看系统版本信息
Red Hat Enterprise Linux Server release 7.9 (Maipo)
Red Hat Enterprise Linux release 8.8 (Ootpa)
Red Hat Enterprise Linux release 9.2 (Plow)
一、Red Hat Enterprise Linux 7 更换方式:
This system is not registered with an entitlement server. You can use subscription-manager to register.

1.1 先删除系统自带的 yum 软件包
[root@redHatEnterpriseLinux7 ~]# rpm -qa |grep yum
[root@redHatEnterpriseLinux7 ~]# rpm -qa|grep yum|xargs rpm -e --nodeps
[root@redHatEnterpriseLinux7 ~]# rpm -qa|grep python-urlgrabber|xargs rpm -e --nodeps
1.2 . 下载 centos7 6个相关的软件包
http://mirrors.163.com/centos/7/os/x86_64/Packages/yum-3.4.3-168.el7.centos.noarch.rpm
http://mirrors.163.com/centos/7/os/x86_64/Packages/yum-metadata-parser-1.1.4-10.el7.x86_64.rpm
http://mirrors.163.com/centos/7/os/x86_64/Packages/yum-plugin-fastestmirror-1.1.31-54.el7_8.noarch.rpm
http://mirrors.163.com/centos/7/os/x86_64/Packages/python-iniparse-0.4-9.el7.noarch.rpm
http://mirrors.163.com/centos/7/os/x86_64/Packages/python-urlgrabber-3.10-10.el7.noarch.rpm
http://mirrors.163.com/centos/7/os/x86_64/Packages/wget-1.14-18.el7_6.1.x86_64.rpm
1.3 将 rmp 6个包上传到 opt 的目录 需要注意安装顺序:
----安装顺序:
rpm -ivh python-iniparse-0.4-9.el7.noarch.rpm
rpm -ivh python-urlgrabber-3.10-10.el7.noarch.rpm
rpm -ivh yum-metadata-parser-1.1.4-10.el7.x86_64.rpm
----这两个要一起安装
rpm -ivh yum-plugin-fastestmirror-1.1.31-54.el7_8.noarch.rpm yum-3.4.3-168.el7.centos.noarch.rpm
----最后安装 wget
[root@redHatEnterpriseLinux7 opt]# rpm -ivh wget-1.14-18.el7_6.1.x86_64.rpm 
1.4 通过 wget 下载配置文件 Centos
[root@redHatEnterpriseLinux7 opt]# wget -O /etc/yum.repos.d/CentOS-Base.repo https://mirrors.aliyun.com/repo/Centos-7.repo
1.5 修改 刚刚 wget 下载来的 CentOS-Base.repo 配置 文件 位于 /etc/yum.repos.d 目录
# CentOS-Base.repo
#
# The mirror system uses the connecting IP address of the client and the
# update status of each mirror to pick mirrors that are updated to and
# geographically close to the client.  You should use this for CentOS updates
# unless you are manually picking other mirrors.
#
# If the mirrorlist= does not work for you, as a fall back you can try the
# remarked out baseurl= line instead.
#
#

[base]
name=CentOS-7 - Base - mirrors.aliyun.com
failovermethod=priority
baseurl=http://mirrors.aliyun.com/centos/7/os/$basearch/
        http://mirrors.aliyuncs.com/centos/7/os/$basearch/
        http://mirrors.cloud.aliyuncs.com/centos/7/os/$basearch/
gpgcheck=1
gpgkey=http://mirrors.aliyun.com/centos/RPM-GPG-KEY-CentOS-7

#released updates
[updates]
name=CentOS-7 - Updates - mirrors.aliyun.com
failovermethod=priority
baseurl=http://mirrors.aliyun.com/centos/7/updates/$basearch/
        http://mirrors.aliyuncs.com/centos/7/updates/$basearch/
        http://mirrors.cloud.aliyuncs.com/centos/7/updates/$basearch/
gpgcheck=1
gpgkey=http://mirrors.aliyun.com/centos/RPM-GPG-KEY-CentOS-7

#additional packages that may be useful
[extras]
name=CentOS-7 - Extras - mirrors.aliyun.com
failovermethod=priority
baseurl=http://mirrors.aliyun.com/centos/7/extras/$basearch/
        http://mirrors.aliyuncs.com/centos/7/extras/$basearch/
        http://mirrors.cloud.aliyuncs.com/centos/7/extras/$basearch/
gpgcheck=1
gpgkey=http://mirrors.aliyun.com/centos/RPM-GPG-KEY-CentOS-7

#additional packages that extend functionality of existing packages
[centosplus]
name=CentOS-7 - Plus - mirrors.aliyun.com
failovermethod=priority
baseurl=http://mirrors.aliyun.com/centos/7/centosplus/$basearch/
        http://mirrors.aliyuncs.com/centos/7/centosplus/$basearch/
        http://mirrors.cloud.aliyuncs.com/centos/7/centosplus/$basearch/
gpgcheck=1
enabled=0
gpgkey=http://mirrors.aliyun.com/centos/RPM-GPG-KEY-CentOS-7

#contrib - packages by Centos Users
[contrib]
name=CentOS-7 - Contrib - mirrors.aliyun.com
failovermethod=priority
baseurl=http://mirrors.aliyun.com/centos/7/contrib/$basearch/
        http://mirrors.aliyuncs.com/centos/7/contrib/$basearch/
        http://mirrors.cloud.aliyuncs.com/centos/7/contrib/$basearch/
gpgcheck=1
enabled=0
gpgkey=http://mirrors.aliyun.com/centos/RPM-GPG-KEY-CentOS-7
[root@redHatEnterpriseLinux7 yum.repos.d]# vi CentOS-Base.repo
[root@redHatEnterpriseLinux7 yum.repos.d]# mv CentOS-Base.repo redhat.repo
[root@redHatEnterpriseLinux7 ~]# yum clean all
[root@redHatEnterpriseLinux7 ~]# yum makecache
1.6 清理一下缓存 和 生成一下 缓存 yum clean all & yum makecache
 1.7 测试 yum 安装 yum install -y lrzsz yum -y install vim* 和 yum update 是否安装成功
[root@redHatEnterpriseLinux7 ~]# yum repolist


二、Red Hat Enterprise Linux 8 更换方式:
2.1 在配置文件中关闭这个官方的订阅 编辑配置文件“ 更改参数“ enabled = 1”到“ enabled = 0”
vi /etc/yum/pluginconf.d/subscription-manager.conf
[main]
enabled=0
2.2 将 Red Hat 官方订阅删除
yum remove subscription-manager
2.3 red hat 8 更换 Centos 8 阿里云镜像源;
备份一下 redhat.repo 文件
mv /etc/yum.repos.d/redhat.repo /etc/yum.repos.d/redhat.repo.bak

获取新的 CentOS-Base.repo 到 /etc/yum.repos.d/
curl -o /etc/yum.repos.d/redhat.repo http://mirrors.aliyun.com/repo/Centos-8.repo

也可以使用 wget -O 来获取,但需要手动下在 rpm -ivh wget-1.14-18.el7_6.1.x86_64 来安装
wget -O /etc/yum.repos.d/redhat.repo http://mirrors.aliyun.com/repo/Centos-8.repo

下载新的CentOS-Base.repo 到 /etc/yum.repos.d/ (这里用的CentOS 8.0)

2.4 更换完成之后要 进行清除缓存,生成缓存;
[root@redHatEnterpriseLinux8 ~]# yum clean all
[root@redHatEnterpriseLinux8 ~]# yum makecache
2.5 测试 yum 安装 yum -y install wget & yum install -y lrzsz 看看能否安装成功;


三、Red Hat Enterprise Linux 9 更换方式:
 3.1 修改红帽的订阅管理配置文件 vi subscription-manager.conf
把enabled的置改成0,然后保存 , 再删除 官方订阅 yum remove subscription-manager
[root@RedHatEnterpriseLinux9 ~]# cd /etc/yum/pluginconf.d/
[root@RedHatEnterpriseLinux9 ~]# vi subscription-manager.conf
[root@RedHatEnterpriseLinux9 ~]# yum remove subscription-manager

3.2 再删除 cd /etc/yum.repos.d 目录下的 redhat.repo 文件 , rm -rf redhat.repo
如没有 redhat.repo 这个文件了,就不用管:
3.3 使用 vi redhat.repo 编辑一个新的配置文件:
vi  redhat.repo  添加如下内容:

[AppStream]
name=AppStream
baseurl=http://mirrors.aliyun.com/almalinux/9.2/AppStream/x86_64/os/
gpgcheck=0
enabled=1

[BaseOS]
name=BaseOS
baseurl=http://mirrors.aliyun.com/almalinux/9.2/BaseOS/x86_64/os/
gpgcheck=0
enabled=1

[extras]
name=extras
baseurl=http://mirrors.aliyun.com/almalinux/9.2/extras/x86_64/os/
gpgcheck=0
enabled=1

[plus]
name=plus
baseurl=http://mirrors.aliyun.com/almalinux/9.2/plus/x86_64/os/
gpgcheck=0
enabled=1

[devel]
name=devel
baseurl=http://mirrors.aliyun.com/almalinux/9.2/devel/x86_64/os/
gpgcheck=0
enabled=1

[NFV]
name=NFV
baseurl=https://mirrors.aliyun.com/almalinux/9.2/NFV/x86_64/os/
gpgcheck=0
enabled=1

[CRB]
name=CRB
baseurl=https://mirrors.aliyun.com/almalinux/9.2/CRB/x86_64/os/
gpgcheck=0
enabled=1

[HighAvailability]
name=HighAvailability
baseurl=https://mirrors.aliyun.com/almalinux/9.2/HighAvailability/x86_64/os/
gpgcheck=0
enabled=1
3.4 执行 yum clean all & yum makecache
[root@RedHatEnterpriseLinux9 ~]# yum clean all
[root@RedHatEnterpriseLinux9 ~]# yum makecache
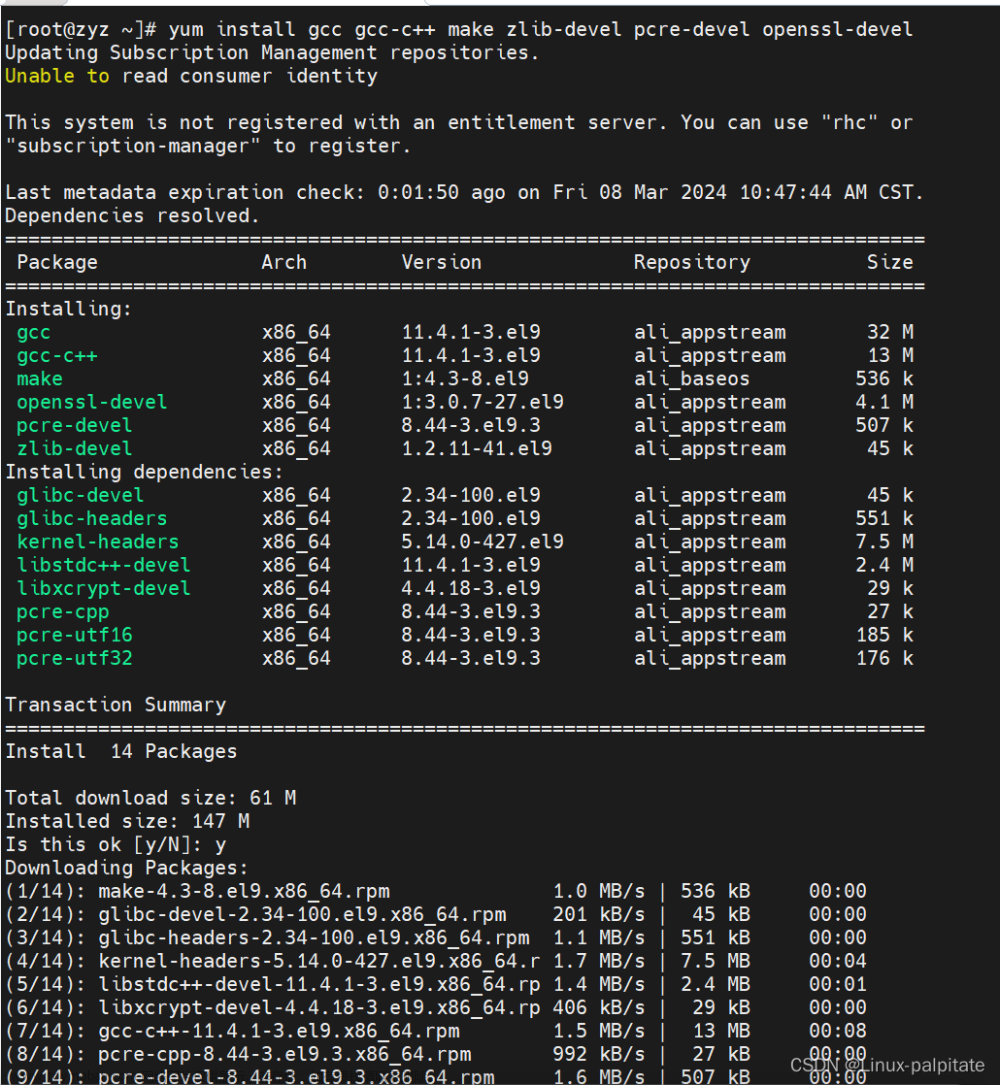
3.5 测试 dnf 安装 yum install wget & yum install lrzsz & yum update 看看能否安装成功;

 文章来源:https://www.toymoban.com/news/detail-776647.html
 文章来源地址https://www.toymoban.com/news/detail-776647.html
到了这里,关于Red Hat Enterprise Linux 7 / 8 / 9 更换 Centos 源镜像的文章就介绍完了。如果您还想了解更多内容,请在右上角搜索TOY模板网以前的文章或继续浏览下面的相关文章,希望大家以后多多支持TOY模板网!