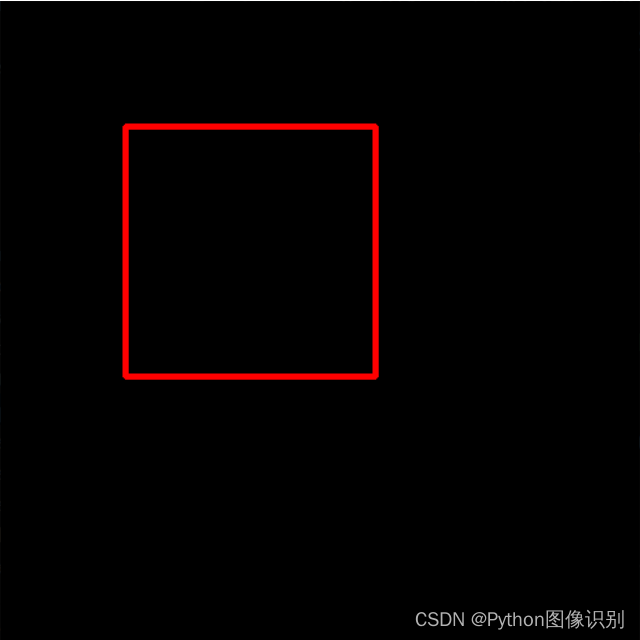
import pygame #导包
from pygame.locals import*
import sys

pygame.init() #初始化

screen_width=600
screen_height=600
screen = pygame.display.set_mode(size=(screen_width,screen_height))
pygame.display.set_caption("这是标题")

pos_x = 300
pos_y =300#矩形左上角位置

vel_x = 0.16
vel_y = 0.1#粗略滴可以看作矩形的移动速度

colors = [0,250,154], [0, 255, 0], [0,255,255], [148,0,211],[220,20,60], [255,0,255]
color_index = 0

while True:
    for event in pygame.event.get():
        if event.type == pygame.QUIT:
            pygame.quit()
            sys.exit()

    screen.fill((0,0,0))#每次循环都要将背景置为黑色
    pos_x += vel_x
    pos_y += vel_y

    #当矩形超过屏幕范围后返回
    if pos_x > 500 or pos_x < 0:
        vel_x = -vel_x
        color_index = (color_index + 1) % len(colors)  # 更新颜色索引
    if pos_y > 500 or pos_y < 0:
        vel_y = -vel_y
        color_index = (color_index + 1) % len(colors)

#绘制矩形
    color = colors[color_index]
    width = 0
    pos = pos_x,pos_y, 100,100
    pygame.draw.rect(screen,color,pos,width)
pygame.display.update()参考资料:pygame学习(二)——绘制线条、圆、矩形等图案-CSDN博客文章来源地址https://www.toymoban.com/news/detail-778863.html
文章来源:https://www.toymoban.com/news/detail-778863.html
到了这里,关于绘制一个可以移动的矩形,当矩形碰到屏幕边界时,矩形都将会改变颜色的文章就介绍完了。如果您还想了解更多内容,请在右上角搜索TOY模板网以前的文章或继续浏览下面的相关文章,希望大家以后多多支持TOY模板网!


