欢迎来到我的博客
📔博主是一名大学在读本科生,主要学习方向是前端。
🍭目前已经更新了【Vue】、【React–从基础到实战】、【TypeScript】等等系列专栏
🛠目前正在学习的是🔥 R e a c t / 小程序 React/小程序 React/小程序🔥,中间穿插了一些基础知识的回顾
🌈博客主页👉codeMak1r.小新的博客本文被专栏【小程序|原力计划】收录
🕹坚持创作✏️,一起学习📖,码出未来👨🏻💻!
上篇文章详细讲解了微信小程序的网络数据请求,这篇文章将带领大家学习的是小程序的「首页布局案例」
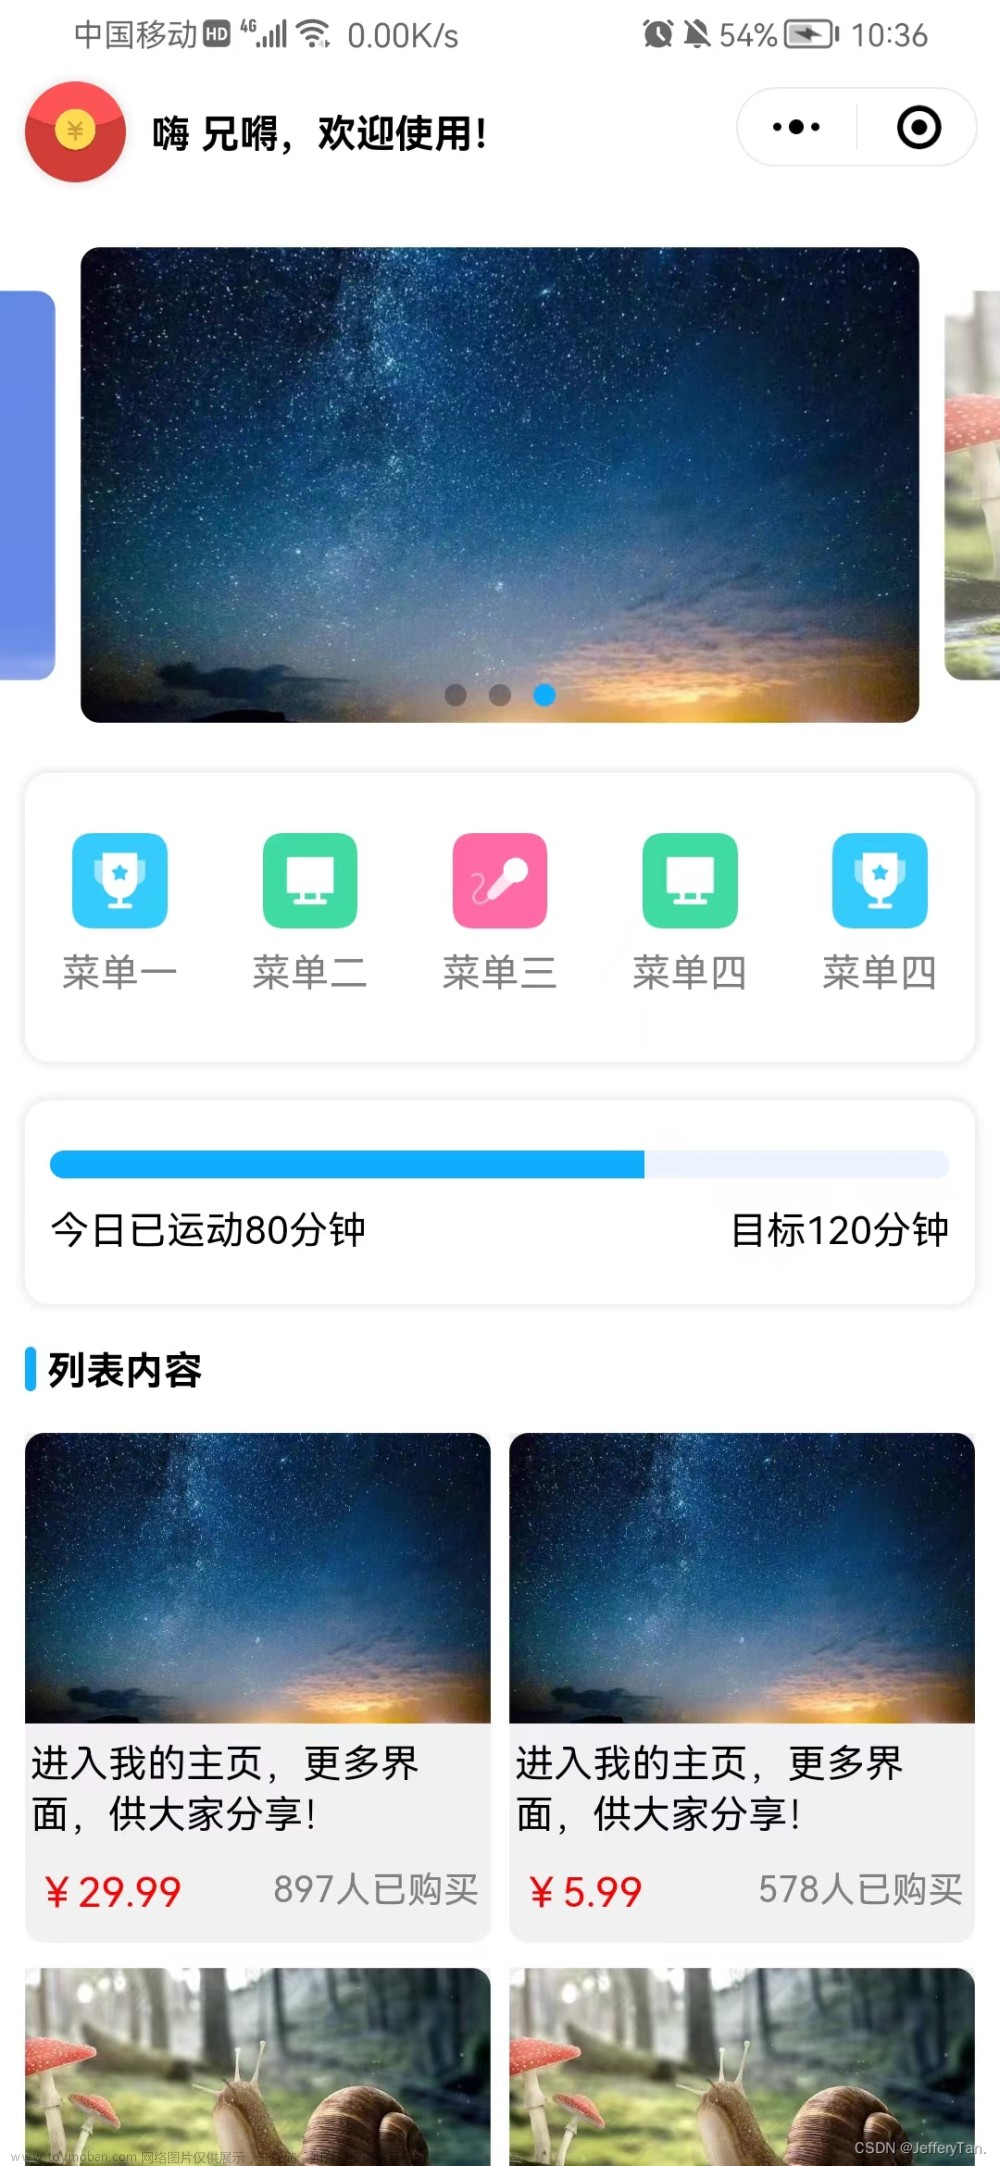
首页效果以及实现步骤
- 新建项目并梳理项目结构
- 配置导航栏效果
- 配置tabBar效果
- 实现轮播图效果
- 实现九宫格效果
- 实现图片布局
新建项目并梳理项目结构

- 新建项目并梳理项目结构
app.json
{
  "pages": [
    "pages/home/home",
    "pages/message/message",
    "pages/contact/contact"
  ],
  "window": {
    "backgroundTextStyle": "light",
    "navigationBarBackgroundColor": "#2b4b6b",
    "navigationBarTitleText": "本地生活",
    "navigationBarTextStyle": "white"
  },
  "style": "v2",
  "sitemapLocation": "sitemap.json"
}

- 配置导航栏效果
配置tabBar效果
在app.json中与pages、window平级的地方新增tabBar节点,节点内容如下:
app.json / tabBar
 "tabBar": {
    "list": [
      {
        "pagePath": "pages/home/home",
        "text": "首页",
        "iconPath": "/images/tabs/home.png",
        "selectedIconPath": "/images/tabs/home-active.png"
      },
      {
        "pagePath": "pages/message/message",
        "text": "消息",
        "iconPath": "/images/tabs/message.png",
        "selectedIconPath": "/images/tabs/message-active.png"
      },
      {
        "pagePath": "pages/contact/contact",
        "text": "联系我们",
        "iconPath": "/images/tabs/contact.png",
        "selectedIconPath": "/images/tabs/contact-active.png"
      }
    ]
  },
效果如下:

- 配置tabBar效果
实现轮播图效果
接口地址
获取轮播图数据列表的接口
- 【GET】https://www.escook.cn/slides
home.js
// pages/home/home.js
Page({
  /**
   * 页面的初始数据
   */
  data: {
    // 存放轮播图数据的列表
    swiperList: []
  },

  /**
   * 生命周期函数--监听页面加载
   */
  onLoad(options) {
    this.getSwiperList()
  },

  // 获取轮播图数据
  getSwiperList() {
    wx.request({
      url: 'https://www.escook.cn/slides',
      method: 'GET',
      success: res => {
         this.setData({
          swiperList: res.data
        })
      }
    })
  }
})

home.wxml
<!--pages/home/home.wxml-->
<!-- 轮播图区域 -->
<swiper indicator-dots circular>
	<swiper-item wx:for="{{swiperList}}" wx:key="id">
		<image src="{{item.image}}"></image>
	</swiper-item>
</swiper>
home.wxss
/* pages/home/home.wxss */
swiper {
	height: 350rpx;
}

swiper image {
	width: 100%;
	height: 100%;
}

- 实现轮播图效果
实现九宫格效果
接口地址
获取九宫格数据列表的接口
- 【GET】https://www.escook.cn/categories
home.js
  // 获取九宫格数据
  getGridList() {
    wx.request({
      url: 'https://www.escook.cn/categories',
      method: 'GET',
      success: res => {
        this.setData({
          gridList: res.data
        })
      }
    })
  }
home.wxml
<!-- 九宫格区域 -->
<view class="grid-list">
	<view class="grid-item" wx:for="{{gridList}}" wx:key="id">
		<image src="{{item.icon}}"></image>
		<text>{{item.name}}</text>
	</view>
</view>
home.wxss
/* pages/home/home.wxss */
swiper {
	height: 350rpx;
}

swiper image {
	width: 100%;
	height: 100%;
}

.grid-list {
	display: flex;
	flex-wrap: wrap;
	border-top: 1rpx solid #efefef;
	border-left: 1rpx solid #efefef;
}

.grid-list .grid-item {
	width: 33.33%;
	height: 200rpx;
	display: flex;
	flex-direction: column;
	align-items: center;
	justify-content: center;
	border-bottom: 1rpx solid #efefef;
	border-right: 1rpx solid #efefef;
	box-sizing: border-box;
}

.grid-item image {
	width: 60rpx;
	height: 60rpx;
}

.grid-item text {
	margin-top: 10rpx;
	font-size: 24rpx;
}
- 实现九宫格效果

实现图片布局
home.wxml
<!-- 图片区域 -->
<view class="img-box">
	<image src="/images/link-01.png" mode="widthFix"></image>
	<image src="/images/link-02.png" mode="widthFix"></image>
</view>
home.wxss文章来源:https://www.toymoban.com/news/detail-779116.html
.img-box {
	display: flex;
	padding: 20rpx 5rpx;
	justify-content: space-around;
}

.img-box image {
	width: 45%;
}
 文章来源地址https://www.toymoban.com/news/detail-779116.html
- 实现图片布局
到了这里,关于【小程序从0到1】首页布局案例的实现的文章就介绍完了。如果您还想了解更多内容,请在右上角搜索TOY模板网以前的文章或继续浏览下面的相关文章,希望大家以后多多支持TOY模板网!


