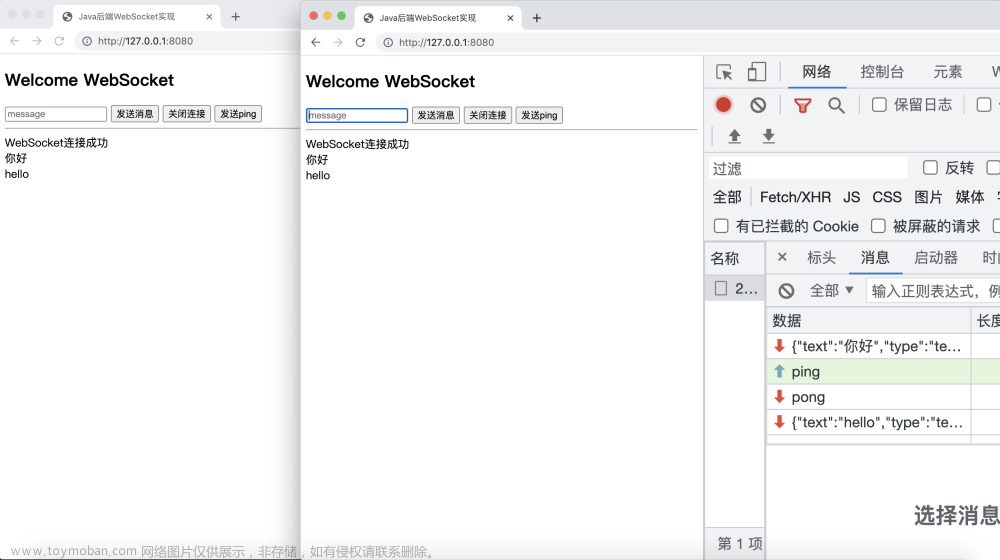
场景:
1、WebSocket协议是用于前后端长连接交互的技术,此技术多用于交互不断开的场景。特点是连接不间断、更轻量,只有在关闭浏览器窗口、或者关闭浏览器、或主动close,当前会话对象才会关闭。
2、相较于 Http/Https 通信只能由客户端主动发起请求,而 Socket 通信不仅能由客户端主动发起请求、服务端也可能主动给客户端推送消息
这里只是简单的记录一下使用方式
一、服务端
1、导入 websocket 依赖
		<!-- Socket -->
        <dependency>
            <groupId>org.springframework.boot</groupId>
            <artifactId>spring-boot-starter-websocket</artifactId>
        </dependency>
2、配置 WebSocket 通信协议标准(服务端点导出)对象
    @Bean
    public ServerEndpointExporter serverEndpointExporter() {
        return new ServerEndpointExporter();
    }
说明:
如果没有配置 WebSocket 通信协议标准对象,可能会导致如下错误:
错误一:
VM105:1 WebSocket connection to 'ws://xxx:7002' failed: Error during WebSocket handshake: Unexpected response code: 404

错误二:
This request has been blocked; this endpoint must be available over WSS.

错误三:
VM78:1 WebSocket connection to 'wss://xxx:7002' failed: Error in connection establishment: net::ERR_SSL_PROTOCOL_ERROR

错误四(没有携带token或密钥):
VM78:1 WebSocket connection to 'wss://xxx:7002' failed: Error in connection establishment: net::ERR_SSL_PROTOCOL_ERROR
3、服务端的四个注解方法,对应触发事件
@OnOpen:连接成功交互初始化
@OnMessage:消息事件
@OnClose:关闭事件
@OnError:异常事件
4、websocket 事件服务类,可以理解为Restful Api的映射类(controller)
@Slf4j
@Component
@ServerEndpoint("/websocket/msg/{userId}")
public class WsMessageService {

    //与某个客户端的连接会话,通过此会话对象给客户端发送数据
    private Session session;

    //concurrent包的线程安全Set,用来存放每个客户端对应的WebSocket对象。
    //注:泛型是当前类名
    //private static Set<WsMessageService> webSockets = new CopyOnWriteArraySet<>();
    private static Map<String, WsMessageService> webSocketsBeanMap = new ConcurrentHashMap<>();

    //用来保存在线连接数
    //private static Map<String, Session> sessionPool = new HashMap<>();

    //每次连接都是一个新的会话对象,线程安全的
    String userId;


    @OnOpen
    public void onOpen(Session session, @PathParam(value = "userId") String userId) {
        this.session = session;
        this.userId = userId;
        webSocketsBeanMap.put(userId, this);
        log.info("OnOpen连接成功,userId:{},当前在线人数:{}", userId, this.getOnLineCount());
    }

    @OnMessage
    public void onMessage(String message) throws IOException {
        Session session = webSocketsBeanMap.get(this.userId).session;
        if (ObjectUtil.isNull(session) || !session.isOpen()) {
            return;
        }
        log.info("收到客户端的消息:" + message);
        this.session.getBasicRemote().sendText(String.valueOf(this.getOnLineCount()));
    }

    @OnClose
    public void onClose() throws IOException {
        log.info("会话关闭,关闭会话的用户Id为:{}", this.userId);
        webSocketsBeanMap.remove(this.userId);
        log.info("当前在线人数:{}", this.getOnLineCount());
    }

    @OnError
    public void onError(Session session, Throwable error) {
        log.error("连接错误:" + error.getMessage());
        error.printStackTrace();
    }


    /**
     * <p>返回在线人数</p>
     *
     * @author hkl
     * @date 2023/2/16
     */
    private int getOnLineCount() {
        return webSocketsBeanMap.size();
    }

}
到这里服务端demo已经完成,可以使用浏览器、HTML页面、Apipost测试
二、测试验证
连接语法:ws://IP地址:端口号
1、使用 Apipost 工具测试
【1】下载安装 Apipost
【2】输入访问地址、连接、发送消息,如下
2、用浏览器测试
第1步:var ws = new WebSocket("ws://localhost:7000/mpj/websocket/1");
第2步:console.log("连接状态:", ws.readyState);
连接状态说明:
0:CONNECTING,表示正在连接。
1:OPEN,表示连接成功,可以通信了。
2:CLOSING,表示连接正在关闭。
3:CLOSED,表示连接已经关闭,或者打开连接失败
第3步:ws.send("hello");
示例如下:
服务端收到消息:
3、使用 html 页面编写js脚本测试
<!DOCTYPE html>
<html lang="zh-cn">
<head>
    <meta charset="UTF-8">
    <meta name="viewport"content="width=device-width, initial-scale=1.0">
    <title>WebSocket测试</title>
    <script>
        function initWebSocket(wsUri) {
            var websocket = new WebSocket(wsUri);
            websocket.onopen = function(evt) {
                console.log('连接建立中... '+wsUri);
            };
            websocket.onclose = function(evt) {
                console.log('连接关闭中...', evt);
            };
            websocket.onmessage = function(evt) {
                console.log('收到来自服务端的消息:', evt.data);
            };
            websocket.onerror = function(evt) {
                console.log('发生错误...', evt);
            };
            return websocket;
        }

        //在此配置 websocket 的地址
        var websocket = initWebSocket("ws://localhost:6000/mpj/websocket/msg/1");
        var msg, i = 0;
        var loop = setInterval(function(){
            msg = "Hello " +(i++);
            if(websocket.readyState == WebSocket.OPEN) {
                websocket.send(msg);
                console.log('已发送消息:' +msg);
            } else{
                clearInterval(loop);
                console.log('连接已关闭,拜拜~');
            }
        }, 3000);
    </script>
</head>
<body>请按 F12 打开控制台查看消息
</body>
</html>
运行如下: 文章来源:https://www.toymoban.com/news/detail-780779.html
 文章来源地址https://www.toymoban.com/news/detail-780779.html
到了这里,关于SpringBoot集成WebSocket实现客户端与服务端长连接通信的文章就介绍完了。如果您还想了解更多内容,请在右上角搜索TOY模板网以前的文章或继续浏览下面的相关文章,希望大家以后多多支持TOY模板网!


