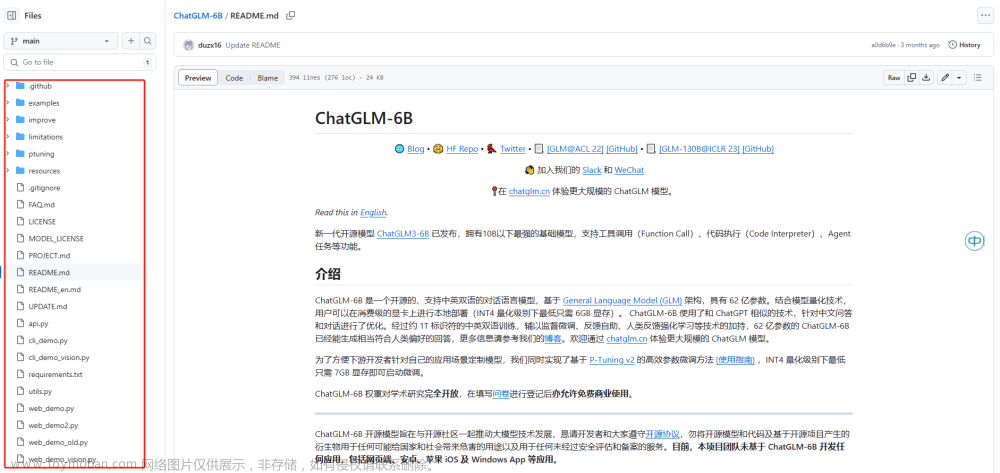
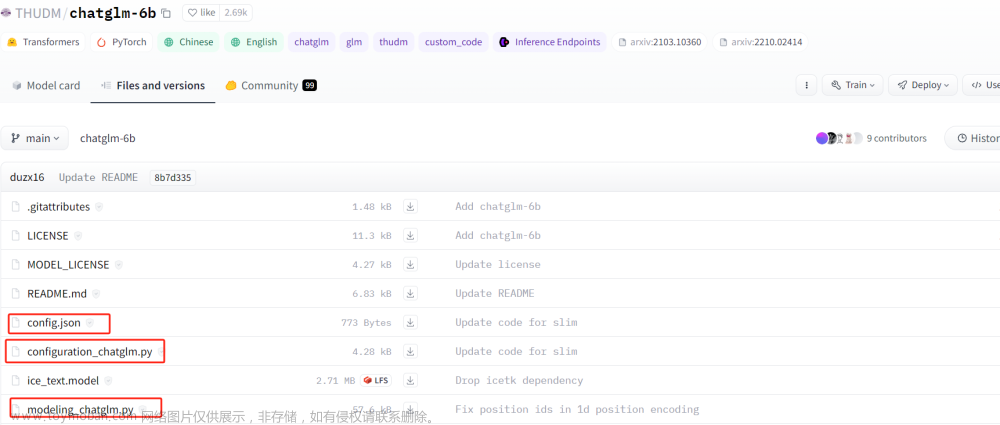
基于ChatGLM-6B第一版,要注意还有ChatGLM2-6B以及ChatGLM3-6B
转载请备注出处:https://www.cnblogs.com/zhiyong-ITNote/文章来源地址https://www.toymoban.com/news/detail-783531.html
ChatGLMPreTrainedModel
官方的描述是 处理权重初始化的抽象类,以及下载和加载预训练模型的接口。
掩码
如下是GLM模型的掩码结构,在此抽象类中,由get_masks函数处理
# 转载请备注出处:https://www.cnblogs.com/zhiyong-ITNote/

def get_masks(input_ids, device):
    batch_size, seq_length = input_ids.shape
    # bos_token_id所在的位置
    context_lengths = [seq.tolist().index(130004) for seq in input_ids]
    attention_mask = torch.ones((batch_size, seq_length, seq_length), device=device)
    # 填充下三角全为1,上三角全为0
    attention_mask.tril_()
    # 遍历每个序列直到bos_token_id出现的位置,更新掩码,改为双向注意力
    for i, context_length in enumerate(context_lengths):
        attention_mask[i, :, :context_length] = 1
    # 扩充维度
    attention_mask.unsqueeze_(1)
    # 变更为True和False的维度形式
    attention_mask = (attention_mask < 0.5).bool()

    return attention_mask
位置编码
GLM模型中位置编码是2D的,有两层的位置表示,分别是序列的位置表示和mask block的位置表示。由get_position_ids函数处理。position_ids对应GLM论文中的postion 1,block_position_ids对应GLM论文中的position 2。
def get_position_ids(self, input_ids, mask_positions, device, use_gmasks=None):
    """
    input_ids: [batch_size, seq_length]
    mask_positions: [batch_size],由于GLM系列中会使用[Mask]或[gMask]标志,mask_positions就是指这些标注的具体位置
    """
    batch_size, seq_length = input_ids.shape
    if use_gmasks is None:
        use_gmasks = [False] * batch_size
    # context_lengths:未被padding前,batch中各个样本的长度
    context_lengths = [seq.tolist().index(self.config.bos_token_id) for seq in input_ids]
    # 2维位置编码
    if self.position_encoding_2d:
        # [0,1,2,...,seq_length-1]
        position_ids = torch.arange(seq_length, dtype=torch.long, device=device).unsqueeze(0).repeat(batch_size, 1)
        # 将原始输入后所有位置的postion id都设置为[Mask]或者[gMask]的位置id
        for i, context_length in enumerate(context_lengths):
            position_ids[i, context_length:] = mask_positions[i]
        # 原始输入的位置编码全部设置为0,待生成的位置添加顺序的位置id
        # 例如:[0,0,0,0,1,2,3,4,5]
        block_position_ids = [torch.cat((
            torch.zeros(context_length, dtype=torch.long, device=device),
            torch.arange(seq_length - context_length, dtype=torch.long, device=device) + 1
        )) for context_length in context_lengths]
        block_position_ids = torch.stack(block_position_ids, dim=0)
        # 将postion_ids和block_position_ids堆叠在一起,用于后续的参数传入;
        # 在注意力层中,还有将这个position_ids拆分为两部分: position_ids, block_position_ids
        position_ids = torch.stack((position_ids, block_position_ids), dim=1)
    else:
        position_ids = torch.arange(seq_length, dtype=torch.long, device=device).unsqueeze(0).repeat(batch_size, 1)
        for i, context_length in enumerate(context_lengths):
            if not use_gmasks[i]:
                position_ids[i, context_length:] = mask_positions[i]

    return position_ids
ChatGLMModel
该Model通过组装各个组件构造最终的模型结构。模型的微调处理也是在这里进行。
转载请备注出处:https://www.cnblogs.com/zhiyong-ITNote/
class ChatGLMModel(ChatGLMPreTrainedModel):
    """
    The model can behave as an encoder (with only self-attention) as well
    as a decoder, in which case a layer of cross-attention is added between
    the self-attention layers, following the architecture described in [Attention is
    all you need](https://arxiv.org/abs/1706.03762) by Ashish Vaswani,
    Noam Shazeer, Niki Parmar, Jakob Uszkoreit, Llion Jones, Aidan N. Gomez, Lukasz Kaiser and Illia Polosukhin.
    To behave as an decoder the model needs to be initialized with the
    `is_decoder` argument of the configuration set to `True`.
    To be used in a Seq2Seq model, the model needs to initialized with both `is_decoder`
    argument and `add_cross_attention` set to `True`; an
    `encoder_hidden_states` is then expected as an input to the forward pass.
    """

    def __init__(self, config: ChatGLMConfig, empty_init=True):
        super().__init__(config)
        if empty_init:
            init_method = skip_init
        else:
            init_method = default_init
        # recording parameters
        self.max_sequence_length = config.max_sequence_length
        self.hidden_size = config.hidden_size
        self.params_dtype = torch.half
        self.num_attention_heads = config.num_attention_heads
        self.vocab_size = config.vocab_size
        self.num_layers = config.num_layers
        self.layernorm_epsilon = config.layernorm_epsilon
        self.inner_hidden_size = config.inner_hidden_size
        self.hidden_size_per_attention_head = self.hidden_size // self.num_attention_heads
        self.position_encoding_2d = config.position_encoding_2d
        self.pre_seq_len = config.pre_seq_len
        self.prefix_projection = config.prefix_projection

        self.word_embeddings = init_method(
            torch.nn.Embedding,
            num_embeddings=self.vocab_size, embedding_dim=self.hidden_size,
            dtype=self.params_dtype
        )
        self.gradient_checkpointing = False

        # 返回transform结构的GLMBlock
        def get_layer(layer_id):
            return GLMBlock(
                self.hidden_size,
                self.num_attention_heads,
                self.layernorm_epsilon,
                layer_id,
                inner_hidden_size=self.inner_hidden_size,
                hidden_size_per_attention_head=self.hidden_size_per_attention_head,
                layernorm=LayerNorm,
                use_bias=True,
                params_dtype=self.params_dtype,
                position_encoding_2d=self.position_encoding_2d,
                empty_init=empty_init
            )
        # 堆叠GLMBlock,参数就是config.json中指定的num_layers,默认堆叠28层
        self.layers = torch.nn.ModuleList(
            [get_layer(layer_id) for layer_id in range(self.num_layers)]
        )

        # 输出之前做最后一次的层归一化
        self.final_layernorm = LayerNorm(self.hidden_size, eps=self.layernorm_epsilon)

        # 处理微调,pre_seq_len参数来自微调脚本train.sh的PRE_SEQ_LEN参数
        if self.pre_seq_len is not None:
            for param in self.parameters():
                param.requires_grad = False
            self.prefix_tokens = torch.arange(self.pre_seq_len).long()
            self.prefix_encoder = PrefixEncoder(config)
            self.dropout = torch.nn.Dropout(0.1)

            # total_params = sum(p.numel() for p in self.parameters())
            # trainable_params = sum(p.numel() for p in self.parameters() if p.requires_grad)
            # print("Using p-tuning v2: # trainable_params = {} / {}".format(trainable_params, total_params))

    def get_input_embeddings(self):
        return self.word_embeddings

    def set_input_embeddings(self, new_embeddings: torch.Tensor):
        self.word_embeddings = new_embeddings

    def get_prompt(self, batch_size, device, dtype=torch.half):
        prefix_tokens = self.prefix_tokens.unsqueeze(0).expand(batch_size, -1).to(device)
        past_key_values = self.prefix_encoder(prefix_tokens).type(dtype)
        past_key_values = past_key_values.view(
            batch_size,
            self.pre_seq_len,
            self.num_layers * 2,
            self.num_attention_heads,
            self.hidden_size // self.num_attention_heads
        )
        # seq_len, b, nh, hidden_size
        past_key_values = self.dropout(past_key_values)
        past_key_values = past_key_values.permute([2, 1, 0, 3, 4]).split(2)
        # past_key_values = [(v[0], v[1]) for v in past_key_values]
        return past_key_values

    @add_start_docstrings_to_model_forward(CHATGLM_6B_INPUTS_DOCSTRING.format("batch_size, sequence_length"))
    @add_code_sample_docstrings(
        checkpoint=_CHECKPOINT_FOR_DOC,
        output_type=BaseModelOutputWithPastAndCrossAttentions,
        config_class=_CONFIG_FOR_DOC,
    )
    def forward(
            self,
            input_ids: Optional[torch.LongTensor] = None,
            position_ids: Optional[torch.LongTensor] = None,
            attention_mask: Optional[torch.Tensor] = None,
            past_key_values: Optional[Tuple[Tuple[torch.Tensor, torch.Tensor], ...]] = None,
            inputs_embeds: Optional[torch.LongTensor] = None,
            use_cache: Optional[bool] = None,
            output_attentions: Optional[bool] = None,
            output_hidden_states: Optional[bool] = None,
            return_dict: Optional[bool] = None,
    ) -> Union[Tuple[torch.Tensor, ...], BaseModelOutputWithPast]:

        output_attentions = output_attentions if output_attentions is not None else self.config.output_attentions
        output_hidden_states = (
            output_hidden_states if output_hidden_states is not None else self.config.output_hidden_states
        )
        use_cache = use_cache if use_cache is not None else self.config.use_cache
        return_dict = return_dict if return_dict is not None else self.config.use_return_dict

        if self.gradient_checkpointing and self.training:
            if use_cache:
                logger.warning_once(
                    "`use_cache=True` is incompatible with gradient checkpointing. Setting `use_cache=False`..."
                )
                use_cache = False

        if input_ids is not None and inputs_embeds is not None:
            raise ValueError("You cannot specify both input_ids and inputs_embeds at the same time")
        elif input_ids is not None:
            batch_size, seq_length = input_ids.shape[:2]
        elif inputs_embeds is not None:
            batch_size, seq_length = inputs_embeds.shape[:2]
        else:
            raise ValueError("You have to specify either input_ids or inputs_embeds")

        # embedding层
        if inputs_embeds is None:
            inputs_embeds = self.word_embeddings(input_ids)

        if past_key_values is None:
            if self.pre_seq_len is not None:
                past_key_values = self.get_prompt(batch_size=input_ids.shape[0], device=input_ids.device,
                                                  dtype=inputs_embeds.dtype)
            else:
                past_key_values = tuple([None] * len(self.layers))

            # 获得注意力mask
            if attention_mask is None:
                attention_mask = self.get_masks(
                    input_ids,
                    device=input_ids.device
                )


            # 处理位置编码
            if position_ids is None:
                MASK, gMASK = self.config.mask_token_id, self.config.gmask_token_id
                seqs = input_ids.tolist()
                # 记录input_ids中是否使用了mask以及mask的位置
                # mask_positions记录每个样本中mask的位置
                # use_gmasks记录是否使用了gMask
                mask_positions, use_gmasks = [], []
                for seq in seqs:
                    mask_token = gMASK if gMASK in seq else MASK
                    use_gmask = mask_token == gMASK
                    mask_positions.append(seq.index(mask_token))
                    use_gmasks.append(use_gmask)
                # 获取位置编码
                position_ids = self.get_position_ids(
                    input_ids,
                    mask_positions=mask_positions,
                    device=input_ids.device,
                    use_gmasks=use_gmasks
                )

        # 微调的处理
        if self.pre_seq_len is not None and attention_mask is not None:
            prefix_attention_mask = torch.ones(batch_size, 1, input_ids.size(-1), self.pre_seq_len).to(
                attention_mask.device)
            prefix_attention_mask = (prefix_attention_mask < 0.5).bool()
            attention_mask = torch.cat((prefix_attention_mask, attention_mask), dim=3)

        # [seq_len, batch, hidden_size]
        hidden_states = inputs_embeds.transpose(0, 1)

        presents = () if use_cache else None
        all_self_attentions = () if output_attentions else None
        all_hidden_states = () if output_hidden_states else None

        if attention_mask is None:
            attention_mask = torch.zeros(1, 1, device=input_ids.device).bool()
        else:
            attention_mask = attention_mask.to(hidden_states.device)

        # 遍历堆叠的transform层,并开始执行
        for i, layer in enumerate(self.layers):

            if output_hidden_states:
                all_hidden_states = all_hidden_states + (hidden_states,)
            layer_past = past_key_values[i]

            if self.gradient_checkpointing and self.training:
                layer_ret = torch.utils.checkpoint.checkpoint(
                    layer,
                    hidden_states,
                    position_ids,
                    attention_mask,
                    torch.tensor(i),
                    layer_past,
                    use_cache,
                    output_attentions
                )
            else:
                layer_ret = layer(
                    hidden_states,
                    position_ids=position_ids,
                    attention_mask=attention_mask,
                    layer_id=torch.tensor(i),
                    layer_past=layer_past,
                    use_cache=use_cache,
                    output_attentions=output_attentions
                )

            hidden_states = layer_ret[0]

            if use_cache:
                presents = presents + (layer_ret[1],)

            if output_attentions:
                all_self_attentions = all_self_attentions + (layer_ret[2 if use_cache else 1],)

        # Final layer norm.
        hidden_states = self.final_layernorm(hidden_states)

        if output_hidden_states:
            all_hidden_states = all_hidden_states + (hidden_states,)

        if not return_dict:
            return tuple(v for v in [hidden_states, presents, all_hidden_states, all_self_attentions] if v is not None)

        return BaseModelOutputWithPast(
            last_hidden_state=hidden_states,
            past_key_values=presents,
            hidden_states=all_hidden_states,
            attentions=all_self_attentions,
        )
其完整结构如下所示。相比较传统的Transformer模型结构,ChatGLM模型中,将GLMBlock统一了两者,只需要增加is_decoder=true即可切换为decoder行为,在ChatGLMModel源码的注释中就已经写清楚了,默认是encoder;GLU层对应Transformer模型的FFN层。 文章来源:https://www.toymoban.com/news/detail-783531.html
转载请备注出处:https://www.cnblogs.com/zhiyong-ITNote/
到了这里,关于聊聊ChatGLM-6B源码分析(二)的文章就介绍完了。如果您还想了解更多内容,请在右上角搜索TOY模板网以前的文章或继续浏览下面的相关文章,希望大家以后多多支持TOY模板网!


