一。下载依赖包
package.json
"@babel/core": "^7.22.11",
"@babel/eslint-parser": "^7.22.11",						// ESLint的Babel解析器代替babel-eslint
"@vue/cli-plugin-babel": "^5.0.8",
"@vue/cli-plugin-eslint": "^5.0.8",						// vue 专门的 ESLint 规则插件
"@vue/cli-plugin-router": "^5.0.8",
"@vue/cli-plugin-vuex": "^5.0.8",
"@vue/cli-service": "^5.0.8",

"@vue/eslint-config-standard": "^6.1.0",(当前版本无法下载)				// vue standarad 风格配置

"eslint": "^8.48.0",												// js代码的质量检查工具
"eslint-config-prettier": "^9.0.0",							// 用 prettier 的规则,覆盖掉 eslint:recommended 的部分规则
"eslint-plugin-prettier": "^5.0.0",							// 将prettier 的能力集成到 eslint 中
"eslint-plugin-vue": "^7.20.0",								// 用ESLint检查.vue文件的<template>和<script>
"lint-staged": "^14.0.1",
"prettier": "^3.0.2",												// 代码风格的约束
"vue-eslint-parser": "^9.3.1",
"vue-template-compiler": "^2.7.14",
npm uninstall eslint babel-eslint --save-dev
package.json //提交代码进行eslint校验
"gitHooks": {
    "pre-commit": "lint-staged"
  },
npm install prettier --save-dev
npm install --save-dev @babel/core @babel/eslint-parser @vue/cli-plugin-babel @vue/cli-plugin-eslint @vue/cli-plugin-router @vue/cli-plugin-vuex @vue/cli-service eslint eslint-config-prettier eslint-plugin-prettier eslint-plugin-vue lint-staged prettier vue-eslint-parser vue-template-compiler
二。webstorm
1.
2.
3.
4.根目录新建.eslintrc.js
module.exports = {
  root: true,
  env: {
    node: true
  },
  extends: [
      'plugin:vue/essential',
      'plugin:vue/recommended',
      'eslint:recommended',
      'plugin:prettier/recommended'
  ],
  parserOptions: {
    parser: '@babel/eslint-parser'
  },
  rules: {
    'no-console': process.env.NODE_ENV === 'production' ? 'warn' : 'off',
    'no-debugger': process.env.NODE_ENV === 'production' ? 'warn' : 'off'
  }
}
5.根目录新建.prettierrc.js
module.exports = {
  eslintIntegration: true,
  printWidth: 120, // 一行最多 120 字符(默认80)
  tabWidth: 2, // 每个tab相当于多少个空格(默认2)
  useTabs: false, // 是否使用tab进行缩进(默认false)
  semi: false, // 行尾需要有分号(默认true)
  singleQuote: true, // 使用单引号(默认false)
  quoteProps: 'as-needed', // 对象的 key 仅在必要时用引号
  jsxSingleQuote: false, // jsx 不使用单引号,而使用双引号
  trailingComma: 'none', // 多行使用拖尾逗号(默认none)
  bracketSpacing: true, // 在对象,数组括号与文字之间加空格 "{ foo: bar }"(默认true)
  jsxBracketSameLine: false, // 多行JSX中的>放置在最后一行的结尾,而不是另起一行(默认false)
  htmlWhitespaceSensitivity: 'css', // 根据显示样式决定 html 要不要折行
  arrowParens: 'avoid', // 只有一个参数的箭头函数的参数是否带圆括号(默认avoid:添加括号)
  endOfLine: 'auto' // 行尾换行符
}
6.根目录新建lint-staged.config.js
module.exports = {
  '*.{js,jsx,vue}': 'vue-cli-service lint'
}
7.重启项目
tips
webstorm scss url报红
三。vscode配置
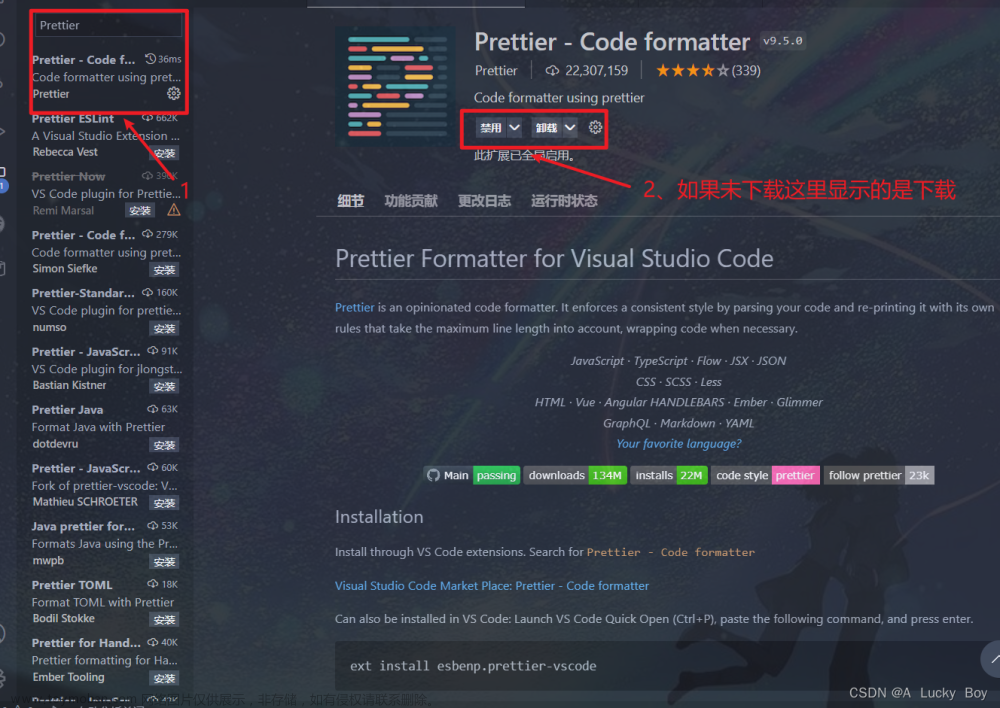
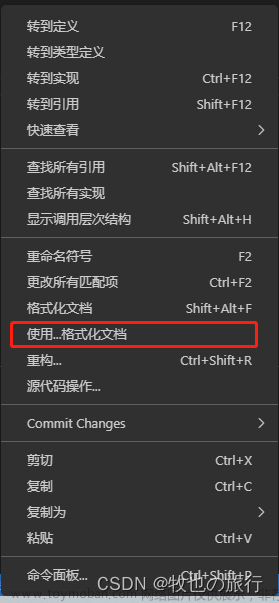
1.安装prettier、eslint
2.配置.vscode settings.json文章来源:https://www.toymoban.com/news/detail-787520.html
{
  // 默认使用prettier格式化
  "[vue]": {
    "editor.defaultFormatter": "esbenp.prettier-vscode"
  },
  "[typescript]": {
    "editor.defaultFormatter": "esbenp.prettier-vscode"
  },
  "[javascript]": {
    "editor.defaultFormatter": "esbenp.prettier-vscode"
  },
  "[html]": {
    "editor.defaultFormatter": "esbenp.prettier-vscode"
  },

  //配置 ESLint 检查的文件类型
  "eslint.validate": ["javascript", "javascriptreact", "typescript", "html", "vue"],

  // 代码保存时,自动执行ESlint格式化代码
  "editor.codeActionsOnSave": {
    "source.fixAll.eslint": true
  },

  "editor.defaultFormatter": "esbenp.prettier-vscode"
}
3.重启vscode文章来源地址https://www.toymoban.com/news/detail-787520.html
到了这里,关于Webstorm和VsCode 统一格式化配置的文章就介绍完了。如果您还想了解更多内容,请在右上角搜索TOY模板网以前的文章或继续浏览下面的相关文章,希望大家以后多多支持TOY模板网!


