不支持nginx代理
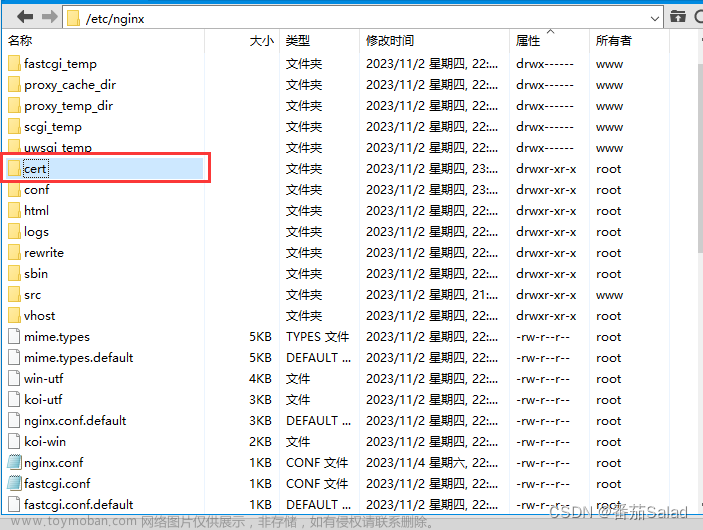
首先看项目,如果有nginx代理,则只需要改nginx配置即可。
如果没有nginx代理,则直接在springboot的resource下增加一个p12文件或者jks文件。
如何生成p12文件或者jks文件
这里用p12来进行演示:
首先要获得ssl证书,命令查看是否有openssl

这里我的版本是3,会有一个bug,当生成p12文件运行时会报错:ObjectIdentifier() – data isn’t an object ID (tag = 48)
需要去官网下载1版本的进行尝试{openssl官网: https://www.openssl.org/}
如果你目前有安全证书,key文件:
先把这两个文件放入一个文件夹下

然后执行命令:

这里会输入一个密码,需要记住,并且它不会显示出来。

这样就成功了,返回文件夹会多一个p12文件

现在我来解释一下这个命令:
openssl pkcs12
-export 输出
-clcerts
-in client.crt 安全证书的名称
-inkey client.key key的名称
-out server.p12 输出的文件名
如果目前有pem文件和key文件:
先把这两个文件放入一个文件夹下

然后打开命令行输入:
openssl pkcs12
-export 输出
-in client.pem pem的名称
-inkey client.key key的名称
-out key.p12 输出的文件名

之后和上面的一样会在文件夹中多出一个p12

修改spring boot
先将该p12文件复制到启动类下的resource下,和properties平级
然后在properties中增加如下配置:
//p12文件的绝对路径
server.ssl.key-store= classpath:server.p12
//生成p12文件的密码
server.ssl.key-store-password=生成p12文件的密码
//文件的类型 p12类型为PKCS12
server.ssl.key-store-type=PKCS12
最后clean一下,重新启动就可以了。
PS:如果启动后有报这个错误:DerInputStream.getLength(): lengthTag=111, too big.文章来源:https://www.toymoban.com/news/detail-790207.html
在pom文件中进行如下修改:文章来源地址https://www.toymoban.com/news/detail-790207.html
 <build>
        <resources>
            <resource>
                <directory>${project.basedir}/src/main/resources</directory>
                <filtering>true</filtering>
                <excludes>
                    <exclude>
                        ${project.basedir}/src/main/resources/**.p12
                    </exclude>
                </excludes>
            </resource>
            <resource>
                <directory>${project.basedir}/src/main/resources</directory>
                <filtering>false</filtering>
                <includes>
                    <include>
                        ${project.basedir}/src/main/resources/**.p12
                    </include>
                </includes>
            </resource>
        </resources>

        <plugins>
            <plugin>
                <groupId>org.springframework.boot</groupId>
                <artifactId>spring-boot-maven-plugin</artifactId>
                <executions>
                    <execution>
                        <goals>
                            <goal>repackage</goal>
                        </goals>
                    </execution>
                </executions>
            </plugin>
            <plugin>
                <groupId>org.apache.maven.plugins</groupId>
                <artifactId>maven-resources-plugin</artifactId>
                <configuration><encoding>UTF-8</encoding>
                    <!-- 过滤后缀为pkcs12、jks的证书文件 -->
                    <nonFilteredFileExtensions>
                        <nonFilteredFileExtension>p12</nonFilteredFileExtension>
                    </nonFilteredFileExtensions>
                </configuration>
            </plugin>

        </plugins>
    </build>
到了这里,关于SpringBoot将http转换成https的文章就介绍完了。如果您还想了解更多内容,请在右上角搜索TOY模板网以前的文章或继续浏览下面的相关文章,希望大家以后多多支持TOY模板网!


![[Java网络安全系列面试题] HTTP和HTTPS协议区别和联系都有哪些?](https://imgs.yssmx.com/Uploads/2024/04/856130-1.jpg)


