HTTPS证书获取
首先打开ssl证书服务控制台
然后点击SSL证书—>免费证书—>立即购买
注意此证书只支持单域名,最多可免费申请20个,而且一个账号只有一次免费机会,证书有效期为一年
购买完免费证书后,然后创建自己域名的证书即可
将证书上传到Harbor私有仓库服务器
下载(下载类型选择其他)我们申请的证书
上传到harbor所在服务器
我们将文件放在/data/certs路径下
解压证书文件压缩包
$ sudo unzip 8291320_repo.xxx.xxx_other.zip

将默认的证书文件名修改下
下载Harbor在线(离线)安装包
服务器没联网的话可以选择下载离线包
在线安装包下载地址
离线安装包下载地址
修改Harbor配置文件(harbor.yml)
首先将官方准备的模板文件cp到harbor.yml,程序读的配置文件是(harbor.yml)
$ sudo cp harbor.yml.tmpl harbor.yml
修改harbor.yml配置文件
hostname: xxx.xxx.com(Change to your domain name)

# http related config
http:
  # port for http, default is 80. If https enabled, this port will redirect to https port
  port: 80

# https related config
https:
  # https port for harbor, default is 443
  port: 443
  # The path of cert and key files for nginx
  certificate: /data/certs/server.pem(我们上传的https证书路径)
  private_key: /data/certs/server.key(我们上传的https证书路径)
主要修改这些配置,其他的用默认的就可以了,当然可以把默认的登录harbor密码以及数据库密码修改下
安装Harbor
运行安装脚本
$ ./install.sh
安装完成会出现successful提示语,证明安装成功,做完dns映射之后就可以直接在浏览器访问了。
也可通过docker-compose指令查看应用运行状态
$ sudo docker-compose ls
NAME                STATUS              CONFIG FILES
harbor              running(9)          /opt/harbor/docker-compose.yml
$ sudo docker-compose ps -a
NAME                COMMAND                  SERVICE             STATUS              PORTS
harbor-core         "/harbor/entrypoint.…"   core                running (healthy)
harbor-db           "/docker-entrypoint.…"   postgresql          running (healthy)
harbor-jobservice   "/harbor/entrypoint.…"   jobservice          running (healthy)
harbor-log          "/bin/sh -c /usr/loc…"   log                 running (healthy)   127.0.0.1:1514->10514/tcp
harbor-portal       "nginx -g 'daemon of…"   portal              running (healthy)
nginx               "nginx -g 'daemon of…"   proxy               running (healthy)   0.0.0.0:80->8080/tcp, :::80->8080/tcp, 0.0.0.0:443->8443/tcp, :::443->8443/tcp
redis               "redis-server /etc/r…"   redis               running (healthy)
registry            "/home/harbor/entryp…"   registry            running (healthy)
registryctl         "/home/harbor/start.…"   registryctl         running (healthy)
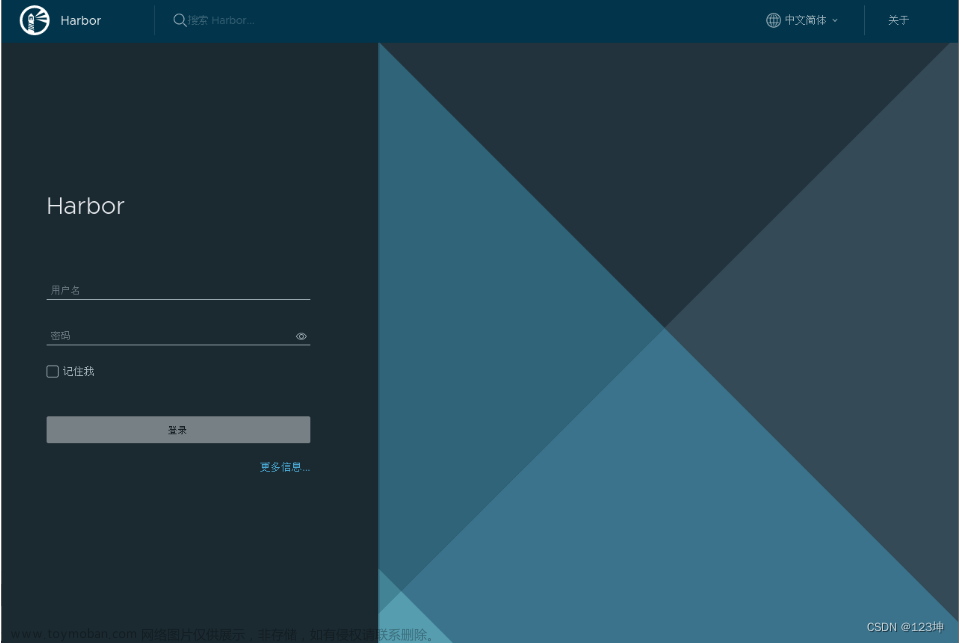
访问Harbor

推送镜像测试
#我们先用docker登陆下测试下
[ root@k8s-master01 ~ ]
#docker login https://repo.xxx.com
Username: admin
Password:
WARNING! Your password will be stored unencrypted in /root/.docker/config.json.
Configure a credential helper to remove this warning. See
https://docs.docker.com/engine/reference/commandline/login/#credentials-store

Login Succeeded
1.登录私有仓库
# docker login https://repo.xxx.com --username devops --password xxxx
WARNING! Using --password via the CLI is insecure. Use --password-stdin.
WARNING! Your password will be stored unencrypted in /root/.docker/config.json.
Configure a credential helper to remove this warning. See
https://docs.docker.com/engine/reference/commandline/login/#credentials-store

Login Succeeded
2.推送镜像
# docker push repo.xxxx.cn/k8s-test/myapp:v1

3.在Harbor私有仓库查看刚刚推送的镜像
kubernetes使用harbor仓库
在所有节点的docker daemon.json文件中加入私有仓库地址
所有节点重启docker
# systemctl daemon-reload && systemctl restart docker
使用私有仓库的镜像启动k8s容器
#kubectl create deployment myapp-dep --image=repo.xxx.com/k8s-test/myapp:v1 --port=80 --replicas=3
查看创建的容器组
#kubectl get deployments.apps
NAME        READY   UP-TO-DATE   AVAILABLE   AGE
myapp-dep   3/3     3            3           62s
给创建的容器组创建下svc然后访问测试下
先查看下我们刚刚使用命令行创建的pod的标签
#kubectl get pods --show-labels
NAME                         READY   STATUS    RESTARTS   AGE     LABELS
myapp-dep-7cbcb546cb-46vtn   1/1     Running   0          3m50s   app=myapp-dep,pod-template-hash=7cbcb546cb
myapp-dep-7cbcb546cb-nl4lx   1/1     Running   0          3m50s   app=myapp-dep,pod-template-hash=7cbcb546cb
myapp-dep-7cbcb546cb-xfjlk   1/1     Running   0          3m50s   app=myapp-dep,pod-template-hash=7cbcb546cb
#cat myappsvc.yaml
apiVersion: v1
kind: Service
metadata:
  name: myapp-svc
spec:
  type: ClusterIP
  selector:
    app: myapp-dep
  ports:
  - name: http
    port: 80
    targetPort: 80
访问测试
#kubectl get svc
NAME                   TYPE        CLUSTER-IP       EXTERNAL-IP   PORT(S)   AGE
kubernetes             ClusterIP   10.96.0.1        <none>        443/TCP   8d
kubernetes-dashboard   ClusterIP   10.100.132.230   <none>        80/TCP    7d18h
myapp-svc              ClusterIP   10.110.183.182   <none>        80/TCP    3s
 文章来源:https://www.toymoban.com/news/detail-791681.html
harbor官方安装手册文章来源地址https://www.toymoban.com/news/detail-791681.html
到了这里,关于K8s集群Harbor私有仓库部署+ssl证书申请的文章就介绍完了。如果您还想了解更多内容,请在右上角搜索TOY模板网以前的文章或继续浏览下面的相关文章,希望大家以后多多支持TOY模板网!


