前言
fly-iot飞凡物联专栏:
https://blog.csdn.net/freewebsys/category_12219758.html
1,视频演示地址
https://www.bilibili.com/video/BV19a4y127Gt/
【fly-iot】(7):配置Emqx的webhook,编写http接口,完成设备状态的更新。显示在线/离线状态,异步插入数据库,使用supervisor启动

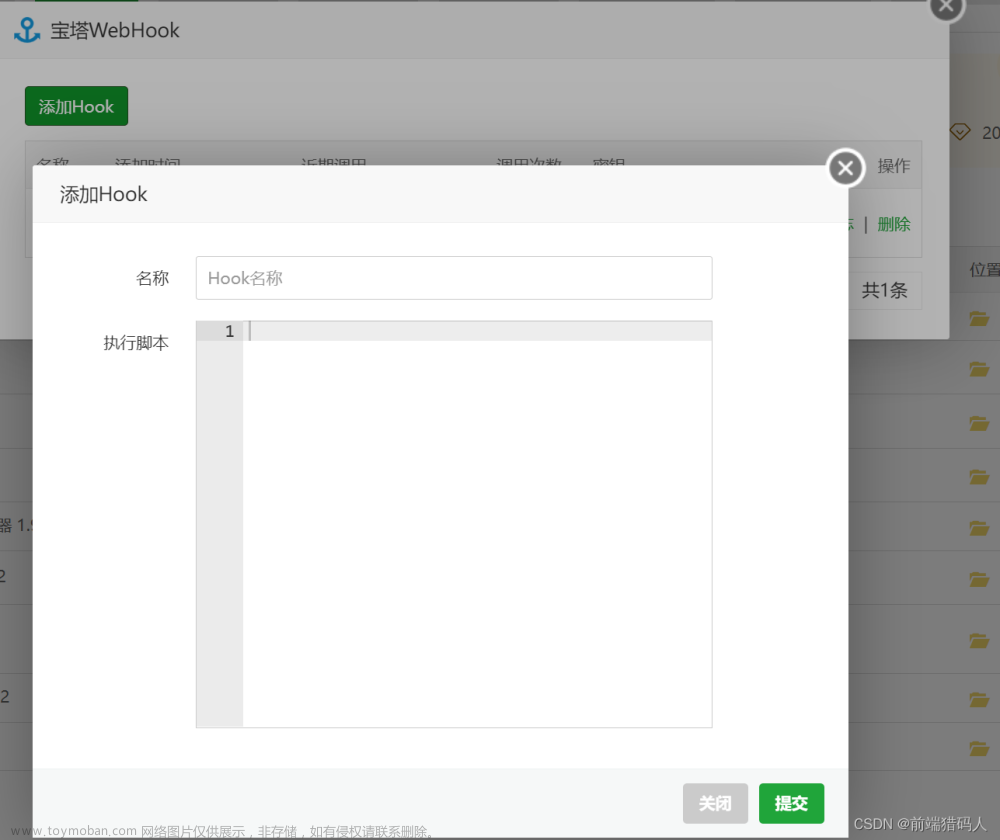
2,webhook直接写个服务端地址就行


3,在IOT平台创建设备

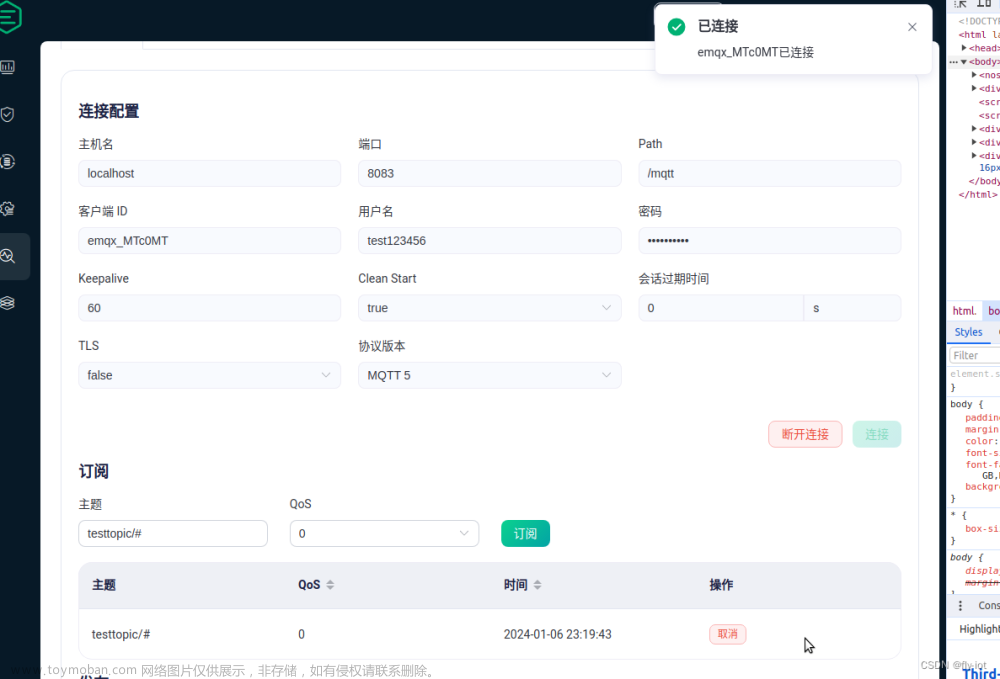
然后就可以在工具中进行测试了:
4,编写webhook 接口
直接设置接口:
...

async def backend_callback(request_dict):

    request_dict['callback_date'] = datetime.now()
    # 之前是 action 现在是 event
    callback_action = request_dict.get('event')
    print(f'######### event {callback_action} ############')

    if callback_action == 'client.connected':
        await client_connected_callback(request_dict)
        return {'status': 200}, 200
    elif callback_action == 'client.disconnected':
        await client_disconnected_callback(request_dict)
        return {'status': 200}, 200
    else:
        return {'status': 200}, 200


async def client_disconnected_callback(request_dict) -> None:

    print(f'######### client_disconnected_callback ############')

    device_info = await _query_device_info(
        request_dict.get('clientid'),
        request_dict.get('username'),
    )
    connect_dict = {
        'msgTime': request_dict['callback_date'],
        'deviceID': device_info['deviceID'],
        'tenantID': device_info['tenantID'],
        'connectStatus': 0,
        'IP': 'NULL'
    }

    print(f'######### device_info {device_info} ############')
    print(f'######### connect_dict {connect_dict} ############')

    update_device = {
        'deviceStatus': 0,
        'id': device_info['id']
    }
    await db.execute(insert_connect_logs_sql.format(**connect_dict))
    await db.execute(update_device_status_sql.format(**update_device))


async def client_connected_callback(request_dict) -> None:
    """ Device connected subscribe inbox topic """

    device_info = await _query_device_info(
        request_dict.get('clientid'),
        request_dict.get('username'),
    )
    if device_info['protocol'] == 'lwm2m':
        # if device protocol is lwm2m pass
        return

    print(f'######### device_info {device_info} ############')

    update_device = {
        'deviceStatus': 1,
        'id': device_info['id']
    }
    await db.execute(update_device_status_sql.format(**update_device))

    auto_sub_topic = (
        f"/{device_info['protocol']}/{device_info['tenantID']}"
        f"/{device_info['productID']}/{device_info['deviceID']}/inbox"
    )
    request_json = {
        'topic': auto_sub_topic,
        'qos': 1,
        'clientid': device_info['deviceID']
    }
    emqx_sub_url = f"{project_config['EMQX_API']}/mqtt/subscribe"
    async with AsyncHttp(auth=project_config['EMQX_AUTH']) as async_http:
        response = await async_http.post_url(
            url=emqx_sub_url, json=request_json
        )
        logger.info(response)


async def message_acked_callback(request_dict) -> None:
    """ Update the publish status when the device receives the publish message """

    device_id = request_dict.get('clientid')
    payload = request_dict.get('payload')
    if device_id == 'pulsario___emqx_all_0':
        # rule_engine filter
        return
    if not device_id or not payload:
        raise HttpException(code=404)
    try:
        load_payload = json.loads(payload)
    except Exception:
        raise HttpException(code=404)
    task_id = load_payload.get('task_id')
    if not task_id:
        raise HttpException(code=404)

    await db.execute(
        update_publish_logs_sql.format(publishStatus=2, taskID=task_id)
    )


async def _query_device_info(device_id, device_username):
    print(f'######### _query_device_info {device_id} {device_username} ############')


    if not device_id or not device_username:
        raise HttpException(code=404, field='devices')
    filter_username_sql = """ AND devices.`deviceUsername` = '{deviceUsername}' LIMIT 1 """
    device_query_sql = query_base_devices_sql + filter_username_sql

    query_sql = device_query_sql.format(deviceID=device_id, deviceUsername=device_username)

    print(f'######### query_sql {query_sql} ############')

    query_result = await db.fetch(query_sql, '')
    print(f'######### query_result len {len(query_result)} ############')


    if not query_result:
        raise HttpException(404, field='device')


    print(f'######### query_result {query_result[0]} ############')
    # device_info = dict(query_result[0])

    device_info = dict()
    device_info["id"] = query_result[0][0]
    device_info["authType"] = query_result[0][1]
    device_info["deviceID"] = query_result[0][2]
    device_info["deviceUsername"] = query_result[0][3]
    device_info["token"] = query_result[0][4]
    device_info["productID"] = query_result[0][5]
    device_info["tenantID"] = query_result[0][6]
    device_info["protocol"] = query_result[0][7]

    return device_info
然后就可以实现数据库的更新了:


设备离线状态也可以更新文章来源:https://www.toymoban.com/news/detail-791879.html
5,总结
使用webhook还是非常方便的。
可以快速的实现设备状态的更新。同时接搜到设备的在线消息。文章来源地址https://www.toymoban.com/news/detail-791879.html
到了这里,关于【fly-iot飞凡物联】(18):配置Emqx的webhook,编写http接口,完成设备状态的更新。显示在线/离线状态,异步插入数据库,使用supervisor启动的文章就介绍完了。如果您还想了解更多内容,请在右上角搜索TOY模板网以前的文章或继续浏览下面的相关文章,希望大家以后多多支持TOY模板网!