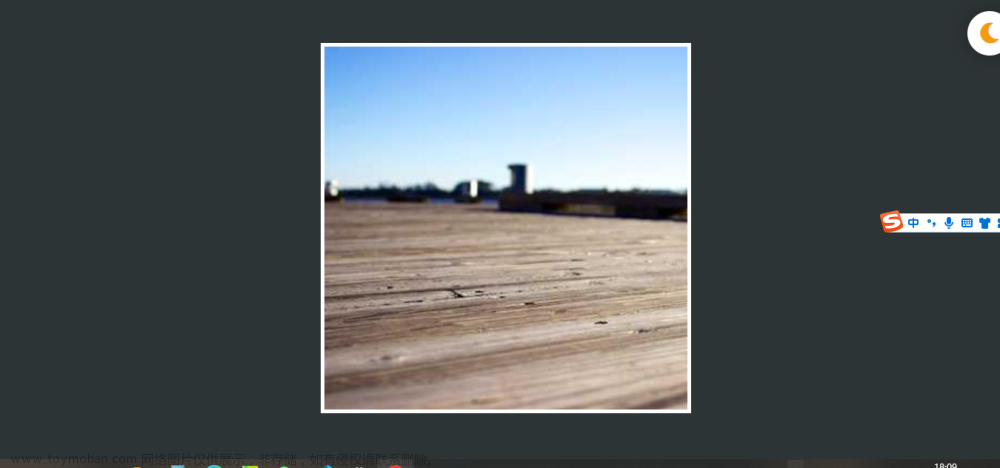
直接看代码:
 文章来源:https://www.toymoban.com/news/detail-797937.html
<template>
    <div class="mainrouter centerWindi">
        <div ref="mouse" class="mouse" @mouseenter="handleMouse"></div>
    </div>
</template>
<script setup>
import { onMounted, ref } from 'vue';
import gsap from 'gsap'

const mouse = ref(null)
// 拿到鼠标的进入事件
// 监听鼠标进入事件
const handleMouse = (e) => {
    const theta = Math.atan2(mouse.value.offsetHeight, mouse.value.offsetWidth)
    const angle = Math.atan2(e.offsetX - mouse.value.offsetWidth / 2, mouse.value.offsetHeight / 2 - e.offsetY)
    const direction = ref('')
    console.log(theta, angle);
    if (angle < theta && angle > -theta) {
        direction.value = 'top';
        gsap.fromTo(mouse.value, {
            backgroundPositionY: `-${window.innerHeight}px`
        }, {
            backgroundPositionY: `0px`,
            duration: 0.5,
            ease: "none",//匀速
            // repeat:-1,//无限循环
            // yoyo: true,//往返运动
        })
    } else if (angle >= theta && angle < Math.PI - theta) {
        direction.value = "right";
        gsap.fromTo(mouse.value, {
            backgroundPositionX: `${window.innerHeight}px`
        }, {
            backgroundPositionX: `0px`,
            duration: 0.5,
            ease: "none",//匀速
            // repeat:-1,//无限循环
            // yoyo: true,//往返运动
        })
    } else if (angle >= Math.PI - theta || angle < -Math.PI + theta) {
        direction.value = "bottom";
        gsap.fromTo(mouse.value, {
            backgroundPositionY: `${window.innerHeight}px`
        }, {
            backgroundPositionY: `0px`,
            duration: 0.5,
            ease: "none",//匀速
            // repeat:-1,//无限循环
            // yoyo: true,//往返运动
        })
    } else {
        direction.value = "left";
        gsap.fromTo(mouse.value, {
            backgroundPositionX: `-${window.innerHeight}px`
        }, {
            backgroundPositionX: `0px`,
            duration: 0.5,
            ease: "none",//匀速
            // repeat:-1,//无限循环
            // yoyo: true,//往返运动
        })
    }

}


</script>

<style>
.mouse {
    border: 0.5px solid #000;
    background-color: red;
    width: 300px;
    height: 300px;
    background: url("./img/1.png") no-repeat;
    background-size: cover;
}
/* 路由 */
.mainrouter {
    background-color: white;
    width: 100%;
    height: 100%;
    border-radius: 4px;
    padding: 25px;
}
/* 居中 */
.centerWindi {
    @apply flex justify-center items-center;
}

</style>
文章来源地址https://www.toymoban.com/news/detail-797937.html
到了这里,关于写一个判断鼠标进入方向切换图片的效果的文章就介绍完了。如果您还想了解更多内容,请在右上角搜索TOY模板网以前的文章或继续浏览下面的相关文章,希望大家以后多多支持TOY模板网!


![uniapp - [ H5 网页 / App ] 高性能 tabbar 底部菜单凸起效果,原生系统自定义底部菜单不卡顿、切换页面不闪烁、自动缓存页面(底部菜单中间自定义一个图片并悬浮起来)](https://imgs.yssmx.com/Uploads/2024/02/831617-1.gif)


