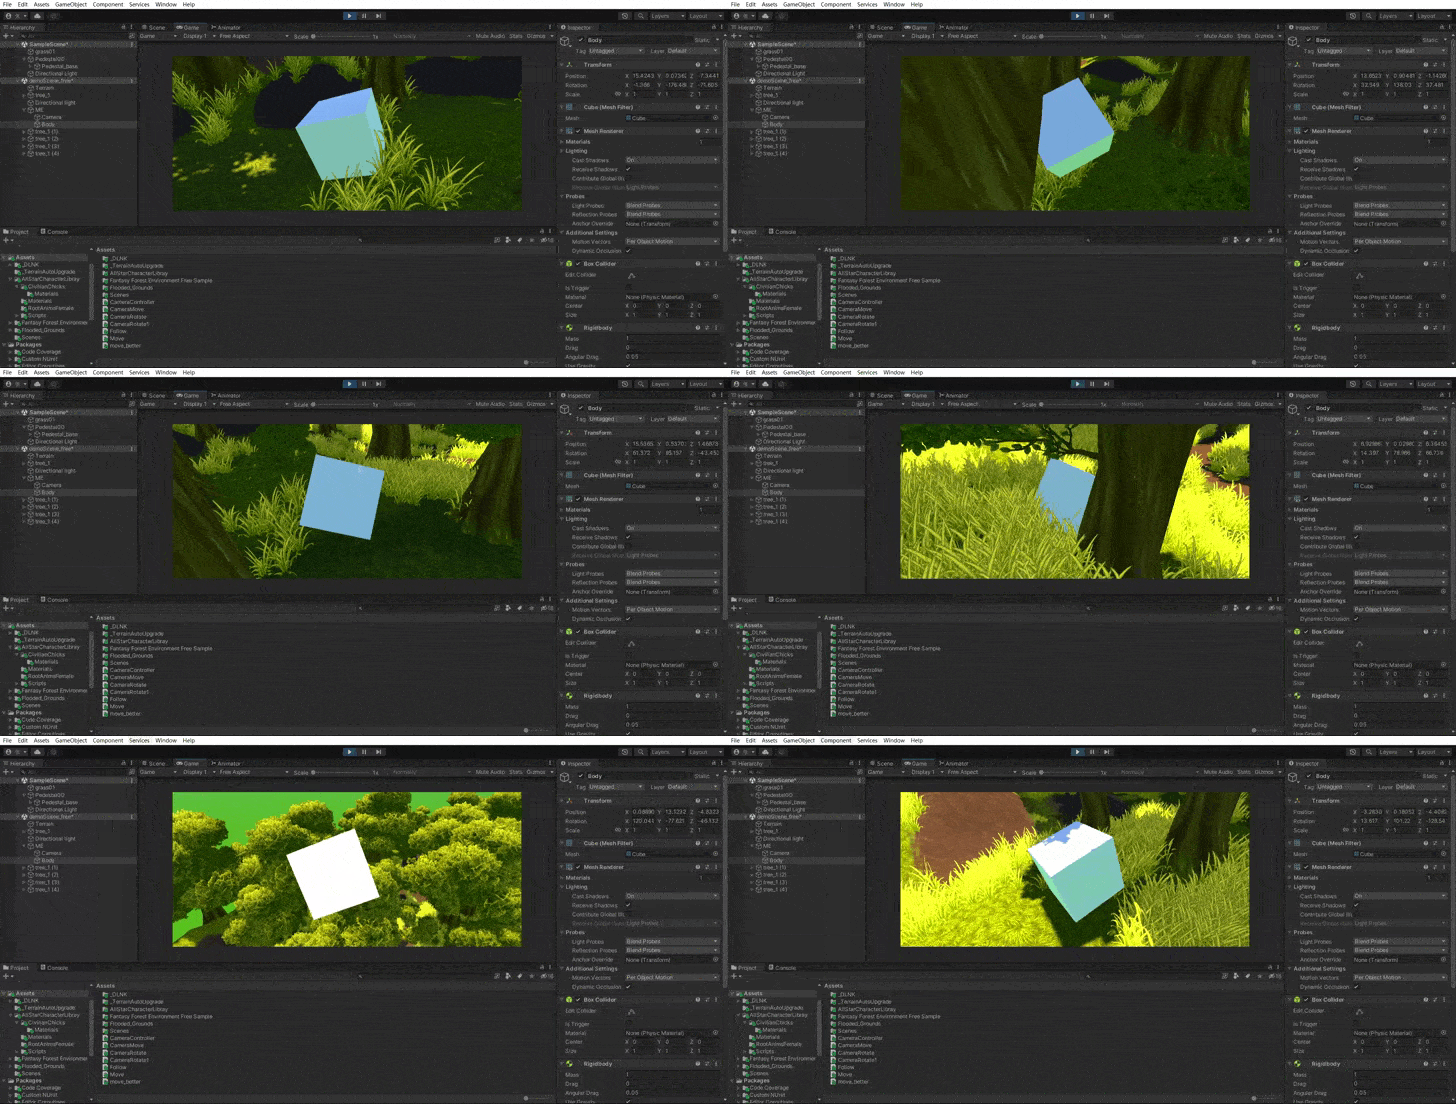
Unity 使用任意一个局部轴指向目标
效果:
主要用于在编辑器中可视化对象的朝向,同时提供了选择不同轴向的功能。在运行时,物体将根据所选择的轴向朝向目标,并在 Scene 视图中绘制一个带箭头的圆环。 文章来源:https://www.toymoban.com/news/detail-801437.html
定义轴向枚举:
public enum OnlyAxis
{
    x_Axis,
    y_Axis,
    z_Axis
}
- 这是一个用于表示轴向的枚举,包括 x 轴、y 轴和 z 轴。
定义变量:
public Transform target; // 要指向的目标物体
[Header("追踪轴向")]
public OnlyAxis Axis = OnlyAxis.x_Axis; // 选择旋转的轴向
private OnlyAxis CurrentAxis = OnlyAxis.x_Axis; // 当前轴向
- target: 用于指定需要朝向的目标物体。
- Axis: 用于在 Inspector 窗口中选择旋转的轴向。
- CurrentAxis: 用于在运行时跟踪当前的轴向。
主要计算:
private void Update()
{
    SetAxis(Axis);

    // 获取目标方向
    Vector3 targetDirection = target.position - transform.position;
    Vector3 RotateAxis = transform.up;

    // 根据选择的轴向,获取目标方向在对应轴上的投影
    Vector3 axisDirection = Vector3.zero;
    switch (CurrentAxis)
    {
        case OnlyAxis.x_Axis:
            axisDirection = Vector3.ProjectOnPlane(targetDirection, transform.right);
            break;
        case OnlyAxis.y_Axis:
            axisDirection = Vector3.ProjectOnPlane(targetDirection, transform.up);
            break;
        case OnlyAxis.z_Axis:
            axisDirection = transform.forward;
            Vector3 dirTemp = transform.forward.normalized;
            RotateAxis = Vector3.ProjectOnPlane(targetDirection, dirTemp);
            break;
    }

    // 计算旋转角度
    Quaternion newRotation = Quaternion.LookRotation(axisDirection, RotateAxis);
    transform.rotation = newRotation;
}
- SetAxis 方法用于在运行时更新 CurrentAxis,确保在不同的轴向之间正确切换。
- 在 Update 方法中,获取目标方向,并根据当前选择的轴向计算相应的旋转。最后,将物体的旋转设为新的旋转。
OnDrawGizmosSelected 方法(仅在编辑器中生效):
#if UNITY_EDITOR
    private void OnDrawGizmosSelected()
    {
        DrawCircle();
    }
    public bool is3DDraw = false;
    public float radius = 0.1f;
    public float arrowLength = 0.01f;
    int segments = 20;

    private void DrawCircle()
    {
        float Radius = is3DDraw ? radius : radius * Vector3.Distance(transform.position, SceneView.lastActiveSceneView.camera.transform.position);
        float ArrowLength = is3DDraw ? arrowLength : arrowLength * Vector3.Distance(transform.position, SceneView.lastActiveSceneView.camera.transform.position);

        Gizmos.color = Color.green;
        Vector3 center = transform.position;
        Quaternion rotation = transform.rotation;
        float angleIncrement = 360f / segments;
        for (int i = 0; i < segments; i++)
        {
            float angle = i * angleIncrement;
            Vector3 point = Vector3.zero;
            float nextAngle = (i + 1) * angleIncrement;
            Vector3 nextPoint = Vector3.zero;

            // 根据所选轴向,调整旋转
            switch (Axis)
            {
                case OnlyAxis.x_Axis:
                    point = center + rotation * Quaternion.Euler(angle, 0, 0) * (Vector3.up * Radius);
                    nextPoint = center + rotation * Quaternion.Euler(nextAngle, 0, 0) * (Vector3.up * Radius);
                    if (i == 0)
                    {
                        Gizmos.DrawLine(nextPoint, center + rotation * Quaternion.Euler(angle + angleIncrement / 2, 0, 0) * (Vector3.up * (Radius + ArrowLength)));
                        Gizmos.DrawLine(nextPoint, center + rotation * Quaternion.Euler(angle + angleIncrement / 2, 0, 0) * (Vector3.up * (Radius - ArrowLength)));
                    }
                    break;
                case OnlyAxis.y_Axis:
                    point = center + rotation * Quaternion.Euler(0, angle, 0) * (Vector3.right * Radius);
                    nextPoint = center + rotation * Quaternion.Euler(0, nextAngle, 0) * (Vector3.right * Radius);
                    if (i == 0)
                    {
                        Gizmos.DrawLine(nextPoint, center + rotation * Quaternion.Euler(0, angle + angleIncrement / 2, 0) * (Vector3.right * (Radius + ArrowLength)));
                        Gizmos.DrawLine(nextPoint, center + rotation * Quaternion.Euler(0, angle + angleIncrement / 2, 0) * (Vector3.right * (Radius + -ArrowLength)));
                    }
                    break;
                case OnlyAxis.z_Axis:
                    point = center + rotation * Quaternion.Euler(0, 0, angle) * (Vector3.right * Radius);
                    nextPoint = center + rotation * Quaternion.Euler(0, 0, nextAngle) * (Vector3.right * Radius);
                    if (i == 0)
                    {
                        Gizmos.DrawLine(nextPoint, center + rotation * Quaternion.Euler(0, 0, angle + angleIncrement / 2) * (Vector3.right * (Radius + ArrowLength)));
                        Gizmos.DrawLine(nextPoint, center + rotation * Quaternion.Euler(0, 0, angle + angleIncrement / 2) * (Vector3.right * (Radius + -ArrowLength)));
                    }
                    break;
            }
            if (i != 1) Gizmos.DrawLine(point, nextPoint);
        }
    }
#endif
- OnDrawGizmosSelected 方法用于在 Scene 视图中绘制圆环。
- DrawCircle 方法根据选择的轴向,绘制一个圆环并在第一个点上画一个箭头。
点击下载Demo文章来源地址https://www.toymoban.com/news/detail-801437.html
到了这里,关于Unity 旋转跟随的文章就介绍完了。如果您还想了解更多内容,请在右上角搜索TOY模板网以前的文章或继续浏览下面的相关文章,希望大家以后多多支持TOY模板网!


![游戏开发常用引擎工具介绍对比区别(UE4,Unity,Cocos,LayaAir,[egret-白鹭])](https://imgs.yssmx.com/Uploads/2024/02/640262-1.png)


