实验大纲
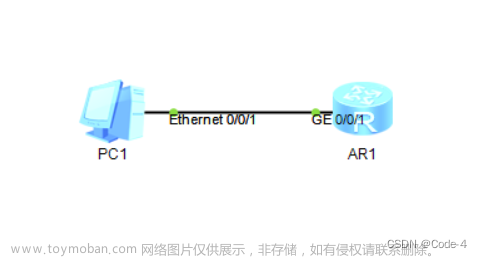
1.构建网络拓扑结构图
2.配置交换机的Trunk端口,把端口24配置为trunk模式
3.配置交换机vlan
4.路由器基本配置及其子接口
5.路由器接口配置
6.显示Trunk接口信息
7.显示路由信息
8.测试vlan间的连通性
1.构建网络拓扑结构图

2.配置交换机的Trunk端口
把端口24配置为trunk模式
#把端口24配置为trunk模式
Sw99a>enable
Password:
Sw99a#conf t
Enter configuration commands,one per line.End with CNTL/Z.
Sw99a(config)#int fastEthernet 0/24
Sw99a(config-if)#switch mode trunk
Sw99a(config-if)#end

3.配置交换机vlan
Sw99a#conf t
Enter configuration commands,one per line.End with CNTL/Z.
Sw99a(config)#vlan 10
Sw99a(config)#vlan 20
Sw99a(config)#vlan 30

Sw99a(config)#int vlan 10
Sw99a(config-if)#int vlan 20
Sw99a(config-if)#int vlan 30

4.路由器基本配置及其子接口
#基本配置,特权模式密码及本地登录密码
Router>en
Router#conf t
Enter configuration commands,one per line.End with CNTL/Z.
Router(config)#hostname Rt99a
Rt99a(config)#enable secret cisco
Rt99a(config)#service password-encryption
Rt99a(config)#no ip domain-lookup
Rt99a(config)#line con 0
Rt99a(config-line)#logging synchronous
Rt99a(config-line)#exec-timeout 0 0
Rt99a(config-line)#line vty 0 4
Rt99a(config-line)#password cisco
Rt99a(config-line)#logging synchronous
Rt99a(config-line)#exec-timeout 0 0
Rt99a(config-line)#exit
#802.1Q,是虚拟局域网标准,在路由器中dot1q为虚拟局域网的封装模式
#VLAN10封装Dot1q、VLAN20封装Dot1q、VLAN30封装Dot1q

Rt99a(config)#int fastEthernet 0/0.10
Rt99a(config-subif)#encapsulation dot1q 10
Rt99a(config-subif)#ip add 10.10.0.1 255.255.0.0
Rt99a(config-subif)#int f0/0.20
Rt99a(config-subif)#encapsulation dot1q 20
Rt99a(config-subif)#ip add 10.20.0.1 255.255.0.0
Rt99a(config-subif)#int f0/0.30
Rt99a(config-subif)#encapsulation dot1q 30
Rt99a(config-subif)#ip add 10.30.0.1 255.255.0.0

"int fastEthernet0/0.10"是一条在 Cisco上用于配置子接口的命令。
5.路由器接口配置
取消接口fa0/0的ip地址并激活fa0/0
R1(config-subif)#int f0/0
R1(config-if)#no ip add
R1(config-if)#no sh

6.显示Trunk接口信息
Switch#show interface trunk

7.显示路由信息
R1#show ip route
 文章来源:https://www.toymoban.com/news/detail-807901.html
8.测试vlan间的连通性
ping 10.10.99.3
 文章来源地址https://www.toymoban.com/news/detail-807901.html
到了这里,关于配置交换机trunk接口和路由器基本配置及其子接口的文章就介绍完了。如果您还想了解更多内容,请在右上角搜索TOY模板网以前的文章或继续浏览下面的相关文章,希望大家以后多多支持TOY模板网!


