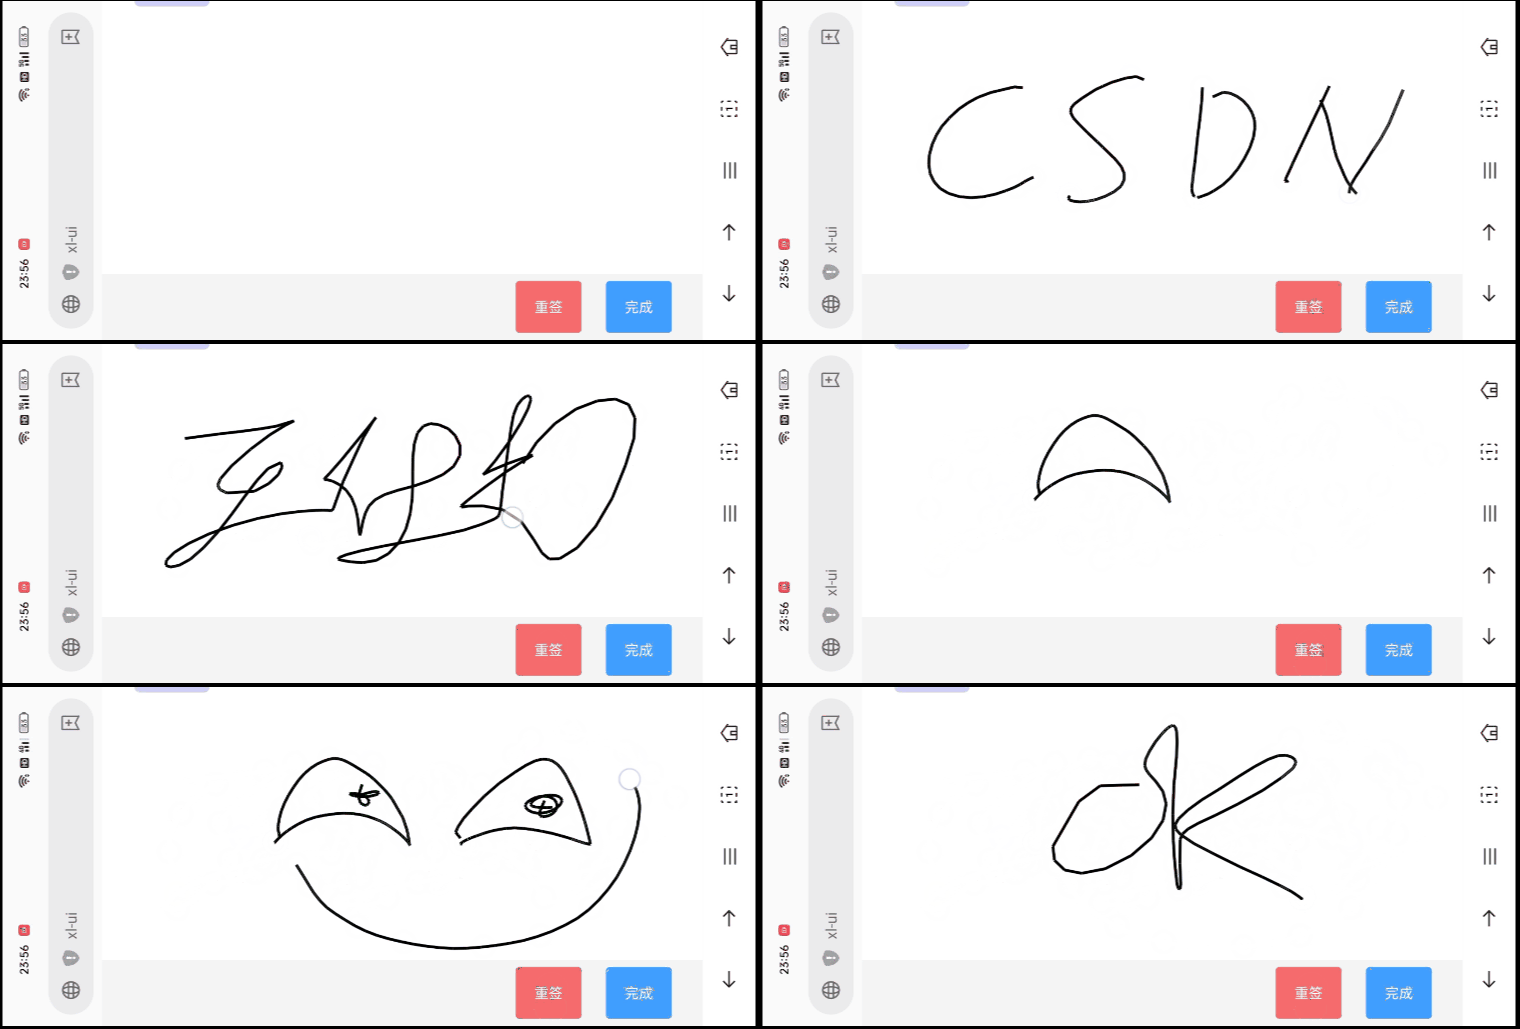
基于Vue+Canvas实现的画板绘画以及保存功能
本文内容设计到的画板的js部分内容来源于灵感来源引用地址,然后我在此基础上,根据自己的需求做了修改,增加了其他功能。
下面展示了完整的前后端代码
1. board-js.js
这个代码,接收一个容器参数,创建了一个画板类,里面实现了画板会用到的基本方法,保存到单独的js文件,在vue文件中导入,创建一个画板对象。
Canvas直接使用canvas.toDataURL()保存的图片是没有背景的,因为默认的是png,所以需要开始绘画之前先填充背景,下面代码做出了修改,在init()函数中。
代码中用到的Canvas的原生API的作用,可以参考这里Canvas参考手册文章来源:https://www.toymoban.com/news/detail-809665.html
export default class BoardCanvas {
    constructor(container) {
        // 容器
        this.container = container
        // canvas画布
        this.canvas = this.createCanvas(container)
        // 绘制工具
        this.ctx = this.canvas.getContext('2d')
        // 起始点位置
        this.startX = 0
        this.stateY = 0
        // 画布历史栈
        this.pathSegmentHistory = []
        this.index = 0

        // 初始化
        this.init()
    }

    // 创建画布
    createCanvas(container) {
        const canvas = document.createElement('canvas')
        canvas.width = container.clientWidth
        canvas.height = container.clientHeight
        canvas.style.display = 'block'
        canvas.style.backgroundColor = 'white'
        container.appendChild(canvas)
        return canvas
    }

    // 初始化
    init() {
        this.addPathSegment()
        this.setContext2DStyle()
        //下面两行,原文件是没有的,如果没有会导致保存的图片没有背景,只有绘画轨迹
        this.ctx.fillStyle = "#ffffff";
        this.ctx.fillRect(0, 0,this.canvas.width, this.canvas.height);

        this.canvas.addEventListener('contextmenu', e => e.preventDefault())
        this.canvas.addEventListener('mousedown', this.mousedownEvent.bind(this))
        window.document.addEventListener('keydown', this.keydownEvent.bind(this))
    }

    // 设置画笔样式
    setContext2DStyle() {
        this.ctx.strokeStyle = 'black'
        this.ctx.lineWidth = 3
        this.ctx.lineCap = 'round'
        this.ctx.lineJoin = 'round'
    }

    // 鼠标事件
    mousedownEvent(e) {
        const that = this
        const ctx = this.ctx
        ctx.beginPath()
        ctx.moveTo(e.offsetX, e.offsetY)
        ctx.stroke()

        this.canvas.onmousemove = function (e) {
            ctx.lineTo(e.offsetX, e.offsetY)
            ctx.stroke()
        }
        this.canvas.onmouseup = this.canvas.onmouseout = function () {
            that.addPathSegment()
            this.onmousemove = null
            this.onmouseup = null
            this.onmouseout = null
        }
    }

    // 键盘事件
    keydownEvent(e) {
        if(!e.ctrlKey) return
        switch(e.keyCode) {
            case 90:
                this.undo()
                break
            case 89:
                this.redo()
                break
        }
    }

    // 添加路径片段
    addPathSegment() {
        const data = this.ctx.getImageData(0, 0, this.canvas.width, this.canvas.height)
        // 删除当前索引后的路径片段,然后追加一个新的路径片段,更新索引
        this.pathSegmentHistory.splice(this.index + 1)
        this.pathSegmentHistory.push(data)
        this.index = this.pathSegmentHistory.length - 1
    }

    // 撤销
    undo() {
        if(this.index <= 0) return
        this.index--
        this.ctx.putImageData(this.pathSegmentHistory[this.index], 0, 0)
    }
    // 恢复
    redo() {
        if(this.index >= this.pathSegmentHistory.length - 1) return
        this.index++
        this.ctx.putImageData(this.pathSegmentHistory[this.index], 0, 0)
    }
	//获取画布内容
    getImage() {
        return this.canvas.toDataURL();
    }
    //清空画板
    cleanboard(){
        this.ctx.fillStyle = "#ffffff";
        this.ctx.fillRect(0, 0,this.canvas.width, this.canvas.height);
    }
}
2. 前端的vue文件
<template>
  <el-container direction="vertical" style="height: 100%;width: 100%">
    <!--头顶布局,用户操作提示语-->
    <el-header height="10%">
      <h2>在空白处进行绘画</h2>
    </el-header>
    <!--中间布局 -->
    <div style=display:flex;justify-content:center;align-items:center;>
      <!--中间画板-->
      <div class="drawing-board"
           style="width:66%;height:600px;border: 1px black solid;margin-left: 10px">
        <div id="container" ref="container" style="width: 100%; height: 100%"></div>
      </div>
    </div>
    <!--底部按钮-->
    <el-footer style="height: 300px;margin-top: 25px">
      <el-button type="primary" round @click="savedrawing">保存</el-button>
    </el-footer>
  </el-container>
</template>

//这里使用的vue的setup语法糖,所以data和method不需要封装,直接用
<script setup>
import { ref, onMounted } from 'vue'
import Board from '@/js/drawing-board.js'
import axios from "axios";

const container = ref(null)
let drawboard = null;
onMounted(() => {
  // 新建一个画板
  drawboard=new Board(container.value)
})
function savedrawing() {
  const drawdata = drawboard.getImage();
  let formdata = new FormData();
  const timestamp = (new Date()).valueOf();
  let filename = timestamp;
  formdata.append("drawPictureId",filename);
  formdata.append("drawPictureData",drawdata.substring(22));
  axios({
    method:"post",
    url:"/savedrawdata",
    baseURL:"http://localhost:9999",
    data:formdata,
    contentType:false,
    processData:false
  }).then(response=>{
    if(response.status===200){
      alert("保存成功!")
    }
  }).catch(error=>{
    console.log(error);
  })
}
</script>
3. 后端Controller
Controller文件中,前端使用FormData格式传递参数,就相当于是个map键值对,所以在参数这里,使用 @RequestParam() ,取出表单中的值,括号中的字符串,是在前端传入的,表示将该key对应的value,赋值给后面的String 参数。
其次,这里注意Canvas得到的图片是经过base64编码过的,所以先解码成字节数组文章来源地址https://www.toymoban.com/news/detail-809665.html
    @RequestMapping("/savedrawdata")
    public ResponseEntity<?> savedrawdata(@RequestParam("drawPictureId")String drawPictureId,
                                          @RequestParam("drawPictureData")String drawPictureData){
        try {
            // 解码前端传过来的base64编码
            byte[] imageBytes = Base64.decodeBase64(drawPictureData);

            // 将字节流转为图片缓冲流
            BufferedImage bufferedImage = ImageIO.read(new ByteArrayInputStream(imageBytes));

            // 保存为png
            File output = new File("F:\\image\\" + drawPictureId + ".png");
            ImageIO.write(bufferedImage, "png", output);

        } catch (IOException e) {
            e.printStackTrace();
        }
        System.out.println(rawPictureId);
        System.out.println(drawPictureId);
        return ResponseEntity.ok(HttpStatus.OK);
    }
到了这里,关于基于Vue+Canvas实现的画板绘画以及保存功能,解决保存没有背景问题的文章就介绍完了。如果您还想了解更多内容,请在右上角搜索TOY模板网以前的文章或继续浏览下面的相关文章,希望大家以后多多支持TOY模板网!


