1、stable diffusion git下载代码
https://github.com/CompVis/stable-diffusion
安装环境ldm
2、下载模型
从网站中 CompVis (CompVis) 下载compvis的模型,有如下,下载模型如果有问题,运行中会提示错误。需要重新下载

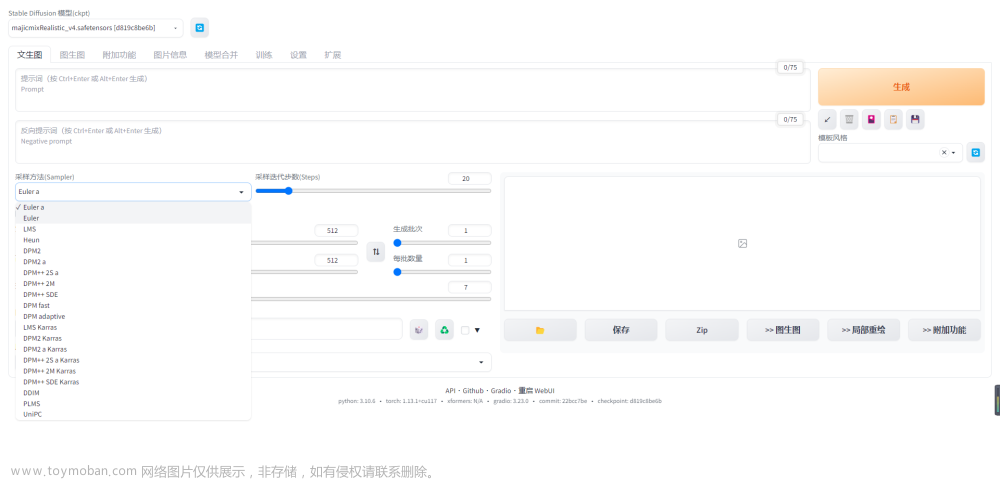
3、运行
到1的主目录下,运行:其中init-img是自己选的图片,prompt是生成的提示词
python scripts/img2img.py --init-img demoimg/man3.png --n_samples 4 --outdir outputs/img2img/0 --ckpt models/ldm/stable-diffusion-v1-4/sd-v1-4.ckpt --prompt “a men in black, tied hair and waist, tall and fit, deep eyes and gnarled beard”
4、bug1:
img2img.py 53: w, h = image.size
print(f"loaded input image of size ({w}, {h}) from {path}") # 158*162
最终resize到128*160,为32的倍数,然而有bug,size 问题,提示如下。
解决:w, h = map(lambda x: x - x % 64, (w, h))
改成64的倍数即可——这里是因为unet里有3次downsample,即unet的输入需要是8的倍数。若32则仅保证4倍文章来源:https://www.toymoban.com/news/detail-819786.html
Traceback (most recent call last):
File "/cfs/cfs_dataV/workdir/Research_stage2/stable-diffusion/scripts/img2img.py", line 308, in <module>
main()
File "/cfs/cfs_dataV/workdir/Research_stage2/stable-diffusion/scripts/img2img.py", line 271, in main
samples = sampler.decode(z_enc, c, t_enc, unconditional_guidance_scale=opt.scale,
File "/data/miniconda3/envs/env-novelai/lib/python3.10/site-packages/torch/autograd/grad_mode.py", line 27, in decorate_context
return func(*args, **kwargs)
File "/cfs/cfs_dataV/workdir/Research_stage2/stable-diffusion/ldm/models/diffusion/ddim.py", line 238, in decode
x_dec, _ = self.p_sample_ddim(x_dec, cond, ts, index=index, use_original_steps=use_original_steps,
File "/data/miniconda3/envs/env-novelai/lib/python3.10/site-packages/torch/autograd/grad_mode.py", line 27, in decorate_context
return func(*args, **kwargs)
File "/cfs/cfs_dataV/workdir/Research_stage2/stable-diffusion/ldm/models/diffusion/ddim.py", line 177, in p_sample_ddim
e_t_uncond, e_t = self.model.apply_model(x_in, t_in, c_in).chunk(2)
File "/cfs/cfs_dataV/workdir/Research_stage2/stable-diffusion/ldm/models/diffusion/ddpm.py", line 987, in apply_model
x_recon = self.model(x_noisy, t, **cond)
File "/data/miniconda3/envs/env-novelai/lib/python3.10/site-packages/torch/nn/modules/module.py", line 1130, in _call_impl
return forward_call(*input, **kwargs)
File "/cfs/cfs_dataV/workdir/Research_stage2/stable-diffusion/ldm/models/diffusion/ddpm.py", line 1410, in forward
out = self.diffusion_model(x, t, context=cc)
File "/data/miniconda3/envs/env-novelai/lib/python3.10/site-packages/torch/nn/modules/module.py", line 1130, in _call_impl
return forward_call(*input, **kwargs)
File "/cfs/cfs_dataV/workdir/Research_stage2/stable-diffusion/ldm/modules/diffusionmodules/openaimodel.py", line 751, in forward
h = th.cat([h, hs.pop()], dim=1)
RuntimeError: Sizes of tensors must match except in dimension 1. Expected size 3 but got size 5 for tensor number 1 in the list.文章来源地址https://www.toymoban.com/news/detail-819786.html
到了这里,关于运行stable diffusion的文章就介绍完了。如果您还想了解更多内容,请在右上角搜索TOY模板网以前的文章或继续浏览下面的相关文章,希望大家以后多多支持TOY模板网!