更多ruoyi-nbcio功能请看演示系统
gitee源代码地址
前后端代码: https://gitee.com/nbacheng/ruoyi-nbcio
演示地址:RuoYi-Nbcio后台管理系统
更多nbcio-boot功能请看演示系统
gitee源代码地址
后端代码: https://gitee.com/nbacheng/nbcio-boot
前端代码:https://gitee.com/nbacheng/nbcio-vue.git
在线演示(包括H5) : http://122.227.135.243:9888
这部分主要是讲前端
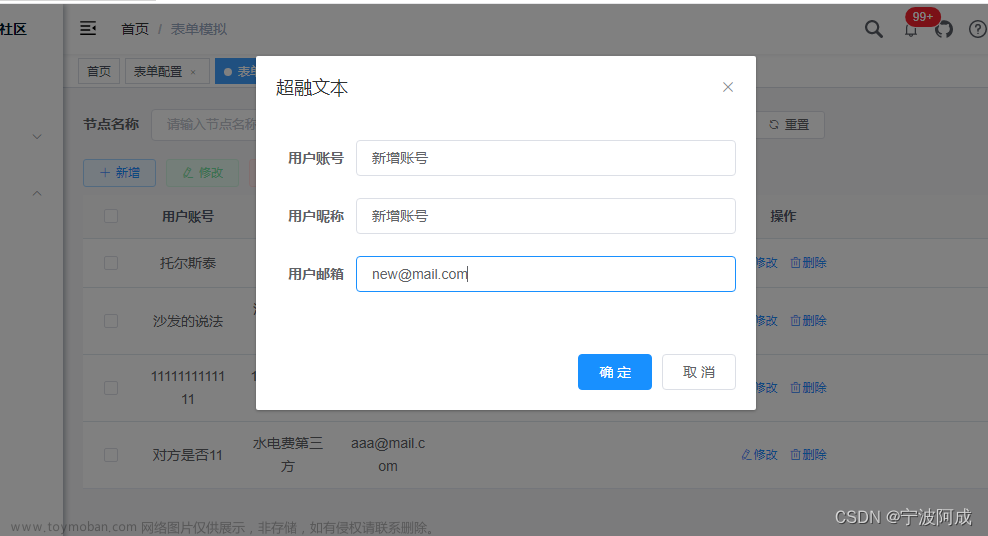
1、表单设计器的前端,添加两个,分别关联用户呢称与邮箱,如下:
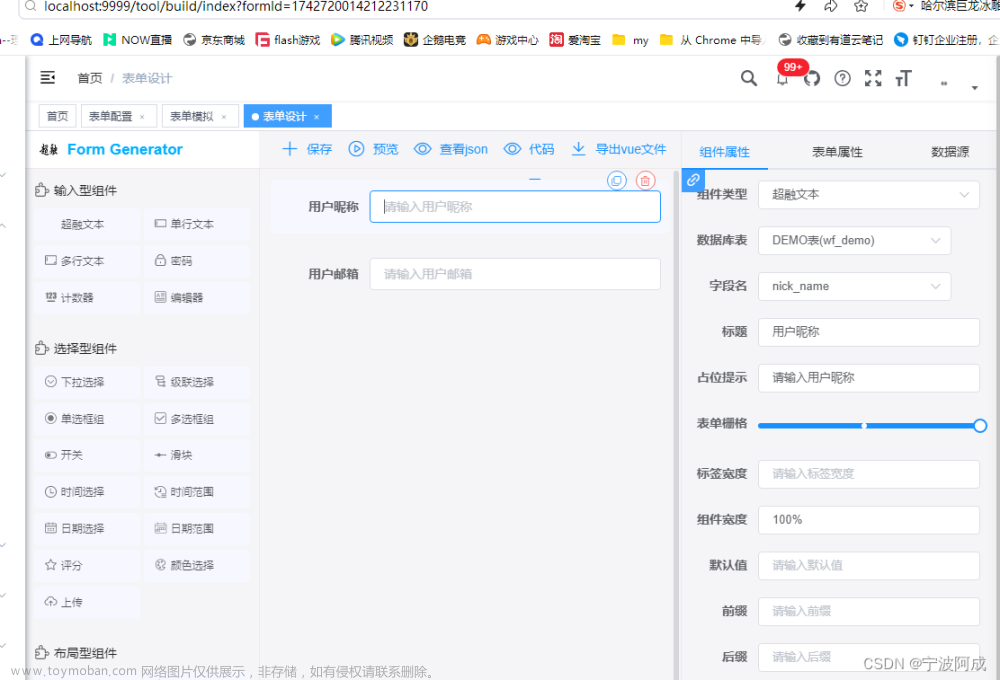
2、生成的json包含字段名称与表名

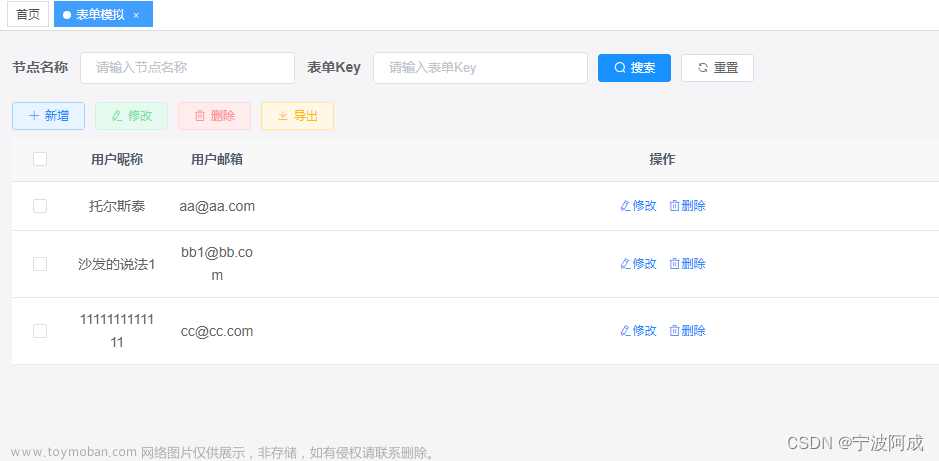
3、模拟器的列表如下:
<!-- 列表标题与内容这个部分要根据配置动态根据主表信息来动态生成 -->
    <el-table v-loading="loading" :data="mainDataList" @selection-change="handleSelectionChange">
      <el-table-column type="selection" width="55" align="center" />
      <div v-for="(item, i) in columnList">
        <el-table-column :label="item.__config__.label" align="center"
                         :width="item.style.width" :prop="item.__vModel__" />
      </div>
      <el-table-column label="操作" align="center" class-name="small-padding fixed-width">
        <template slot-scope="scope"> <!-- 这个暂时固定,以后可根据配置动态生成按钮-->
          <el-button
            size="mini"
            type="text"
            icon="el-icon-edit"
            @click="handleUpdate(scope.row)"
            v-hasPermi="['workflow:flowConfig:edit']"
          >修改</el-button>
          <el-button
            size="mini"
            type="text"
            icon="el-icon-delete"
            @click="handleDelete(scope.row)"
            v-hasPermi="['workflow:flowConfig:remove']"
          >删除</el-button>
        </template>
      </el-table-column>
    </el-table>
4、相应的数据调用
mounted() {
    const that = this;
    const formId =  that.$route.query && that.$route.query.formId;
    if (formId) {
      getForm(formId).then(res => {
        that.formConf = JSON.parse(res.data.content);
        console.log("getForm that.formConf",that.formConf);
        that.columnList = that.formConf.fields;
        console.log("getForm that.columnList",that.columnList);
        const tableName = that.formConf.mainTable;
        if(tableName) {
          getData(tableName).then(response => {
            console.log("getData response",response);
            that.mainDataList = response.data;
          })
        }
      })
    }
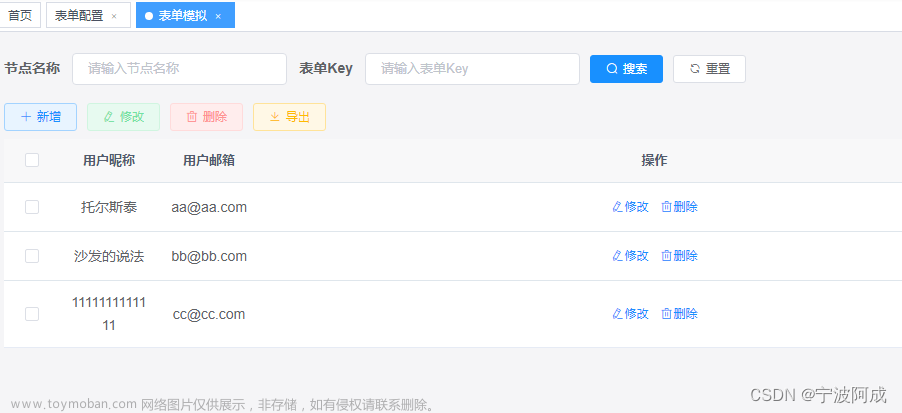
},5、效果图如下:文章来源:https://www.toymoban.com/news/detail-822364.html
 文章来源地址https://www.toymoban.com/news/detail-822364.html
到了这里,关于基于若依的ruoyi-nbcio流程管理系统一种简单的动态表单模拟测试实现(二)的文章就介绍完了。如果您还想了解更多内容,请在右上角搜索TOY模板网以前的文章或继续浏览下面的相关文章,希望大家以后多多支持TOY模板网!

