最近在心血来潮想写在app 不过我关于android可以说是0基础 在写底部导航栏的时候去问了大佬才知道TabLayout和ViewPager 花了两天才看懂...
这里只是简单介绍因为我不准备专门做安卓软件所以在学的途中很多地方没有认真记
介绍
本篇文章使用的代码是Java
这里官方是有将两个进行联动的方法的 当然如果不用也可以做 只不过应该没人会这样写...
TabLayout
关于TabLayout给我的第一感觉是真的强大 而大部分情况TabLayout都是用于做导航栏的(也是暂时没想出来还可以做什么)
ViewPager
而ViewPager主要是用于做页面滚动 滑动页面 等
这里页面滚动和滑动页面是两个东西 页面滚动就是类似于在浏览某宝或新闻网站时遇到的滚动效果 页面滑动是用户用手指滑动页面(左滑或右滑) 而这里的滚动是自动的由程序设置定时器的方式滚动 当然也可以手动滑动 页面滑动只是用户用手指去滑动
代码
layout_main.xml
<?xml version="1.0" encoding="utf-8"?>
<RelativeLayout xmlns:android="http://schemas.android.com/apk/res/android"
    xmlns:app="http://schemas.android.com/apk/res-auto"
    xmlns:tools="http://schemas.android.com/tools"
    android:id="@+id/father_layout"
    android:layout_width="match_parent"
    android:layout_height="match_parent"
    android:background="@color/white"
    tools:context=".Main">

    <androidx.viewpager2.widget.ViewPager2
        android:id="@+id/view_pager"
        android:layout_width="match_parent"
        android:layout_height="match_parent"/>

    <com.google.android.material.tabs.TabLayout
        android:id="@+id/navigation"
        android:layout_width="match_parent"
        android:layout_height="wrap_content"
        android:layout_alignParentBottom="true"
        app:tabGravity="fill"
        app:tabIconTint="@color/tab_layout"
        app:tabIndicatorFullWidth="true"
        app:tabIndicatorGravity="top"
        app:tabIndicatorHeight="2dp"
        app:tabMode="fixed"
        app:tabRippleColor="#ADD8E6"
        app:tabUnboundedRipple="true"/>

</RelativeLayout>
可以看到在我的layout_main文件里我定义TabLayout与ViewPager2
需要注意的是这里的ViewPager2和ViewPager是有区别的 一会介绍
由于我没记住TabLayout的属性所以就放文章给大家了....
TabLayout属性介绍:TabLayout属性介绍
Main.java
package com.javabot.demo;

import android.content.Context;
import android.os.Bundle;
import android.view.LayoutInflater;
import android.view.View;

import android.widget.ImageView;

import androidx.annotation.Nullable;
import androidx.appcompat.app.AppCompatActivity;
import androidx.core.content.ContextCompat;
import androidx.fragment.app.Fragment;
import androidx.viewpager2.widget.ViewPager2;

import com.daimajia.androidanimations.library.Techniques;
import com.daimajia.androidanimations.library.YoYo;
import com.google.android.material.tabs.TabLayout;
import com.google.android.material.tabs.TabLayoutMediator;
import com.javabot.demo.fragment.FragmentCommunity;
import com.javabot.demo.fragment.FragmentContact;
import com.javabot.demo.fragment.FragmentDocumentation;
import com.javabot.demo.fragment.FragmentHomePage;
import com.javabot.demo.utils.MyFragmentPagerAdapter;
import com.javabot.demo.utils.svg;

import java.util.ArrayList;
import java.util.List;

/**
 * 主程序
 *
 * @author 白
 */
public class Main extends AppCompatActivity {

    private final Context context = this;

    /**
     * 工具 svg对象
     */
    private final svg svg = new svg(context);

    private int[] tabIconView = {
            R.drawable.home,
            R.drawable.megaphone,
            R.drawable.paper_plane,
            R.drawable.user
    };

    /**
     * 自定义view
     *
     * @param icon svg
     * @return View
     */
    private View setCustomView(int icon) {
        View v = View.inflate(context, R.layout.custom_view, null);
        ImageView i = v.findViewById(R.id.CustomViewImage);
        i.setImageTintList(ContextCompat.getColorStateList(context, R.color.tab_layout));
        i.setImageDrawable(svg.svgImage(icon));
        return v;
    }

    /**
     * TabLayout关联ViewPager2
     */
    private void addMyFragmentPagerAdapter() {
        List<Fragment> fragmentList = new ArrayList<>();

        FragmentHomePage homePage = new FragmentHomePage();
        FragmentCommunity community = new FragmentCommunity();
        FragmentContact contact = new FragmentContact();
        FragmentDocumentation documentation = new FragmentDocumentation(context);

        fragmentList.add(homePage);
        fragmentList.add(community);
        fragmentList.add(contact);
        fragmentList.add(documentation);

        MyFragmentPagerAdapter fragmentAdapter = new MyFragmentPagerAdapter(getSupportFragmentManager(),getLifecycle(), fragmentList);
        TabLayout tabLayout = findViewById(R.id.navigation);
        ViewPager2 viewPager = findViewById(R.id.view_pager);
        viewPager.setAdapter(fragmentAdapter);

        new TabLayoutMediator(tabLayout, viewPager,
                (tab, position) -> {
                    tab.setIcon(tabIconView[position]);
                }
        ).attach();

        // 监听页面切换事件
        viewPager.registerOnPageChangeCallback(new ViewPager2.OnPageChangeCallback() {
            @Override
            public void onPageSelected(int position) {
                // 更新TabLayout的选中状态
                tabLayout.selectTab(tabLayout.getTabAt(position));
                tabLayout.addOnTabSelectedListener(new TabLayout.OnTabSelectedListener() {
                    @Override
                    public void onTabSelected(TabLayout.Tab tab) {
                    }

                    @Override
                    public void onTabUnselected(TabLayout.Tab tab) {
                    }

                    @Override
                    public void onTabReselected(TabLayout.Tab tab) {
                        YoYo.with(Techniques.RubberBand)
                                .duration(700)
                                .playOn(tab.view);
                    }
                });
            }
        });
    }

    @Override
    protected void onCreate(@Nullable Bundle savedInstanceState) {
        super.onCreate(savedInstanceState);
        setContentView(R.layout.layout_main);
        addMyFragmentPagerAdapter();
    }
}
主要关联的代码在addMyFragmentPagerAdapter方法中
这里我们将代码一点点拆解介绍
addMyFragmentPagerAdapte方法
这里的代码都是按照addMyFragmentPagerAdapte方法中的代码一行一行的讲解 所以看到不知道的变量时请往上瞅瞅
List<Fragment> fragmentList = new ArrayList<>();这里是创建视图存储器的 这个就看各位喜好了 也可以用Map或数组
ViewPager2的视图对象需要是Fragment而不是View 因为适配器需要
关于ViewPager2的详细介绍请移步
ViewPagers2
FragmentHomePage homePage = new FragmentHomePage();
FragmentCommunity community = new FragmentCommunity();
FragmentContact contact = new FragmentContact();
FragmentDocumentation documentation = new FragmentDocumentation(context);
fragmentList.add(homePage);
fragmentList.add(community);
fragmentList.add(contact);
fragmentList.add(documentation);
创建视图对象并添加到集合中 这一步没什么好说的 视图对象会在下面放出来
MyFragmentPagerAdapter fragmentAdapter = new MyFragmentPagerAdapter(getSupportFragmentManager(),getLifecycle(), fragmentList);创建适配器对象 适配器会在下面放出来
TabLayout tabLayout = findViewById(R.id.navigation);
ViewPager2 viewPager = findViewById(R.id.view_pager);
获取xml文件中的视图id 这里也没什么好说的
viewPager.setAdapter(fragmentAdapter);设置ViewPager2适配器fragmentAdapter由适配器对象获得
new TabLayoutMediator(tabLayout, viewPager,
        (tab, position) -> {
            tab.setIcon(tabIconView[position]);
    }).attach();
将TabLayout和ViewPager2关联
而这里的
tab.setIcon(tabIconView[position]);就是在里面的代码是用于设置TabLayout显示的内容的 这边这个可以自己按需求更改
// 监听页面切换事件
        viewPager.registerOnPageChangeCallback(new ViewPager2.OnPageChangeCallback() {
            @Override
            public void onPageSelected(int position) {
                // 更新TabLayout的选中状态
                tabLayout.selectTab(tabLayout.getTabAt(position));
                tabLayout.addOnTabSelectedListener(new TabLayout.OnTabSelectedListener() {
                    @Override
                    public void onTabSelected(TabLayout.Tab tab) {
                    }

                    @Override
                    public void onTabUnselected(TabLayout.Tab tab) {
                    }

                    @Override
                    public void onTabReselected(TabLayout.Tab tab) {
                        YoYo.with(Techniques.RubberBand)
                                .duration(700)
                                .playOn(tab.view);
                    }
                });
            }
        });
这里就和备注的一样 和平常的监听事件相同这里可写可不写
需要拿出来说的是
 YoYo.with(Techniques.RubberBand)
    .duration(700)
    .playOn(tab.view);
这是一个名叫悠悠球的动画库
这里是官网介绍:YoYo
依赖如下
//悠悠球动画库
implementation 'com.daimajia.androidanimations:library:2.4@aar'
适配器 FragmentStateAdapter对象
package com.javabot.demo.utils;

import static androidx.viewpager.widget.PagerAdapter.POSITION_NONE;

import androidx.annotation.NonNull;
import androidx.fragment.app.Fragment;
import androidx.fragment.app.FragmentActivity;
import androidx.fragment.app.FragmentManager;
import androidx.lifecycle.Lifecycle;
import androidx.viewpager2.adapter.FragmentStateAdapter;

import java.util.List;

/**
 * 适配器对象
 * @author 白
 */
public class MyFragmentPagerAdapter extends FragmentStateAdapter {
    private final List<Fragment> fragmentList;

    public MyFragmentPagerAdapter(@NonNull FragmentManager fragmentManager, @NonNull Lifecycle lifecycle, List<Fragment> fragmentList) {
        super(fragmentManager, lifecycle);
        this.fragmentList = fragmentList;
    }

    public MyFragmentPagerAdapter(FragmentActivity fm, List<Fragment> fragmentList) {
        super(fm);
        this.fragmentList=fragmentList;
    }

    @NonNull
    @Override
    public Fragment createFragment(int position) {
        return fragmentList.get(position);
    }

    @Override
    public int getItemCount() {
        return fragmentList.size();
    }

    @Override
    public long getItemId(int position) {
        return fragmentList.get(position).hashCode();
    }
}
这里的适配器你需要重写的方法有getItemCount和createFragment
这里也只介绍这两个方法
getItemCount方法
此方法返回的是视图的个数 例如我想要显示4个视图那就返回4 如果我给适配器传的视图有6个或者更多但是这个方法只返回4那也只会显示4个视图
createFragment方法
这个方法返回的是视图而此方法中的参数position 代表当前是哪个视图 返回对应视图的下标(从0开始)
例如我在这个方法中写if判断 position==0 再返回某个视图对象 那他的意思其实就是当用户点击到下标为0的那个选项时(或滑动)当前视图显示的内容就是我这里所返回的视图内容
视图文件 Fragment对象
package com.javabot.demo.fragment;

import android.os.Bundle;
import android.view.LayoutInflater;
import android.view.View;
import android.view.ViewGroup;

import androidx.annotation.NonNull;
import androidx.annotation.Nullable;
import androidx.fragment.app.Fragment;

import com.javabot.demo.R;

/**
 * 主页视图
 */
public class FragmentHomePage extends Fragment {
    @Nullable
    @Override
    public View onCreateView(@NonNull LayoutInflater inflater, @Nullable ViewGroup container, @Nullable Bundle savedInstanceState) {
        return inflater.inflate(R.layout.home_page,container,false);
    }
}
剩下的和这个一样就不发出来了
和视图文件所对应的xml文件
<?xml version="1.0" encoding="utf-8"?>
<RelativeLayout xmlns:android="http://schemas.android.com/apk/res/android"
    android:layout_width="match_parent"
    android:layout_height="match_parent">
<TextView
        android:layout_width="wrap_content"
        android:layout_height="wrap_content"
        android:text="主页"/>

</RelativeLayout>
这里都差不多就不放出来了
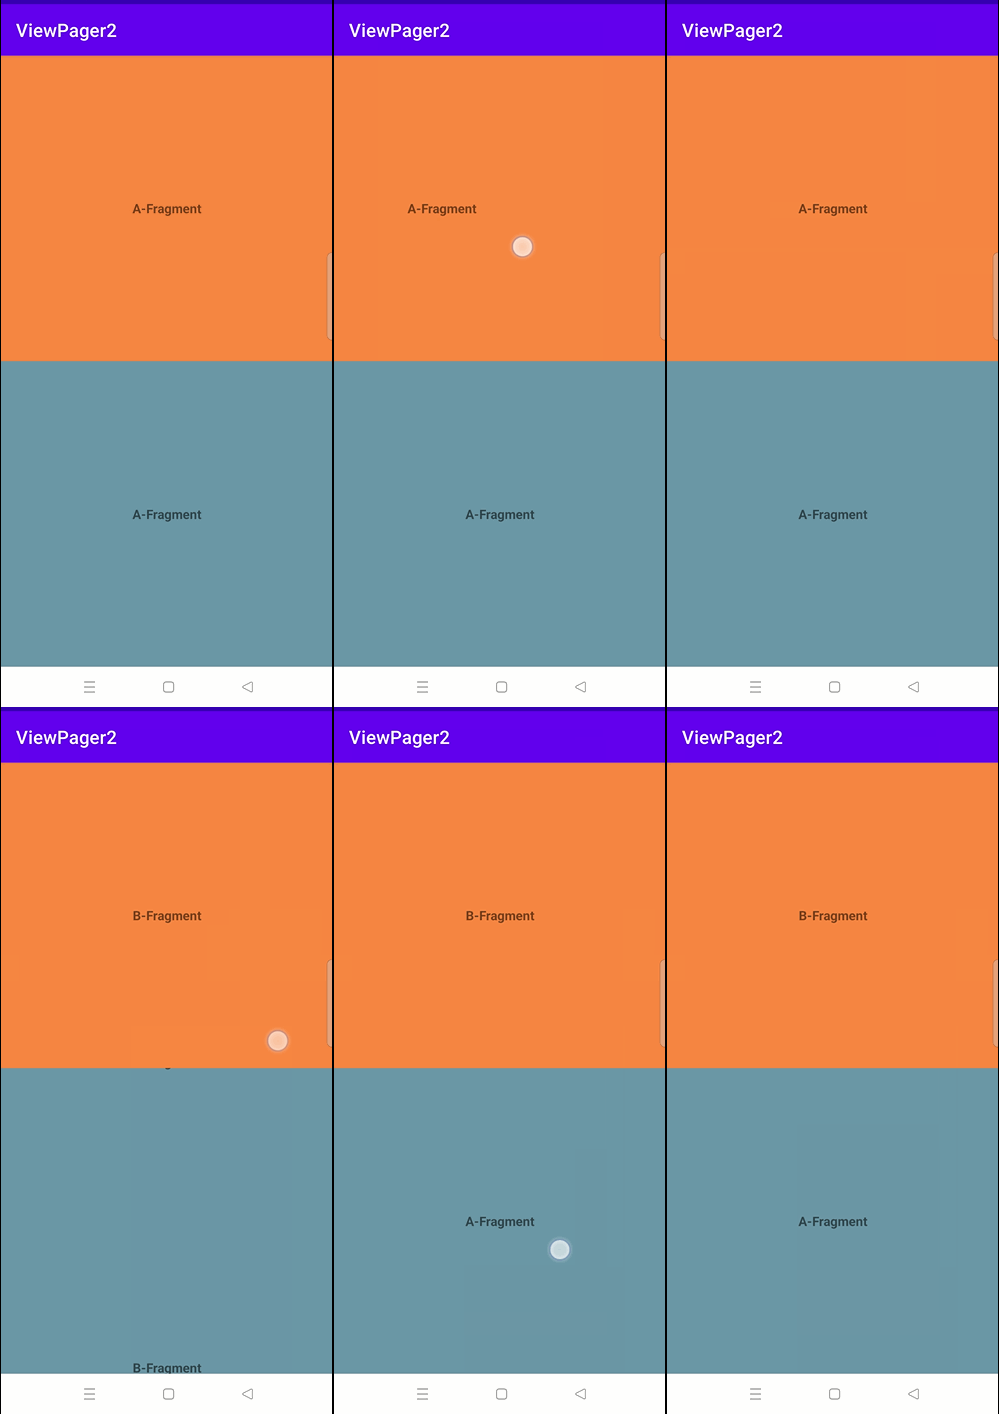
效果图

文章来源地址https://www.toymoban.com/news/detail-822719.html文章来源:https://www.toymoban.com/news/detail-822719.html
到了这里,关于android 关于TabLayout联动ViewPager2 实现底部导航栏的文章就介绍完了。如果您还想了解更多内容,请在右上角搜索TOY模板网以前的文章或继续浏览下面的相关文章,希望大家以后多多支持TOY模板网!


