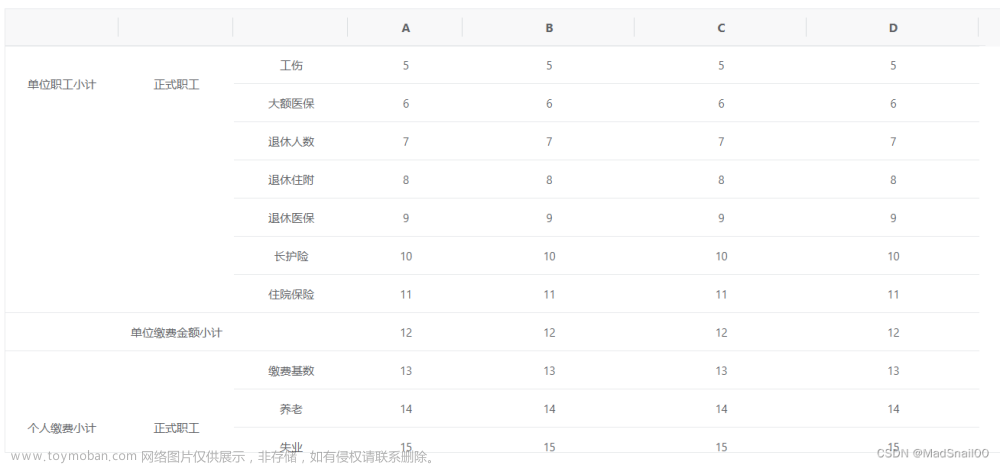
具体效果 文章来源地址https://www.toymoban.com/news/detail-824475.html
<el-table-column
            align="center"
            width="100px"
            :render-header="(h) =>renderHeader(h,'列名')"
          >
            <template slot-scope="scope">
              <el-switch
                v-model="scope.row['列名']"
                @change="(value) =>updatePlanStatus(scope.row,'列名',scope.$index,value)"
              />
            </template>
          </el-table-column>
renderHeader(h, name) {
      return h("div", [
        h("el-checkbox", {
          style: "margin-right:5px",
          // 普通的 HTML 属性
          attrs: {
            id: "check1"
          },
          on: {
            change: value => {
              if (this.selectPoints.length > 0) {
                this.$nextTick(() => {
                // selectPoints 是选中的列
                  this.selectPoints.forEach((item, key) => {
                    item[name] = value;
                    // 判断数组下标
                    const index = this.pointsList.findIndex(
                      point => item.cabinNo == point.cabinNo
                    );
                    // 更新表格数据
                    this.$set(this.pointsList, index, { ...item });
                    // 上一句执行后所有选中的列都会被清除,需要重新选中
                    this.$refs.pointTable.toggleRowSelection(
                      this.pointsList[index],
                      true
                    );
                  });
                });
              }
            }
          }
        }),
        h("span", name)
      ]);
    },
在这里插入代码片
文章来源:https://www.toymoban.com/news/detail-824475.html
到了这里,关于【el-table 表头自定义全选列】的文章就介绍完了。如果您还想了解更多内容,请在右上角搜索TOY模板网以前的文章或继续浏览下面的相关文章,希望大家以后多多支持TOY模板网!


