前言
一些自己实际操作的记录。
一、安装准备
- Node.js
gitbook基于Node.js,所以需要提前安装。
下载地址:https://nodejs.org/en/,可以下载比较新的版本。(但我的建议是不要安装太高的版本,容易走很多弯路,笔者使用的是10.16.3,后文中提供网盘下载)
建议下载LTS版本(Long Term Support)。
同时也可以网盘下载(这里的版本为10.16.3 LTS):
链接: https://pan.baidu.com/s/1JZLRn5EhICmsn-pLm-6Z_g 提取码: 4grf
双击打开后,一直点「继续」即可。
安装完成后:使用node -v可以查看版本号。
二、GitBook安装
运行命令:
sudo npm install -g gitbook-cli
建议科学上网,速度比较快,不懂怎么科学上网的朋友们可以私聊我,我可以教学。
运行命令查看是否安装成功:sudo gitbook -V
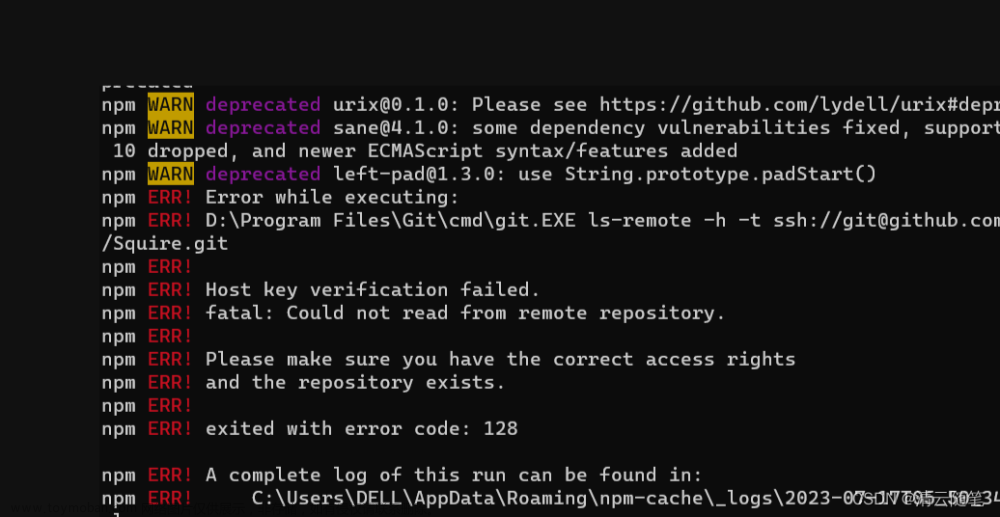
但出现报错:(主要是因为Node.js版本较高,可以尝试降低版本,推荐10.x.x) 但无需担心,只需要修改对应的内容就好:
首先进入到报错的文件中:
sudo vi /usr/local/lib/node_modules/gitbook-cli/node_modules/npm/node_modules/graceful-fs/polyfills.js
找到下面这三行,注释掉。具体可以参考:https://flaviocopes.com/cb-apply-not-a-function/
重新运行sudo gitbook -V,低版本应该会比较顺利,控制台输出以下内容:
CLI version: 2.3.2
Installing GitBook 3.2.3
gitbook@3.2.3 ../../../../../../../../../var/folders/kj/qbpckysx1_924y0nhd59nd5r0000gn/T/tmp-16645XKlrWUKvHqkG/node_modules/gitbook
├── escape-html@1.0.3
├── escape-string-regexp@1.0.5
├── ignore@3.1.2
├── destroy@1.0.4
├── bash-color@0.0.4
├── gitbook-plugin-livereload@0.0.1
├── cp@0.2.0
├── graceful-fs@4.1.4
├── nunjucks-do@1.0.0
├── github-slugid@1.0.1
├── direction@0.1.5
├── q@1.4.1
├── spawn-cmd@0.0.2
├── gitbook-plugin-fontsettings@2.0.0
├── open@0.0.5
├── is@3.3.0
├── object-path@0.9.2
├── extend@3.0.2
├── json-schema-defaults@0.1.1
├── gitbook-plugin-search@2.2.1
├── jsonschema@1.1.0
├── crc@3.4.0
├── urijs@1.18.0
├── semver@5.1.0
├── immutable@3.8.2
├── front-matter@2.3.0
├── npmi@2.0.1 (semver@4.3.6)
├── resolve@1.1.7
├── gitbook-plugin-theme-default@1.0.7
├── tmp@0.0.28 (os-tmpdir@1.0.2)
├── dom-serializer@0.1.0 (domelementtype@1.1.3, entities@1.1.2)
├── moment@2.13.0
├── gitbook-plugin-sharing@1.0.2 (lodash@3.10.1)
├── error@7.0.2 (string-template@0.2.1, xtend@4.0.2)
├── mkdirp@0.5.1 (minimist@0.0.8)
├── i18n-t@1.0.1 (lodash@4.17.21)
├── omit-keys@0.1.0 (isobject@0.2.0, array-difference@0.0.1)
├── send@0.13.2 (range-parser@1.0.3, statuses@1.2.1, fresh@0.3.0, etag@1.7.0, ms@0.7.1, depd@1.1.2, mime@1.3.4, debug@2.2.0, http-errors@1.3.1, on-finished@2.3.0)
├── js-yaml@3.14.1 (esprima@4.0.1, argparse@1.0.10)
├── rmdir@1.2.0 (node.flow@1.2.3)
├── fresh-require@1.0.3 (is-require@0.0.1, shallow-copy@0.0.1, astw@1.3.0, sleuth@0.1.1, acorn@0.9.0, through2@0.6.5, escodegen@1.14.3)
├── gitbook-plugin-lunr@1.2.0 (html-entities@1.2.0, lunr@0.5.12)
├── gitbook-plugin-highlight@2.0.2 (highlight.js@9.2.0)
├── cheerio@0.20.0 (entities@1.1.2, css-select@1.2.0, htmlparser2@3.8.3, jsdom@7.2.2, lodash@4.17.21)
├── cpr@1.1.1 (rimraf@2.4.5)
├── tiny-lr@0.2.1 (parseurl@1.3.3, livereload-js@2.4.0, qs@5.1.0, debug@2.2.0, faye-websocket@0.10.0, body-parser@1.14.2)
├── gitbook-markdown@1.3.2 (kramed-text-renderer@0.2.1, gitbook-html@1.3.3, kramed@0.5.6, lodash@4.17.21)
├── gitbook-asciidoc@1.2.2 (gitbook-html@1.3.3, lodash@4.17.21, asciidoctor.js@1.5.5-1)
├── request@2.72.0 (tunnel-agent@0.4.3, aws-sign2@0.6.0, oauth-sign@0.8.2, forever-agent@0.6.1, caseless@0.11.0, is-typedarray@1.0.0, stringstream@0.0.6, aws4@1.12.0, isstream@0.1.2, json-stringify-safe@5.0.1, tough-cookie@2.2.2, node-uuid@1.4.8, qs@6.1.2, combined-stream@1.0.8, mime-types@2.1.35, bl@1.1.2, hawk@3.1.3, form-data@1.0.1, http-signature@1.1.1, har-validator@2.0.6)
├── read-installed@4.0.3 (debuglog@1.0.1, util-extend@1.0.3, slide@1.1.6, readdir-scoped-modules@1.1.0, read-package-json@2.1.2)
├── npm@3.9.2
├── juice@2.0.0 (deep-extend@0.4.2, slick@1.12.2, batch@0.5.3, cssom@0.3.1, commander@2.9.0, cross-spawn-async@2.2.5, web-resource-inliner@2.0.0)
├── chokidar@1.5.0 (path-is-absolute@1.0.1, async-each@1.0.6, inherits@2.0.4, glob-parent@2.0.0, is-binary-path@1.0.1, is-glob@2.0.1, fsevents@1.2.13, anymatch@1.3.2, readdirp@2.2.1)
└── nunjucks@2.5.2 (asap@2.0.6, yargs@3.32.0, chokidar@1.7.0)
GitBook version: 3.2.3
再运行:sudo gitbook -V,应该就显示正常的版本号了:
LI version: 2.3.2
GitBook version: 3.2.3
现在开始可以使用GitBook了。
三、项目初始化
可以自己新建一个目录,进入到该目录下,执行命令:文章来源:https://www.toymoban.com/news/detail-824662.html
 ~  mkdir myGitBook && cd myGitBook                                                                                              ✔ │ base Py │ at 22:54:27
 ~/myGitBook  gitbook init                                                                                                       ✔ │ base Py │ at 22:54:46
warn: no summary file in this book
info: create README.md
info: create SUMMARY.md
info: initialization is finished
会生成两个md文档,README.md 是对书籍的简单介绍, SUMMARY.md 是书籍的目录结构。
然后可以通过gitbook serve编译成html格式,完成以后会打开一个 web 服务器,监听在本地的 4000 端口。
这样gitbook就初步搭建完成了。文章来源地址https://www.toymoban.com/news/detail-824662.html
到了这里,关于mac安装部署gitbook教程的文章就介绍完了。如果您还想了解更多内容,请在右上角搜索TOY模板网以前的文章或继续浏览下面的相关文章,希望大家以后多多支持TOY模板网!


