在 Windows 中配置 WSL2 与 Debian 的全流程
这篇文章记录了我在 Windows 10 上配置 WSL2 与 Debian 的全部流程与参考资料。希望对困扰于 WSL 相关问题的读者提供些许帮助。
谢绝转载。
整体流程如下:
-
确认 Windows 是否支持 WSL2
-
安装 Debian
-
完整 Debian 的基础配置,起码得能用。
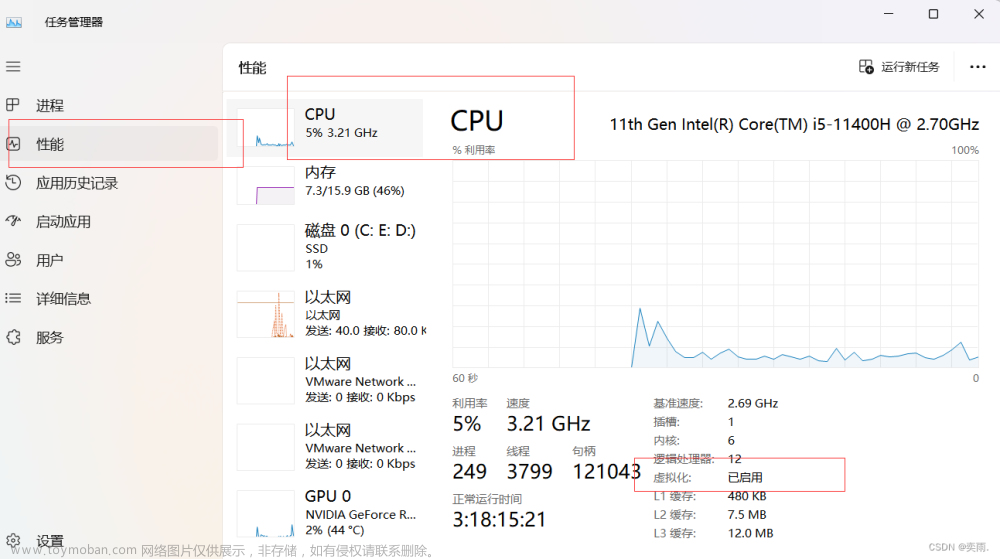
确认 Windows 版本
确认 Windows 版本为 Windows 10 版本 $$\geq$$ 2004 (内部版本 $$\geq$$ 19041) 或 Windows 11。
-
以管理员运行 PowerShell
-
输入
[System.Environment]::OSVersion.VersionWindows PowerShell Copyright (C) Microsoft Corporation. All rights reserved. Try the new cross-platform PowerShell https://aka.ms/pscore6 PS C:\Windows\system32> [System.Environment]::OSVersion.Version Major Minor Build Revision ----- ----- ----- -------- 10 0 19045 0 -
确认版本与 Build 符合要求。
开启与 WSL 相关的 Windows Features
接下来,需要开启 Windows Subsystem Linux 和 Virtual Machine Platform 并重启 Windows。
-
以管理员运行 PowerShell
-
输入下述指令启动 WSL:
dism.exe /online /enable-feature /featurename:VirtualMachinePlatform /all /norestartPS C:\Windows\system32> dism.exe /online /enable-feature /featurename:VirtualMachinePlatform /all /norestart Deployment Image Servicing and Management tool Version: 10.0.19041.3636 Image Version: 10.0.19045.3803 Enabling feature(s) [==========================100.0%==========================] The operation completed successfully. -
输入下述指令启动 VM Platform:
Enable-WindowsOptionalFeature -Online -FeatureName VirtualMachinePlatform -NoRestartPS C:\Windows\system32> Enable-WindowsOptionalFeature -Online -FeatureName VirtualMachinePlatform -NoRestart WARNING: Restart is suppressed because NoRestart is specified. Path : Online : True RestartNeeded : True -
重启 Windows。
安装 WSL 并设置版本
这一步里,安装 WSL 并设置版本.
-
以管理员运行 PowerShell
-
输入下述指令安装 WSL:
wsl --install或
wsl --install --no-distribution在笔者的 Windows 版本下,
wsl --install不会安装 Ubuntu, 但根据 Microsoft 的文档,某些版本下默认会安装 Ubuntu。 -
重启 Windows
-
安装完成后设置 WSL 版本为 WSL2
wsl --set-default-version 2 -
输入下述指令确认 wsl 版本:
wsl --versionPS C:\Windows\system32> wsl --version WSL version: 2.0.9.0 Kernel version: 5.15.133.1-1 WSLg version: 1.0.59 MSRDC version: 1.2.4677 Direct3D version: 1.611.1-81528511 DXCore version: 10.0.25131.1002-220531-1700.rs-onecore-base2-hyp Windows version: 10.0.19045.3803
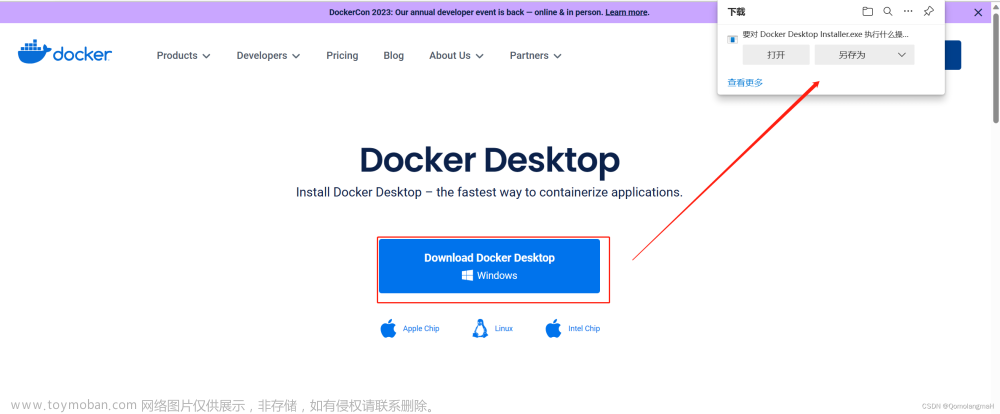
下载并安装 Debian
在 Microsoft Store 中安装 Debian。
- 打开 Microsoft Store
- 安装 Debian
- 安装完成后打开 Debian
- 第一次进入 Debian 会要求设置用户名和密码。
小结
至此,Debian已经安装完成,打开即可使用 CLI 来操作了。不过,想要使用带GUI的软件,或是中文,我们还需要完成几件事:
- 配置 基本的 WSL - Win10 剪切板互通
- 配置 国内镜像源
- 配置 GUI 用来打开软件
- 配置 中文字体
- 配置 中文输入法
配置 基本的 WSL - Win10 剪切板互通
-
打开 WSL - Debian 界面,右键点击界面的标题栏,选中属性

-
在选项中勾选 ”将 Ctrl + Shift + C/V“ 用作复制/粘贴的快捷键

想要更加完美的实现剪切板互通,需要让 Debian 调用 Win10 的 clip.exe 实现。在一些软件里会有这样的需求,笔者后续会实现 WSL-Debian-vim 读写 Win10 剪切板
配置 国内镜像源
国内镜像源很多,这里选择清华的镜像源。
-
打开并登录 WSL - Debian
-
将原有文件设置备份
sudo mv ~/etc/apt/sources.list ~/etc/apt/sources.list.backup -
创建新的
~/etc/apt/sources.listsudo touch ~/etc/apt/sources.list -
在新的
sources.list中输入:deb http://mirrors.tuna.tsinghua.edu.cn/debian/ bookworm main contrib non-free non-free-firmware deb-src http://mirrors.tuna.tsinghua.edu.cn/debian/ bookworm main contrib non-free non-free-firmware deb http://mirrors.tuna.tsinghua.edu.cn/debian/ bookworm-updates main contrib non-free non-free-firmware deb-src http://mirrors.tuna.tsinghua.edu.cn/debian/ bookworm-updates main contrib non-free non-free-firmware deb http://mirrors.tuna.tsinghua.edu.cn/debian/ bookworm-backports main contrib non-free non-free-firmware deb-src http://mirrors.tuna.tsinghua.edu.cn/debian/ bookworm-backports main contrib non-free non-free-firmware deb http://mirrors.tuna.tsinghua.edu.cn/debian-security bookworm-security main contrib non-free non-free-firmware deb-src http://mirrors.tuna.tsinghua.edu.cn/debian-security bookworm-security main contrib non-free non-free-firmware -
Debian CLI 中输入下述代码安装 镜像站 https 证书
sudo apt update -y sudo apt install apt-transport-https ca-certificates -
在
~/etc/apt/sources.list中,将所有的http://改成https:// -
Debian CLI 中输入下述代码更新 Debian 软件
sudo apt update -y && sudo apt upgrade -y
至此,国内镜像站配置完成。
配置 GUI
这一步,在 Windows 上安装并运行 X server,并配置 WSL2 中的 Debian 使用 X server 运行需要 GUI 的软件。
-
在 source forge 上下载 VcXsrv Windows X Server
-
安装 VcXsrv 并运行 XLaunch
-
在 XLaunch 的 Select display settings 中,将 Display number 改为 0
-
在 XLaunch 的 Extra Settings 中,勾选 Disable access control 选项
-
在 XLaunch 的 Configuration complete 界面,点击 Save configuration 来保存设置,下次通过保存的文件启动即可。
-
打开 WSL2 Debian
-
在 ~/.bashrc 中加入下述代码并保存后退出:
# Setting DISPLAY pointing to the X server on Windows export DISPLAY=:0 -
在 Debian CLI 中
source ~/.bashrc
至此,如果 Debian 安装了 firefox-esr,X Server 会在 Windows 新开一个窗口并运行 firefox-esr。
**Note: ** WSL2 更新速度跟不上一些软件,导致WSL不能完美支持一些软件的最新版本,如 firefox-esr。
配置中文字体
默认的 Debian 为英文环境,我们需要配置中文环境与相关的管理软件。
-
检查是否安装语言环境管理包 locales、字体管理包 fontconfigs
apt list --installed | grep locales apt list --installed | grep fontconfigs -
若没有locales,则安装 :
sudo apt-get install locales在 Debian CLI 中配置
localessudo dpkg-reconfigure locales配置界面中,上下左右为移动键,空格为选择键,回车为确认键
需要选择
en_US.utf8与zh_CN.utf8默认
locales选en_US.utf8(默认自行选择即可)在
.bashrc中加入下列代码使 CLI 支持中文字符:export LC_ALL=en_US.UTF-8 export LANGUAGE=en_US.UTF-8在 CLI 中
source .bashrc后,输入locale确认LC_ALL、LANGUAGE、LC_ALL都设置成en_US.UTF-8:$ locale LANG=en_US.UTF-8 LANGUAGE=en_US.UTF-8 LC_CTYPE="en_US.UTF-8" LC_NUMERIC="en_US.UTF-8" LC_TIME="en_US.UTF-8" LC_COLLATE="en_US.UTF-8" LC_MONETARY="en_US.UTF-8" LC_MESSAGES="en_US.UTF-8" LC_PAPER="en_US.UTF-8" LC_NAME="en_US.UTF-8" LC_ADDRESS="en_US.UTF-8" LC_TELEPHONE="en_US.UTF-8" LC_MEASUREMENT="en_US.UTF-8" LC_IDENTIFICATION="en_US.UTF-8" LC_ALL=en_US.UTF-8 -
配置 fontconfigs,启用bitmap (可略过此步骤):
sudo dpkg-reconfigure fontconfig-config在 preferred method for tuning fonts 中,选择 Autohinter (Native/Autohinter/None)
在 preferred automatic font hinting styple 中,选择 Medium (None/Slight/Medium/Full)
在 subpixel rendering 中,选择 Automatic (Automatic/Always/Never)
在 enable bitmapped fonts by default 中,选择 Yes (Yes/No)
-
安装可直接通过 apt 管理的常用字体:
 sudo apt-get install <FONTPACKAGE_NAME>

# Common monospace font
fonts-jetbrains-mono
fonts-hack
# Common english fonts
fonts-liberation2
# Common Chinese fonts
*fonts-wqy*
*fonts-arphic*

sudo apt-get install xfonts-intl-chinese
至此,打开其他带有中文 GUI 的软件,中文可以正常显示。
配置中文输入法
-
检查常见的 IMF(Input-Method Framework) 是否存在。
apt list --installed | grep ibus
apt list --installed | grep fcitx
若不存在则安装喜欢的IMF。我选择了 iBus。
sudo apt-get install ibus -
确认 dbus (desktop bus) 是否安装
apt list --installed | grep dbus若不存在则安装 dbus-x11
sudo apt-get install dbus-x11 -
安装基于对应 IMF 的 IME(Input-Method Editor),我选择了 ibus-pinyin
sudo apt-get install ibus-pinyin -
配置iBus,自己喜欢就好。
ibus-setup -
修改 ~/.bashrc, 添加下列变量:
export GTK_IM_MODULE=ibus export QT_IM_MODULE=ibus export XMODIFIERS=@im=ibus -
之后在 CLI 或者 firefox 等GUI页面中就可以使用中文输入法输入中文了。
值得注意的是,WSL2打开的CLI terminal是无法显示中文(可以输入,但无法显示)的,想在 terminal 中使用中文,需要用支持 UTF-8 的 terminal emulator 才行。
我自己测试时发现每次进入 debian 时 ibus 都已经启动了,可能在 ibus-setup 中自动设置了吧。
总结
至此,在windows中配置 WSL2 与 Debian 的全部流程就结束了。现在的 Debian 有了复制粘贴、国内镜像源、GUI、中文字体与输入法,可以的在Debian上做自己其他想做的事情了。
祝好。文章来源:https://www.toymoban.com/news/detail-825197.html
ref:
How to Install WSL2 on Windows 10 (Updated) - visited on 2024-01-09
Microsoft - 如何使用 WSL 在 Windows 上安装 Linux - visited on 2024-01-09
清华大学开源软件镜像站 - Debian 软件源 - visited on 2024-01-09
Arch Wiki: Font configuration - visited on 2024-01-15
Arch Wiki: Input Method - visited on 2024-01-16
文章来源地址https://www.toymoban.com/news/detail-825197.html
到了这里,关于在 Windows 中配置 WSL2 与 Debian 的全流程的文章就介绍完了。如果您还想了解更多内容,请在右上角搜索TOY模板网以前的文章或继续浏览下面的相关文章,希望大家以后多多支持TOY模板网!