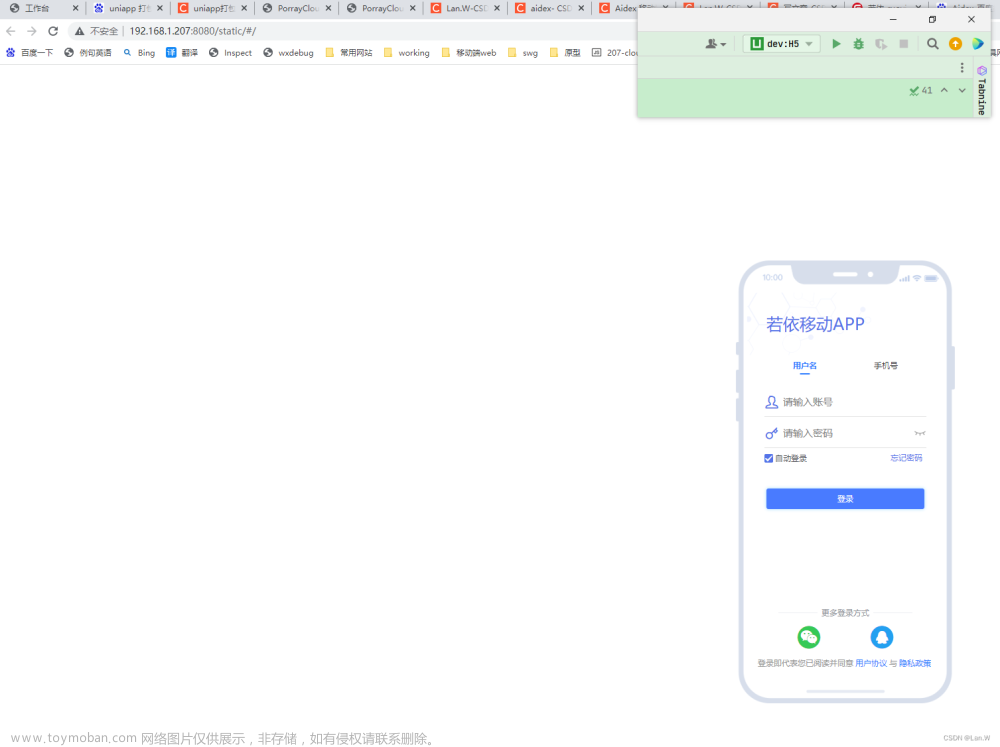
LoginTitle组件
样式


说明
属性
| 属性名 | 含义 | 类型 | 是否必填 | 默认值 |
|---|---|---|---|---|
| welcomeTitle | 欢迎标语 | String | 是 | 无 |
| mainTitle | 标题 | String | 是 | 无 |
样式
@mainColor -> 主题颜色文章来源:https://www.toymoban.com/news/detail-825670.html
代码
<template>
    <div class="logintitle-container">
        <p class="subtitle">{{ welcomeTitle }}</p>
        <h1>
            <span>{{ mainTitle }}</span>
        </h1>
        <p class="icon-box">
            <i></i>
            <i></i>
        </p>
    </div>
</template>

<script>

export default {
    props:{
        welcomeTitle:{
            type:String,
            require:true,
        },
        mainTitle:{
            type:String,
            require:true,
        },
    },
}
</script>

<style lang="less" scoped>
@import url("~@/styles/init.less");
    .logintitle-container{
        width: 100%;
        flex-direction: column;
        text-align: left;
        position: relative;
    }
    .subtitle {
        font-size: 1.5rem;
        margin-bottom: 0.5rem;
    }

    h1 {
        position: relative;
        display: inline-block;
    }

    h1 span {
        z-index: 1;
        position: relative;

    }

    h1::after {
        width: 59%;
        height: 0.7rem;
        position: absolute;
        content: "";
        z-index: 0;
        right: -1.5rem;
        top: 2rem;
        transition: all 0.3s;
        background-color: @mainColor;
    }

    .icon-box {
        width: 100%;
        display: flex;
        justify-content: end;

        i:nth-child(1) {
            margin-right: 0.45rem;
        }

        i:nth-child(2) {
            margin-right: 0.7rem;
        }

        i:nth-child(1)::before {
            display: flex;
            content: "";
            width: 0.813rem;
            height: 1rem;
            transform-origin: left top;
            transform: skew(35deg);
            transition: all 0.3s;
            background-color: @mainColor;
        }

        i:nth-child(1)::after {
            display: flex;
            content: "";
            width: 0.813rem;
            height: 1rem;
            transform-origin: left bottom;
            transform: skew(-35deg);
            transition: all 0.3s;
            background-color: @mainColor;
        }

        i:nth-child(2)::before {
            display: flex;
            content: "";
            width: 0.813rem;
            height: 1rem;
            background-color: #efefef;
            transform-origin: left top;
            transform: skew(35deg);
            transition: all 0.3s;
        }

        i:nth-child(2)::after {
            display: flex;
            content: "";
            width: 0.813rem;
            height: 1rem;
            background-color: #efefef;
            transform-origin: left bottom;
            transform: skew(-35deg);
            transition: all 0.3s;
        }
    }
</style>页面参考:yostar通行证文章来源地址https://www.toymoban.com/news/detail-825670.html
到了这里,关于项目开发日志(登录界面):2. LoginTitle组件的文章就介绍完了。如果您还想了解更多内容,请在右上角搜索TOY模板网以前的文章或继续浏览下面的相关文章,希望大家以后多多支持TOY模板网!


