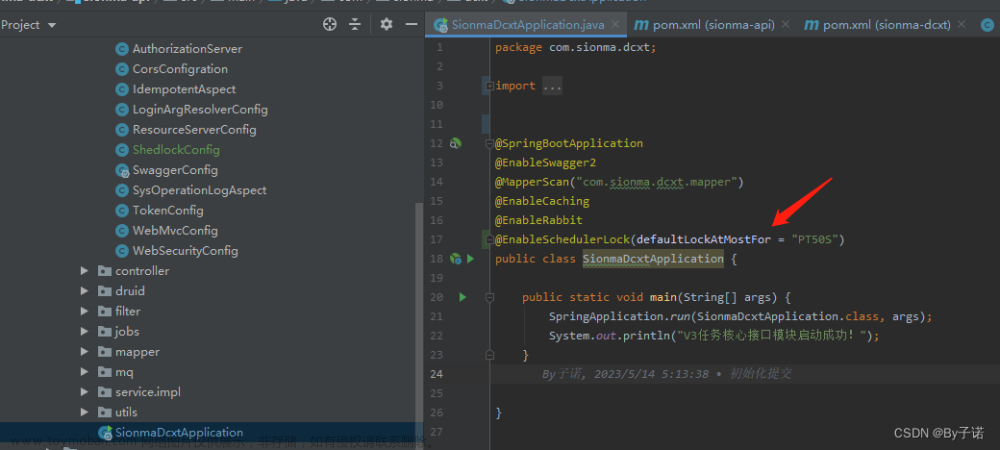
Spring Task 实现定时任务
一、Spring Task使用步骤:
1.maven坐标 spring-context
 <dependency>
            <groupId>org.springframework.boot</groupId>
            <artifactId>spring-boot-starter</artifactId>
        </dependency>
2.启动类添加注解 @EnableScheduling 开启任务调度
@EnableScheduling//开启任务调度
3.自定义定时任务类
去设置网站设置要 进行得定时任务 cron表达式在线生成器:https://cron.qqe2.com/
@Component
@Slf4j
//创建类  然后再启动类启动 即可看到控制台打印
public class MyTask {
    @Scheduled(cron = "0/5 * * * * ?")
    public void executeTask(){
      log.info("定时任务: {}",new Date());
    }
}
二、Web Socket消息通知
1.导入maven坐标
   <dependency>
            <groupId>org.springframework.boot</groupId>
            <artifactId>spring-boot-starter-websocket</artifactId>
        </dependency>
2.导入websocket组件
@Component
@ServerEndpoint("/ws/{sid}")
public class WebSocketServer {

    //存放会话对象
    private static Map<String, Session> sessionMap = new HashMap();

    /**
     * 连接建立成功调用的方法
     */
    @OnOpen
    public void onOpen(Session session, @PathParam("sid") String sid) {
        System.out.println("客户端:" + sid + "建立连接");
        sessionMap.put(sid, session);
    }

    /**
     * 收到客户端消息后调用的方法
     *
     * @param message 客户端发送过来的消息
     */
    @OnMessage
    public void onMessage(String message, @PathParam("sid") String sid) {
        System.out.println("收到来自客户端:" + sid + "的信息:" + message);
    }

    /**
     * 连接关闭调用的方法
     *
     * @param sid
     */
    @OnClose
    public void onClose(@PathParam("sid") String sid) {
        System.out.println("连接断开:" + sid);
        sessionMap.remove(sid);
    }

    /**
     * 群发
     *
     * @param message
     */
    public void sendToAllClient(String message) {
        Collection<Session> sessions = sessionMap.values();
        for (Session session : sessions) {
            try {
                //服务器向客户端发送消息
                session.getBasicRemote().sendText(message);
            } catch (Exception e) {
                e.printStackTrace();
            }
        }
    }

}
3.设置配置类
@Configuration
public class WebSocketConfiguration {

    @Bean
    public ServerEndpointExporter serverEndpointExporter() {
        return new ServerEndpointExporter();
    }

}
4.导入代码文章来源:https://www.toymoban.com/news/detail-828034.html
@Component
public class WebSocketTask {
    @Autowired
    private WebSocketServer webSocketServer;

    /**
     * 通过WebSocket每隔5秒向客户端发送消息
     */
    @Scheduled(cron = "0/5 * * * * ?")
    public void sendMessageToClient() {
        webSocketServer.sendToAllClient("这是来自服务端的消息:" + DateTimeFormatter.ofPattern("HH:mm:ss").format(LocalDateTime.now()));
    }
}
前端测试代码文章来源地址https://www.toymoban.com/news/detail-828034.html
<!DOCTYPE HTML>
<html>
<head>
    <meta charset="UTF-8">
    <title>WebSocket Demo</title>
</head>
<body>
    <input id="text" type="text" />
    <button onclick="send()">发送消息</button>
    <button onclick="closeWebSocket()">关闭连接</button>
    <div id="message">
    </div>
</body>
<script type="text/javascript">
    var websocket = null;
    var clientId = Math.random().toString(36).substr(2);

    //判断当前浏览器是否支持WebSocket
    if('WebSocket' in window){
        //连接WebSocket节点
        websocket = new WebSocket("ws://localhost:8080/ws/"+clientId);
    }
    else{
        alert('Not support websocket')
    }

    //连接发生错误的回调方法
    websocket.onerror = function(){
        setMessageInnerHTML("error");
    };

    //连接成功建立的回调方法
    websocket.onopen = function(){
        setMessageInnerHTML("连接成功");
    }

    //接收到消息的回调方法
    websocket.onmessage = function(event){
        setMessageInnerHTML(event.data);
    }

    //连接关闭的回调方法
    websocket.onclose = function(){
        setMessageInnerHTML("close");
    }

    //监听窗口关闭事件,当窗口关闭时,主动去关闭websocket连接,防止连接还没断开就关闭窗口,server端会抛异常。
    window.onbeforeunload = function(){
        websocket.close();
    }

    //将消息显示在网页上
    function setMessageInnerHTML(innerHTML){
        document.getElementById('message').innerHTML += innerHTML + '<br/>';
    }

    //发送消息
    function send(){
        var message = document.getElementById('text').value;
        websocket.send(message);
    }

	//关闭连接
    function closeWebSocket() {
        websocket.close();
    }
</script>
</html>
到了这里,关于Spring Task 实现定时任务 以及 WebSocket 实现 订单提醒 (学习笔记)的文章就介绍完了。如果您还想了解更多内容,请在右上角搜索TOY模板网以前的文章或继续浏览下面的相关文章,希望大家以后多多支持TOY模板网!


