1 系统准备
操作系统:
- Kubernetes 支持多种Linux发行版,包括但不限于 CentOS、Ubuntu、RHEL等。通常建议使用稳定版本,并且是64位系统。我这里使用的是CentOS 8.1版本
cat /etc/centos-release
# CentOS Linux release 8.1.1911 (Core)
硬件配置:
- 内存(RAM):每台机器至少需要2GB或更多,具体需求根据集群规模和应用程序负载来定。
- CPU核心数:每个节点至少需要2个物理核心或虚拟核心。
- 存储空间:硬盘空间一般建议在30GB以上,以确保有足够的空间用于容器镜像、日志和其他数据存储。
- 网络连接:所有节点之间必须能够通过网络相互连接,无论是内部私有网络还是公网连接。
配置网络
vim /etc/sysconfig/network-scripts/ifcfg-enp0s3
# 添加以下内容
TYPE=Ethernet
PROXY_METHOD=none
BROWSER_ONLY=no
BOOTPROTO=static
DEFROUTE=yes
IPV4_FAILURE_FATAL=no
IPV6INIT=yes
IPV6_AUTOCONF=yes
IPV6_DEFROUTE=yes
IPV6_FAILURE_FATAL=no
IPV6_ADDR_GEN_MODE=stable-privacy
NAME=enp0s3
UUID=039303a5-c70d-4973-8c91-97eaa071c23d
DEVICE=enp0s3
ONBOOT=yes
IPADDR=192.168.122.21
NETMASK=255.255.255.0
GATEWAY=192.168.122.1
DNS1=223.5.5.5
添加阿里源
rm -rfv /etc/yum.repos.d/*

curl -o /etc/yum.repos.d/CentOS-Base.repo http://mirrors.aliyun.com/repo/Centos-8.repo
配置主机名
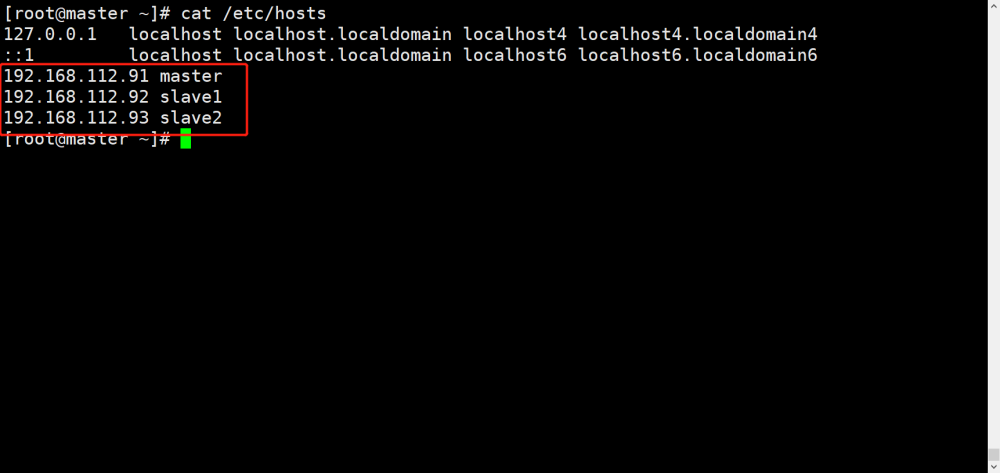
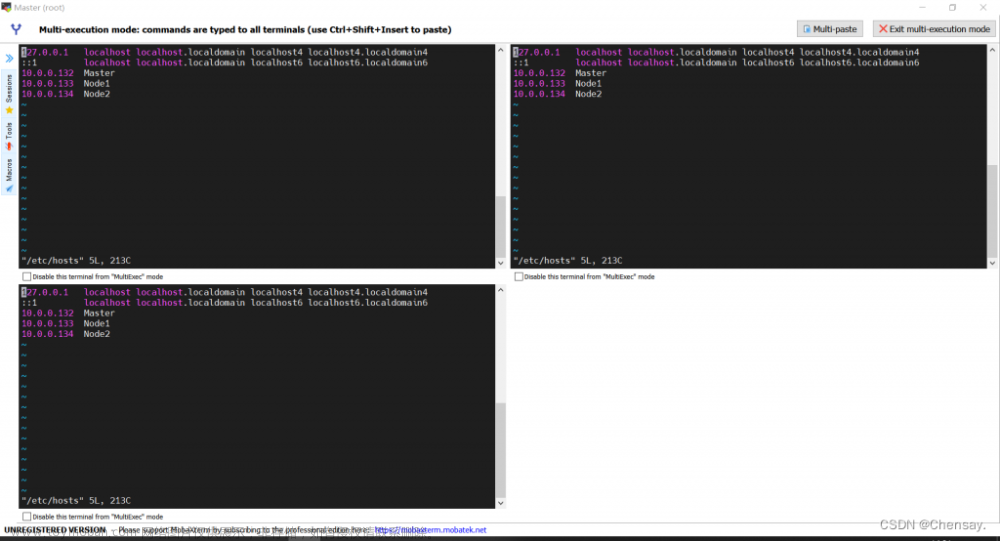
vim /etc/hosts
# 删除原内容填写以下内容
127.0.0.1   localhost localhost.localdomain localhost4 localhost4.localdomain4
::1         localhost localhost.localdomain localhost6 localhost6.localdomain6
192.168.122.21 master01.paas.com master01
关闭swap,注释swap分区
swapoff -a

vim /etc/fstab
# 删除原内容填写以下内容
#
# /etc/fstab
# Created by anaconda on Tue Mar 31 22:44:34 2020
#
# Accessible filesystems, by reference, are maintained under '/dev/disk/'.
# See man pages fstab(5), findfs(8), mount(8) and/or blkid(8) for more info.
#
# After editing this file, run 'systemctl daemon-reload' to update systemd
# units generated from this file.
#

/dev/mapper/cl-root     /                       xfs     defaults        0 0
UUID=5fecb240-379b-4331-ba04-f41338e81a6e /boot                   ext4    defaults        1 2
/dev/mapper/cl-home     /home                   xfs     defaults        0 0
#/dev/mapper/cl-swap     swap                    swap    defaults        0 0
配置内核参数,将桥接的IPv4流量传递到iptables的链
cat > /etc/sysctl.d/k8s.conf <<EOF
net.bridge.bridge-nf-call-ip6tables = 1
net.bridge.bridge-nf-call-iptables = 1
EOF

sysctl --system
2 安装常用包
yum install vim bash-completion net-tools gcc -y3 使用aliyun源安装docker-ce
yum install -y yum-utils device-mapper-persistent-data lvm2

yum-config-manager --add-repo https://mirrors.aliyun.com/docker-ce/linux/centos/docker-ce.repo

yum -y install docker-ce
安装docker-ce如果出现以下错
CentOS-8 - Base - mirrors.aliyun.com                                                                               14 kB/s | 3.8 kB     00:00
CentOS-8 - Extras - mirrors.aliyun.com                                                                            6.4 kB/s | 1.5 kB     00:00
CentOS-8 - AppStream - mirrors.aliyun.com                                                                          16 kB/s | 4.3 kB     00:00
Docker CE Stable - x86_64                                                                                          40 kB/s |  22 kB     00:00
Error:
 Problem: package docker-ce-3:19.03.8-3.el7.x86_64 requires containerd.io >= 1.2.2-3, but none of the providers can be installed
  - cannot install the best candidate for the job
  - package containerd.io-1.2.10-3.2.el7.x86_64 is excluded
  - package containerd.io-1.2.13-3.1.el7.x86_64 is excluded
  - package containerd.io-1.2.2-3.3.el7.x86_64 is excluded
  - package containerd.io-1.2.2-3.el7.x86_64 is excluded
  - package containerd.io-1.2.4-3.1.el7.x86_64 is excluded
  - package containerd.io-1.2.5-3.1.el7.x86_64 is excluded
  - package containerd.io-1.2.6-3.3.el7.x86_64 is excluded
(try to add '--skip-broken' to skip uninstallable packages or '--nobest' to use not only best candidate packages)
解决办法
wget https://download.docker.com/linux/centos/7/x86_64/edge/Packages/containerd.io-1.2.6-3.3.el7.x86_64.rpm

yum install containerd.io-1.2.6-3.3.el7.x86_64.rpm
然后再安装docker-ce即可成功
添加aliyundocker仓库加速器
mkdir -p /etc/docker

tee /etc/docker/daemon.json <<-'EOF'
{
  "registry-mirrors": ["https://fl791z1h.mirror.aliyuncs.com"]
}
EOF

systemctl daemon-reload

systemctl restart docker
4 安装kubectl、kubelet、kubeadm
添加阿里kubernetes源
cat <<EOF > /etc/yum.repos.d/kubernetes.repo
[kubernetes]
name=Kubernetes
baseurl=https://mirrors.aliyun.com/kubernetes/yum/repos/kubernetes-el7-x86_64/
enabled=1
gpgcheck=1
repo_gpgcheck=1
gpgkey=https://mirrors.aliyun.com/kubernetes/yum/doc/yum-key.gpg https://mirrors.aliyun.com/kubernetes/yum/doc/rpm-package-key.gpg
EOF
安装,注意:我使用的是1.13.3版本
yum install -y kubelet-1.13.3 kubeadm-1.13.3 kubectl-1.13.35 初始化k8s集群
注意:版本v1.13.3
kubeadm init \--image-repository registry.aliyuncs.com/google_containers \--kubernetes-version v1.13.3 \--pod-network-cidr=10.244.0.0/16初始化成功以后,根据提示执行以下命令:

需牢记You can now join any number of machines by running the following on each node
as root:以下的token,如果需要多节点部署k8s,需要用到token
6 初始化pod网络
安装容器网络
kubectl apply -f https://raw.githubusercontent.com/coreos/flannel/a70459be0084506e4ec919aa1c114638878db11b/Documentation/kube-flannel.yml7 单机部署集群
默认情况下,Kubernetes(k8s)集群的 Master 节点通常不会被配置为工作节点,也就是说,不会调度普通用户的应用程序Pod在其上运行。为了确保Master节点资源主要用于控制平面组件,并且避免因应用程序Pod导致的安全风险或性能问题,Kubernetes 通常会在 Master 节点上添加特定的污点(Taints),从而阻止调度器将Pod调度到该节点上。
具体来说,使用 kubeadm 初始化的 Kubernetes 集群会自动给 Master 节点加上一个名为 node-role.kubernetes.io/master:NoSchedule 的污点(在较新版本中可能是 node-role.kubernetes.io/control-plane:NoSchedule 或类似的形式),这意味着没有明确容忍这个污点(Toleration)的Pod是不会被调度到 Master 节点上的。
如果确实需要让 Pod 在 Master 节点上运行,有两种方法可以实现:
-
移除 Master 节点上的污点: 生产环境中不推荐这样做,因为这可能会导致控制平面受到影响。
kubectl taint nodes <master-node-name> node-role.kubernetes.io/master:NoSchedule- -
配置 Pod 容忍相关污点: 在应用的 Deployment、StatefulSet 等资源定义中,添加容忍(toleration)以允许 Pod 运行在带有特定污点的节点上。文章来源:https://www.toymoban.com/news/detail-830903.html
spec:
  tolerations:
  - key: "node-role.kubernetes.io/master"
    effect: "NoSchedule"
不过,在大多数情况下,最佳实践仍然是保持 Master 节点专注于运行控制平面服务,并避免在其上部署任何非关键的应用程序工作负载。文章来源地址https://www.toymoban.com/news/detail-830903.html
到了这里,关于单机部署K8S集群的文章就介绍完了。如果您还想了解更多内容,请在右上角搜索TOY模板网以前的文章或继续浏览下面的相关文章,希望大家以后多多支持TOY模板网!


