前言
V3s 带有一个 USB 接口,将其设置为 HOST 或 OTG 模式,这样可以用来接入键盘、鼠标等 USB 外设。
USB 简介
USB 有两种设备:HOST 和 USB 功能设备。
在 USB2.0 中又引入了一个新的概念 OTG,即设备角色可以动态切换。
切换方式一:硬件
使用 USB_ID 引脚,默认上拉,处于 device 状态。
如果需要 OTG 控制器进入 HOST 状态,需要外接的 USB 口将 USB_ID 短接到地。
切换方式二:设备树
设备树直接配置
&usb_otg {
        dr_mode = "otg"; /* 三个可选项: otg / host / peripheral */
        status = "okay";
};
切换方式三:手动修改 /sys
进入 Linux 系统,执行,usb 将会被设置成为 host 模式
echo host > /sys/devices/platform/soc/1c13000.usb/musb-hdrc.1.auto/mode
我们使用硬件方式切换
硬件
USB 电路简单,只有两根线 D+、D-,器件也简单,就一个 USB 母座,甚至连电阻电容都不需要,其它外设如果也能像 USB 这样就好了。😊😊😊
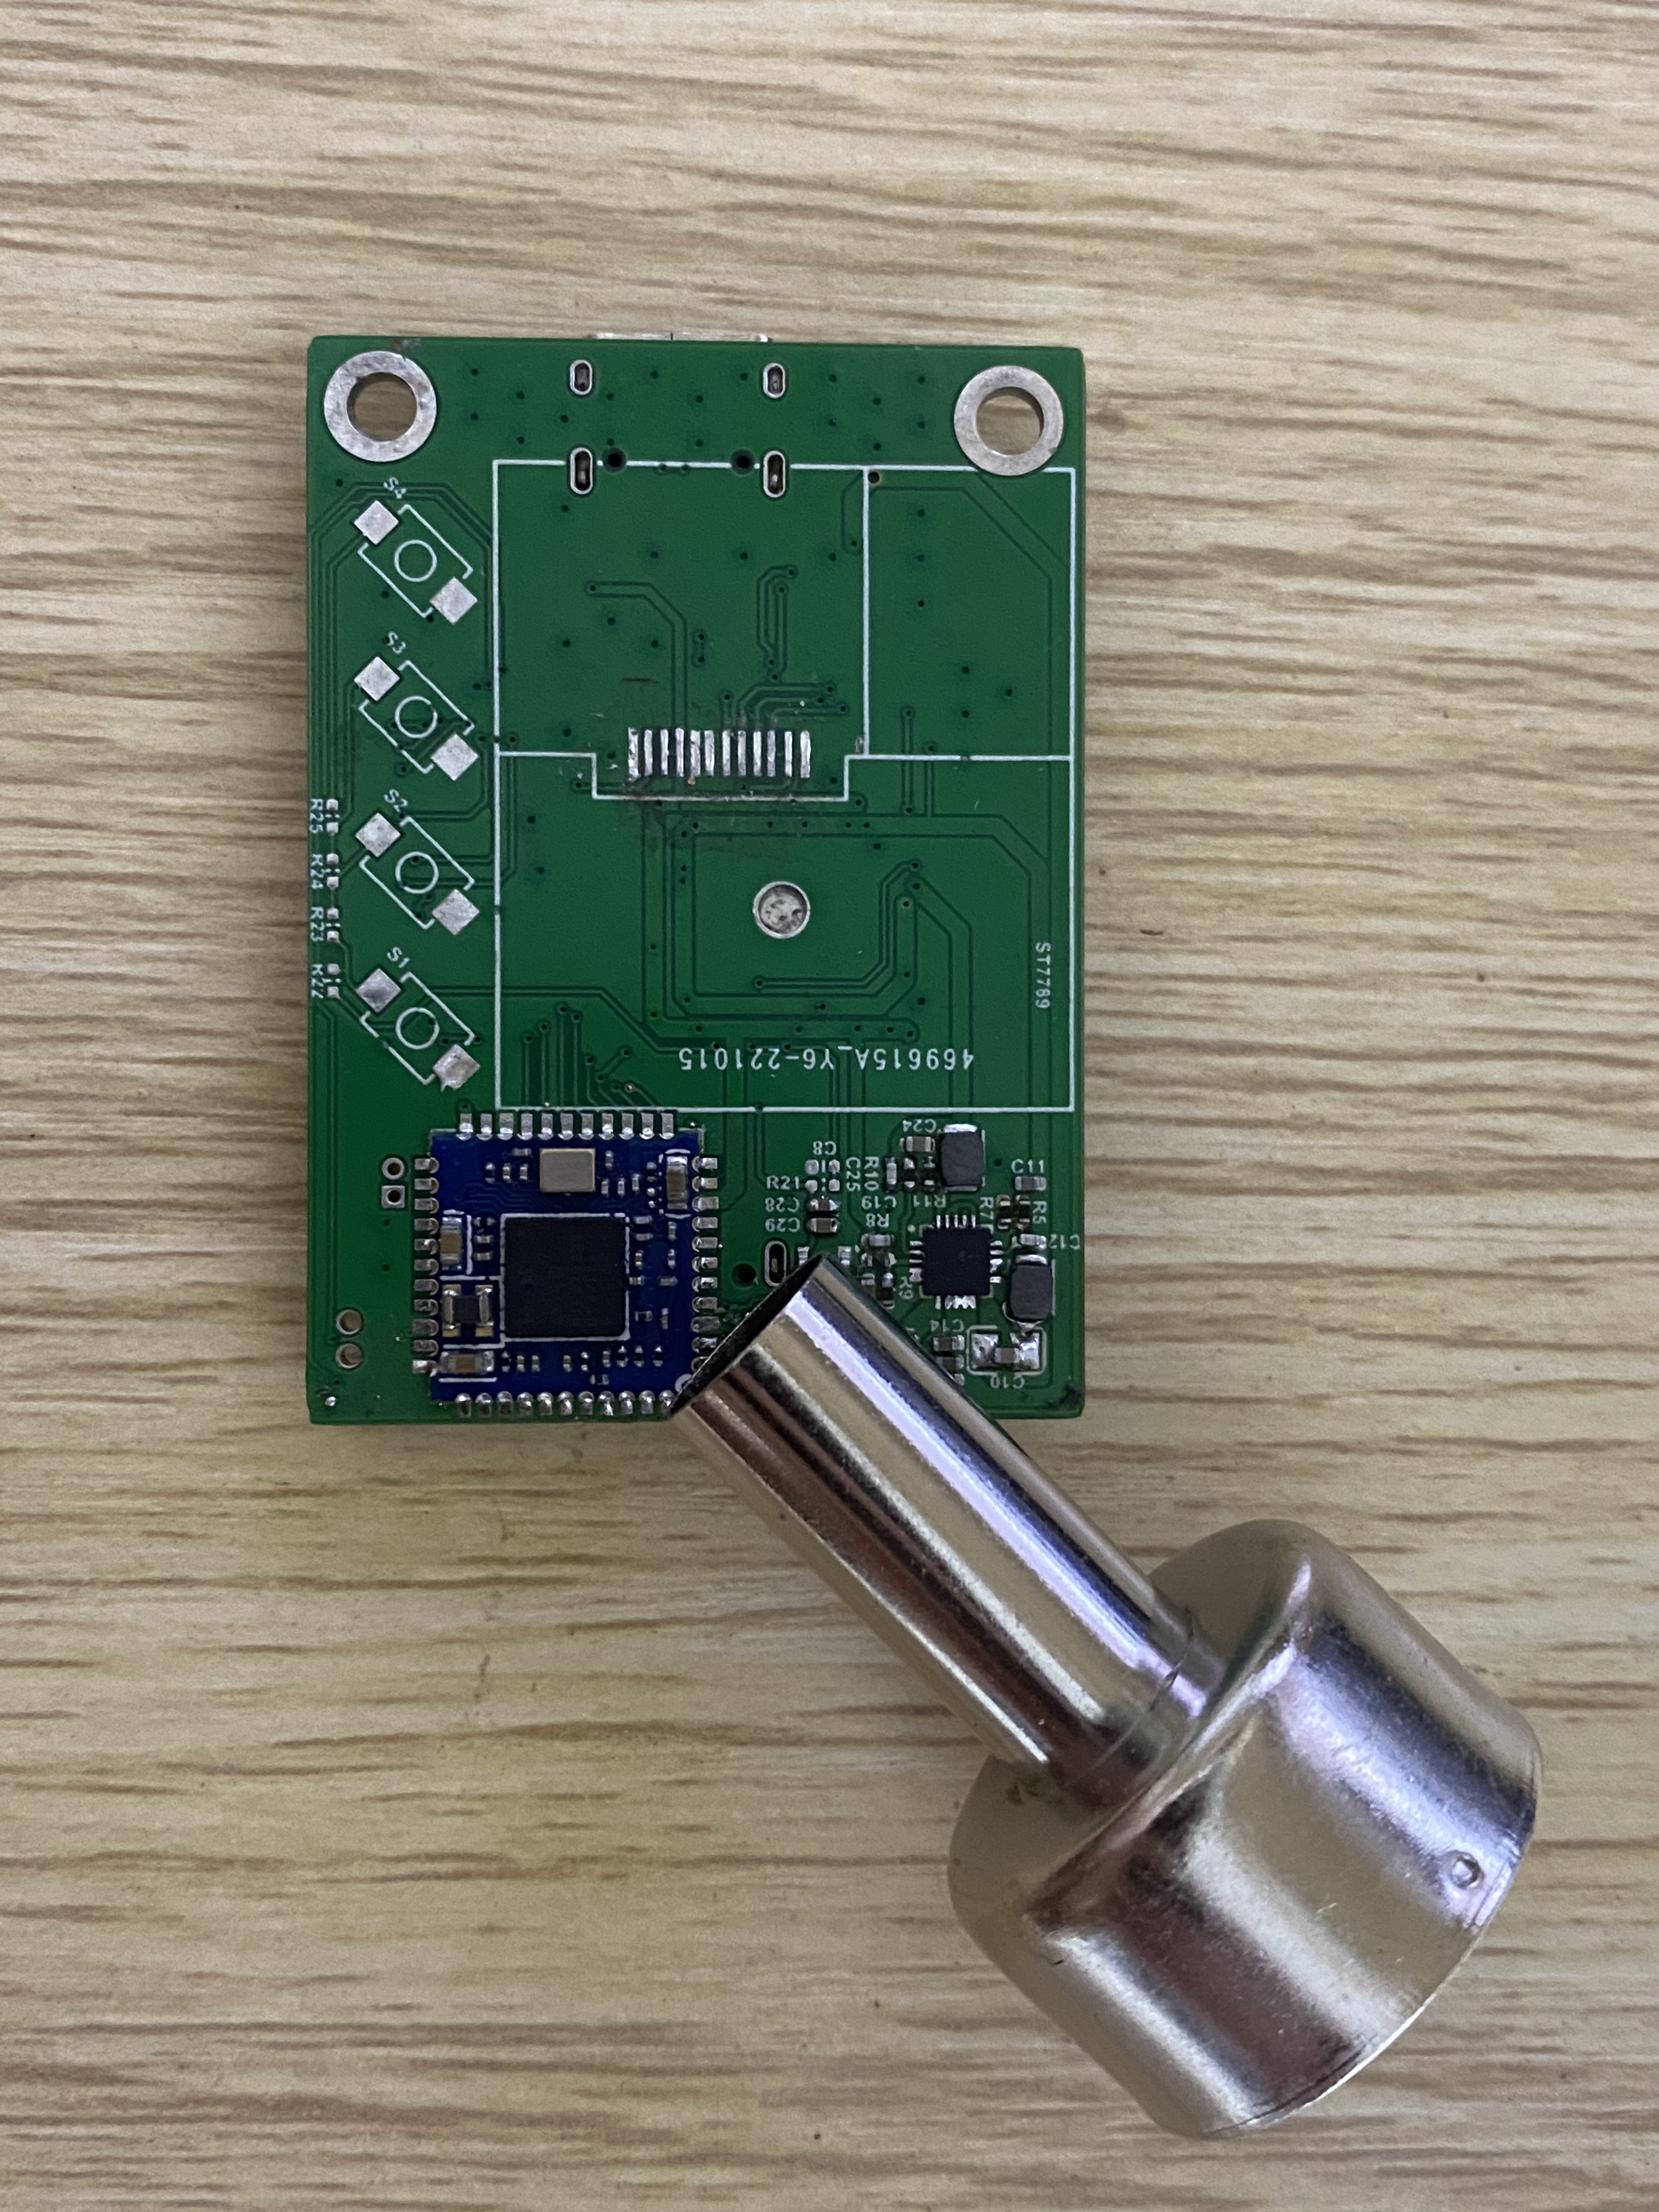
焊接就很简单了,就一个 USB 母座,我使用的是 Type C 母座
设备树
arch/arm/boot/dts/sun8i-v3s-licheepi-zero.dts
/ {
    soc {
        // 增加 ehci0 (usb2.0)、ohci0 (usb1.1) 这两个节点
        ehci0: usb@01c1a000 {
            compatible = "allwinner,sun8i-v3s-ehci", "generic-ehci";
            reg = <0x01c1a000 0x100>;
            interrupts = <GIC_SPI 72 IRQ_TYPE_LEVEL_HIGH>;
            clocks = <&ccu CLK_BUS_EHCI0>, <&ccu CLK_BUS_OHCI0>;
            resets = <&ccu RST_BUS_EHCI0>, <&ccu RST_BUS_OHCI0>;
            status = "okay";
        };

        ohci0: usb@01c1a400 {
            compatible = "allwinner,sun8i-v3s-ohci", "generic-ohci";
            reg = <0x01c1a400 0x100>;
            interrupts = <GIC_SPI 73 IRQ_TYPE_LEVEL_HIGH>;
            clocks = <&ccu CLK_BUS_EHCI0>, <&ccu CLK_BUS_OHCI0>,
            <&ccu CLK_USB_OHCI0>;
            resets = <&ccu RST_BUS_EHCI0>, <&ccu RST_BUS_OHCI0>;
            status = "okay";
        };
    };
};

&usb_otg {
	dr_mode = "otg";
	status = "okay";
};

&usbphy {
	usb0_id_det-gpios = <&pio 5 6 GPIO_ACTIVE_HIGH>;
	status = "okay";
};
调试
# lsusb
Bus 003 Device 001: ID 1d6b:0002
Bus 001 Device 001: ID 1d6b:0002
Bus 002 Device 001: ID 1d6b:0001
插入键盘
#
[   64.047789] usb 2-1: USB disconnect, device number 2
[   69.109743] usb 2-1: new full-speed USB device number 3 using ohci-platform
[   69.410757] usbhid 2-1:1.0: can't add hid device: -71
[   69.417442] usbhid: probe of 2-1:1.0 failed with error -71
[   69.438942] input: Gaming KB  System Control as /devices/platform/soc/1c1a400.usb/usb2/2-1/2-1:1.1/0003:258A:1006.0001/input/input1
[   69.520323] input: Gaming KB  Consumer Control as /devices/platform/soc/1c1a400.usb/usb2/2-1/2-1:1.1/0003:258A:1006.0001/input/input2
[   69.536532] input: Gaming KB  Keyboard as /devices/platform/soc/1c1a400.usb/usb2/2-1/2-1:1.1/0003:258A:1006.0001/input/input3
[   69.558009] hid-generic 0003:258A:1006.0001: input: USB HID v1.11 Keyboard [Gaming KB ] on usb-1c1a400.usb-1/input1
[   71.259791] usb 2-1: reset full-speed USB device number 3 using ohci-platform
[   73.019839] usb 2-1: reset full-speed USB device number 3 using ohci-platform
[   74.999799] usb 2-1: reset full-speed USB device number 3 using ohci-platform
[   76.809912] usb 2-1: reset full-speed USB device number 3 using ohci-platform
[   77.469746] usb 2-1: device not accepting address 3, error -62
[   77.679753] usb 2-1: reset full-speed USB device number 3 using ohci-platform
[   79.639774] usb 2-1: reset full-speed USB device number 3 using ohci-platform
[   81.230445] usb 2-1: reset full-speed USB device number 3 using ohci-platform
[   83.079769] usb 2-1: reset full-speed USB device number 3 using ohci-platform
[   85.079781] usb 2-1: reset full-speed USB device number 3 using ohci-platform
[   85.354764] usb 2-1: device descriptor read/all, error -71
[   85.569730] usb 2-1: reset full-speed USB device number 3 using ohci-platform
报错 usb 2-1: device descriptor read/all, error -71
拔插一次
#
[  207.536060] usb 2-1: USB disconnect, device number 3
[  210.899724] usb 2-1: new full-speed USB device number 4 using ohci-platform
[  211.196755] usbhid 2-1:1.0: can't add hid device: -62
[  211.203540] usbhid: probe of 2-1:1.0 failed with error -62
[  211.231919] input: Gaming KB  Gaming KB  System Control as /devices/platform/soc/1c1a400.usb/usb2/2-1/2-1:1.1/0003:258A:1006.0002/input/input4
[  211.310302] input: Gaming KB  Gaming KB  Consumer Control as /devices/platform/soc/1c1a400.usb/usb2/2-1/2-1:1.1/0003:258A:1006.0002/input/input5
[  211.327496] input: Gaming KB  Gaming KB  Keyboard as /devices/platform/soc/1c1a400.usb/usb2/2-1/2-1:1.1/0003:258A:1006.0002/input/input6
[  211.359852] hid-generic 0003:258A:1006.0002: input: USB HID v1.11 Keyboard [Gaming KB  Gaming KB ] on usb-1c1a400.usb-1/input1
还是报错 usbhid: probe of 2-1:1.0 failed with error -62
# ls /dev/input/ -lh
total 0
crw-------    1 root     root       13,  64 Jan  1 00:00 event0
crw-------    1 root     root       13,  65 Jan  1 00:03 event1 // 键盘
crw-------    1 root     root       13,  66 Jan  1 00:03 event2 // 键盘
crw-------    1 root     root       13,  67 Jan  1 00:03 event3 // 键盘
/dev/input 目录下虽然产生了键盘对应的 event 设备,但是监听这些设备,按下键盘,没有任何反应
# hexdump /dev/input/event1

# hexdump /dev/input/event2

# hexdump /dev/input/event3
起初怀疑是供电不足,于是使用一个电源适配器专门给 HUB 供电,还是报错。
又怀疑是 1 拖 4 的 USB HUB 质量不好,或者耗电太大,于是又买了个 1 拖 1 的 USB HUB(其实不能算是 HUB,应该只能算是 Type C 转 Type A 转换器),结果还是报错。
还怀疑是 USB_ID 引脚没有下拉,于是飞线到 GND 进行下拉,还是报错。
就这样调试了两天未果,最终从《USB 为什么一般选择48MHz》 这篇文章中找到了线索,
USB 的系统时钟需要时 bitrate 的 4 倍, 如低速 USB,传输速率是 1.5Mbps, 系统时钟需要选择为1.5*4 == 6Mhz,全速 usb 12MHz * 4 == 48Mhz
想到我使用的晶振是 26MHz,不是 4 的整数倍,难道是这个原因?
遂将晶振从 26MHz 换成了 24MHz,相应地,uboot 和 kernel dts 也修改成 24MHz,上电测试竟然还真的正常了。
测试
插入 USB HUB
#
[  290.679671] usb 1-1: new high-speed USB device number 2 using ehci-platform
[  290.881127] hub 1-1:1.0: USB hub found
[  290.886219] hub 1-1:1.0: 4 ports detected

# lsusb
Bus 003 Device 001: ID 1d6b:0002
Bus 001 Device 001: ID 1d6b:0002
Bus 001 Device 002: ID 1a40:0101 // USB HUB
Bus 002 Device 001: ID 1d6b:0001
插入键盘
#
[  587.679662] usb 1-1.1: new full-speed USB device number 3 using ehci-platform
[  587.936322] input: Gaming KB  Gaming KB  as /devices/platform/soc/1c1a000.usb/usb1/1-1/1-1.1/1-1.1:1.0/0003:258A:1006.0001/input/input1
[  588.020368] hid-generic 0003:258A:1006.0001: input: USB HID v1.11 Keyboard [Gaming KB  Gaming KB ] on usb-1c1a000.usb-1.1/input0
[  588.049607] input: Gaming KB  Gaming KB  System Control as /devices/platform/soc/1c1a000.usb/usb1/1-1/1-1.1/1-1.1:1.1/0003:258A:1006.0002/input/input2
[  588.130279] input: Gaming KB  Gaming KB  Consumer Control as /devices/platform/soc/1c1a000.usb/usb1/1-1/1-1.1/1-1.1:1.1/0003:258A:1006.0002/input/input3
[  588.147663] input: Gaming KB  Gaming KB  Keyboard as /devices/platform/soc/1c1a000.usb/usb1/1-1/1-1.1/1-1.1:1.1/0003:258A:1006.0002/input/input4
[  588.170084] hid-generic 0003:258A:1006.0002: input: USB HID v1.11 Keyboard [Gaming KB  Gaming KB ] on usb-1c1a000.usb-1.1/input1

# lsusb
Bus 003 Device 001: ID 1d6b:0002
Bus 001 Device 001: ID 1d6b:0002
Bus 001 Device 003: ID 258a:1006 // 键盘
Bus 001 Device 002: ID 1a40:0101
Bus 002 Device 001: ID 1d6b:0001

# ls /dev/input/ -lh
total 0
crw-------    1 root     root       13,  64 Jan  1 00:00 event0
crw-------    1 root     root       13,  65 Jan  1 02:04 event1 // 键盘
crw-------    1 root     root       13,  66 Jan  1 02:04 event2 // 键盘
crw-------    1 root     root       13,  67 Jan  1 02:04 event3 // 键盘
crw-------    1 root     root       13,  68 Jan  1 02:04 event4 // 键盘
监听键盘按键
# hexdump /dev/input/event1
0000000 1dbd 0000 9338 0007 0004 0004 000b 0007
0000010 1dbd 0000 9338 0007 0001 0023 0001 0000
0000020 1dbd 0000 9338 0007 0000 0000 0000 0000
0000030 1dbd 0000 eaec 0008 0004 0004 000b 0007
0000040 1dbd 0000 eaec 0008 0001 0023 0000 0000
0000050 1dbd 0000 eaec 0008 0000 0000 0000 0000
0000060 1dbe 0000 01b8 0000 0004 0004 0009 0007
0000070 1dbe 0000 01b8 0000 0001 0021 0001 0000
0000080 1dbe 0000 01b8 0000 0000 0000 0000 0000
0000090 1dbe 0000 1ae3 0001 0004 0004 0009 0007
00000a0 1dbe 0000 1ae3 0001 0001 0021 0000 0000
00000b0 1dbe 0000 1ae3 0001 0000 0000 0000 0000
00000c0 1dbe 0000 d8e5 000b 0004 0004 0015 0007
00000d0 1dbe 0000 d8e5 000b 0001 0013 0001 0000
00000e0 1dbe 0000 d8e5 000b 0000 0000 0000 0000
00000f0 1dbe 0000 8e63 000d 0004 0004 0015 0007
0000100 1dbe 0000 8e63 000d 0001 0013 0000 0000
0000110 1dbe 0000 8e63 000d 0000 0000 0000 0000
插入鼠标
#
[  806.739667] usb 1-1.4: new full-speed USB device number 4 using ehci-platform
[  806.996984] input: Logitech G102 Prodigy Gaming Mouse as /devices/platform/soc/1c1a000.usb/usb1/1-1/1-1.4/1-1.4:1.0/0003:046D:C084.0003/input/input5
[  807.022588] hid-generic 0003:046D:C084.0003: input: USB HID v1.11 Mouse [Logitech G102 Prodigy Gaming Mouse] on usb-1c1a000.usb-1.4/input0
[  807.067548] input: Logitech G102 Prodigy Gaming Mouse Keyboard as /devices/platform/soc/1c1a000.usb/usb1/1-1/1-1.4/1-1.4:1.1/0003:046D:C084.0004/input/input6
[  807.150288] input: Logitech G102 Prodigy Gaming Mouse Consumer Control as /devices/platform/soc/1c1a000.usb/usb1/1-1/1-1.4/1-1.4:1.1/0003:046D:C084.0004/input/input7
[  807.168723] input: Logitech G102 Prodigy Gaming Mouse System Control as /devices/platform/soc/1c1a000.usb/usb1/1-1/1-1.4/1-1.4:1.1/0003:046D:C084.0004/input/input8
[  807.193232] hid-generic 0003:046D:C084.0004: input: USB HID v1.11 Keyboard [Logitech G102 Prodigy Gaming Mouse] on usb-1c1a000.usb-1.4/input1

# lsusb
Bus 003 Device 001: ID 1d6b:0002
Bus 001 Device 001: ID 1d6b:0002
Bus 001 Device 003: ID 258a:1006
Bus 001 Device 002: ID 1a40:0101
Bus 002 Device 001: ID 1d6b:0001
Bus 001 Device 004: ID 046d:c084 // 鼠标

# ls /dev/input/ -lh
total 0
crw-------    1 root     root       13,  64 Jan  1 00:00 event0
crw-------    1 root     root       13,  65 Jan  1 02:04 event1
crw-------    1 root     root       13,  66 Jan  1 02:04 event2
crw-------    1 root     root       13,  67 Jan  1 02:04 event3
crw-------    1 root     root       13,  68 Jan  1 02:04 event4
crw-------    1 root     root       13,  69 Jan  1 02:08 event5 // 鼠标
crw-------    1 root     root       13,  70 Jan  1 02:08 event6 // 鼠标
crw-------    1 root     root       13,  71 Jan  1 02:08 event7 // 鼠标
crw-------    1 root     root       13,  72 Jan  1 02:08 event8 // 鼠标
监听鼠标移动、点击文章来源:https://www.toymoban.com/news/detail-831137.html
# hexdump /dev/input/event5
0000000 1e91 0000 9be6 000e 0002 0000 0001 0000
0000010 1e91 0000 9be6 000e 0000 0000 0000 0000
0000020 1e91 0000 befd 000e 0002 0000 0001 0000
0000030 1e91 0000 befd 000e 0000 0000 0000 0000
0000040 1e91 0000 caa5 000e 0002 0001 0001 0000
0000050 1e91 0000 caa5 000e 0000 0000 0000 0000
0000060 1e92 0000 3dfc 0001 0002 0000 0001 0000
0000070 1e92 0000 3dfc 0001 0000 0000 0000 0000
0000080 1e93 0000 cb9d 0008 0002 0000 0001 0000
0000090 1e93 0000 cb9d 0008 0000 0000 0000 0000
00000a0 1e93 0000 15c0 0009 0002 0000 0001 0000
00000b0 1e93 0000 15c0 0009 0000 0000 0000 0000
00000c0 1e93 0000 f24a 000a 0002 0000 0001 0000
00000d0 1e93 0000 f24a 000a 0000 0000 0000 0000
00000e0 1e93 0000 1950 000b 0002 0000 0001 0000
00000f0 1e93 0000 1950 000b 0000 0000 0000 0000
0000100 1e93 0000 3c95 000b 0002 0000 0001 0000
0000110 1e93 0000 3c95 000b 0000 0000 0000 0000
0000120 1e93 0000 5bc9 000b 0002 0000 0001 0000
0000130 1e93 0000 5bc9 000b 0000 0000 0000 0000
0000140 1e93 0000 7afe 000b 0002 0000 0001 0000
0000150 1e93 0000 7afe 000b 0000 0000 0000 0000
0000160 1e96 0000 5793 0000 0004 0004 0001 0009
0000170 1e96 0000 5793 0000 0001 0110 0001 0000
0000180 1e96 0000 5793 0000 0000 0000 0000 0000
0000190 1e96 0000 3fd6 0002 0004 0004 0001 0009
00001a0 1e96 0000 3fd6 0002 0001 0110 0000 0000
00001b0 1e96 0000 3fd6 0002 0000 0000 0000 0000
00001c0 1e96 0000 e13b 0007 0004 0004 0002 0009
00001d0 1e96 0000 e13b 0007 0001 0111 0001 0000
00001e0 1e96 0000 e13b 0007 0000 0000 0000 0000
00001f0 1e96 0000 d35f 0008 0004 0004 0002 0009
0000200 1e96 0000 d35f 0008 0001 0111 0000 0000
0000210 1e96 0000 d35f 0008 0000 0000 0000 0000
0000220 1e96 0000 3cce 0009 0004 0004 0002 0009
0000230 1e96 0000 3cce 0009 0001 0111 0001 0000
0000240 1e96 0000 3cce 0009 0000 0000 0000 0000
0000250 1e96 0000 ae11 0009 0004 0004 0002 0009
0000260 1e96 0000 ae11 0009 0001 0111 0000 0000
0000270 1e96 0000 ae11 0009 0000 0000 0000 0000
至此,USB 调试 OK文章来源地址https://www.toymoban.com/news/detail-831137.html
到了这里,关于ARM Linux DIY(八)USB 调试的文章就介绍完了。如果您还想了解更多内容,请在右上角搜索TOY模板网以前的文章或继续浏览下面的相关文章,希望大家以后多多支持TOY模板网!


