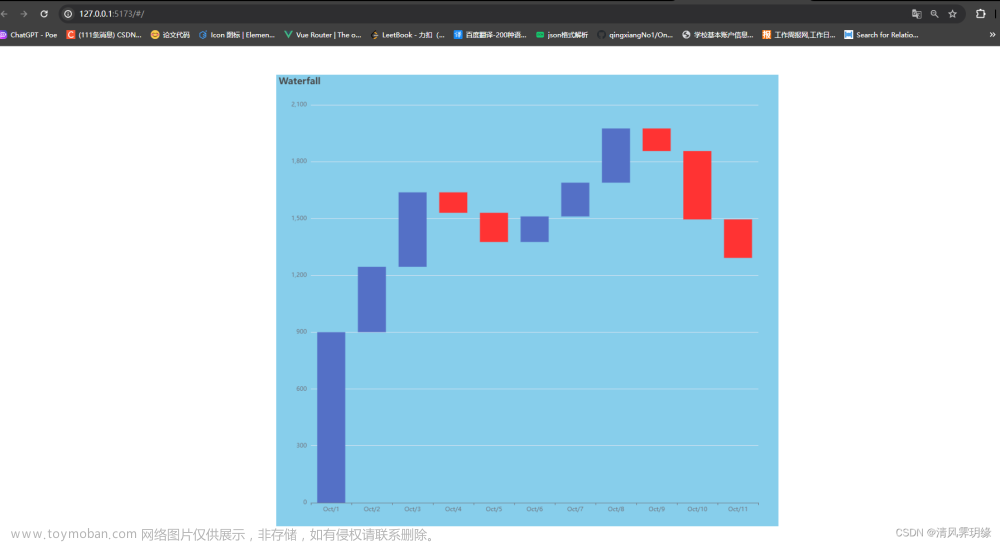
先看效果图
直接上代码utils.js
// 用于模拟接口请求
export const getRemoteData = (data = '获取数据', time = 2000) => {
    return new Promise((resolve) => {
        setTimeout(() => {
            console.log(`模拟获取接口数据`, data)
            resolve(data)
        }, time)
    })
}

// 获取数组随机项
export const getRandomElement = (arr) => {
    var randomIndex = Math.floor(Math.random() * arr.length);
    return arr[randomIndex];
}

// 指定范围随机数
export const getRandomNumber = (min, max) => {
    return Math.floor(Math.random() * (max - min + 1) + min);
}

// 节流
export const throttle = (fn, time) => {
    let timer = null
    return (...args) => {
        if (!timer) {
            timer = setTimeout(() => {
                timer = null
                fn.apply(this, args)
            }, time)
        }
    }
}
// 防抖
export const debounce = (fn, time) => {
    let timer = null
    return (...args) => {
        clearTimeout(timer)
        timer = setTimeout(() => {
            fn.apply(this, args)
        }, time)
    }
}
data.js 模拟后台返回的数据
import { getRandomElement, getRandomNumber } from "./utils.js"

const colorList = ['red', 'blue', 'green', 'pink', 'yellow', 'orange', 'purple', 'brown', 'gray', 'skyblue']

export const createList = (pageSize) => {
    let list = Array.from({ length: pageSize }, (v, i) => i)
    return list.map(x => {
        return {
            background: getRandomElement(colorList),
            width: getRandomNumber(200, 600),
            height: getRandomNumber(400, 700),
            x: 0,
            y: 0
        }
    })
}
瀑布流布局组件waterfall.vue
<template>
  <div class="waterfall-container" ref="containerRef" @scroll="handleScroll">
    <div class="waterfall-list">
      <div
        class="waterfall-item"
        v-for="(item, index) in resultList"
        :key="index"
        :style="{
          width: `${item.width}px`,
          height: `${item.height}px`,
          transform: `translate3d(${item.x}px, ${item.y}px, 0)`,
        }"
      >
        <slot name="item" v-bind="item"></slot>
      </div>
    </div>
  </div>
</template>
<script setup>
import { ref, onMounted, computed, nextTick, onUnmounted } from "vue";
import { createList } from "@/common/data.js";
import { getRemoteData, throttle, debounce } from "@/common/utils.js";
const props = defineProps({
  // 间距
  gap: {
    type: Number,
    default: 10,
  },
  // 列数
  columns: {
    type: Number,
    default: 3,
  },
  // 距离底部
  bottom: {
    type: Number,
    default: 0,
  },
  // 分页大小
  pageSize: {
    type: Number,
    default: 10,
  },
});

// 容器ref
const containerRef = ref(null);

// 卡片宽度
const cardWidth = ref(0);

// 列高度
const columnHeight = ref(new Array(props.columns).fill(0));

// 数据list
const resultList = ref([]);

// 当前页码
const pageNum = ref(1);

// 加载状态
const loading = ref(false);

// 计算最小列高度及其下标
const minColumn = computed(() => {
  let minIndex = -1,
    minHeight = Infinity;

  columnHeight.value.forEach((item, index) => {
    if (item < minHeight) {
      minHeight = item;
      minIndex = index;
    }
  });

  return {
    minIndex,
    minHeight,
  };
});

// 获取接口数据
const getData = async () => {
  loading.value = true;
  const list = createList(props.pageSize);
  const resList = await getRemoteData(list, 300).finally(
    () => (loading.value = false)
  );
  pageNum.value++;
  resultList.value = [...resultList.value, ...getList(resList)];
};

// 滚动到底部获取新一页数据-节流
const handleScroll = throttle(() => {
  const { scrollTop, clientHeight, scrollHeight } = containerRef.value;
  const bottom = scrollHeight - clientHeight - scrollTop;
  if (bottom <= props.bottom) {
    !loading.value && getData();
  }
});

// 拼装数据结构
const getList = (list) => {
  return list.map((x, index) => {
    const cardHeight = Math.floor((x.height * cardWidth.value) / x.width);
    const { minIndex, minHeight } = minColumn.value;
    const isInit = index < props.columns && resultList.length <= props.pageSize;
    if (isInit) {
      columnHeight.value[index] = cardHeight + props.gap;
    } else {
      columnHeight.value[minIndex] += cardHeight + props.gap;
    }

    return {
      width: cardWidth.value,
      height: cardHeight,
      x: isInit
        ? index % props.columns !== 0
          ? index * (cardWidth.value + props.gap)
          : 0
        : minIndex % props.columns !== 0
        ? minIndex * (cardWidth.value + props.gap)
        : 0,
      y: isInit ? 0 : minHeight,
      background: x.background,
    };
  });
};

// 监听元素
const resizeObserver = new ResizeObserver(() => {
  handleResize();
});

// 重置计算宽度以及位置
const handleResize = debounce(() => {
  const containerWidth = containerRef.value.clientWidth;
  cardWidth.value =
    (containerWidth - props.gap * (props.columns - 1)) / props.columns;
  columnHeight.value = new Array(props.columns).fill(0);
  resultList.value = getList(resultList.value);
});

const init = () => {
  if (containerRef.value) {
    const containerWidth = containerRef.value.clientWidth;
    cardWidth.value =
      (containerWidth - props.gap * (props.columns - 1)) / props.columns;
    getData();
    resizeObserver.observe(containerRef.value);
  }
};

onMounted(() => {
  init();
});
// 取消监听
onUnmounted(() => {
  containerRef.value && resizeObserver.unobserve(containerRef.value);
});
</script>

<style lang="scss">
.waterfall {
  &-container {
    width: 100%;
    height: 100%;
    overflow-y: scroll;
    overflow-x: hidden;
  }

  &-list {
    width: 100%;
    position: relative;
  }
  &-item {
    position: absolute;
    left: 0;
    top: 0;
    box-sizing: border-box;
    transition: all 0.3s;
  }
}
</style>
使用该组件(这里columns写死了3列)
<template>
  <div class="container">
    <WaterFall :columns="3" :gap="10">
      <template #item="{ background }">
        <div class="card-box" :style="{ background }"></div>
      </template>
    </WaterFall>
  </div>
</template>

<script setup>
import WaterFall from "@/components/waterfall.vue";
</script>

<style scoped lang="scss">
.container {
  width: 700px;  /* 一般业务场景不是固定宽度 */
  height: 800px;
  border: 2px solid #000;
  margin-top: 10px;
  margin-left: auto;
}
.card-box {
  position: relative;
  width: 100%;
  height: 100%;
  border-radius: 4px;
}
</style>
若要响应式调整列数,可参考以下代码文章来源:https://www.toymoban.com/news/detail-831487.html
const fContainerRef = ref(null);
const columns = ref(3);
const fContainerObserver = new ResizeObserver((entries) => {
  changeColumn(entries[0].target.clientWidth);
});

// 根据宽度,改变columns列数
const changeColumn = (width) => {
  if (width > 1200) {
    columns.value = 5;
  } else if (width >= 768 && width < 1200) {
    columns.value = 4;
  } else if (width >= 520 && width < 768) {
    columns.value = 3;
  } else {
    columns.value = 2;
  }
};

onMounted(() => {
  fContainerRef.value && fContainerObserver.observe(fContainerRef.value);
});

onUnmounted(() => {
  fContainerRef.value && fContainerObserver.unobserve(fContainerRef.value);
});
瀑布流布局组件监听columns变化文章来源地址https://www.toymoban.com/news/detail-831487.html
watch(
  () => props.columns,
  () => {
    handleResize();
  }
);
到了这里,关于vue3实现瀑布流布局组件的文章就介绍完了。如果您还想了解更多内容,请在右上角搜索TOY模板网以前的文章或继续浏览下面的相关文章,希望大家以后多多支持TOY模板网!


