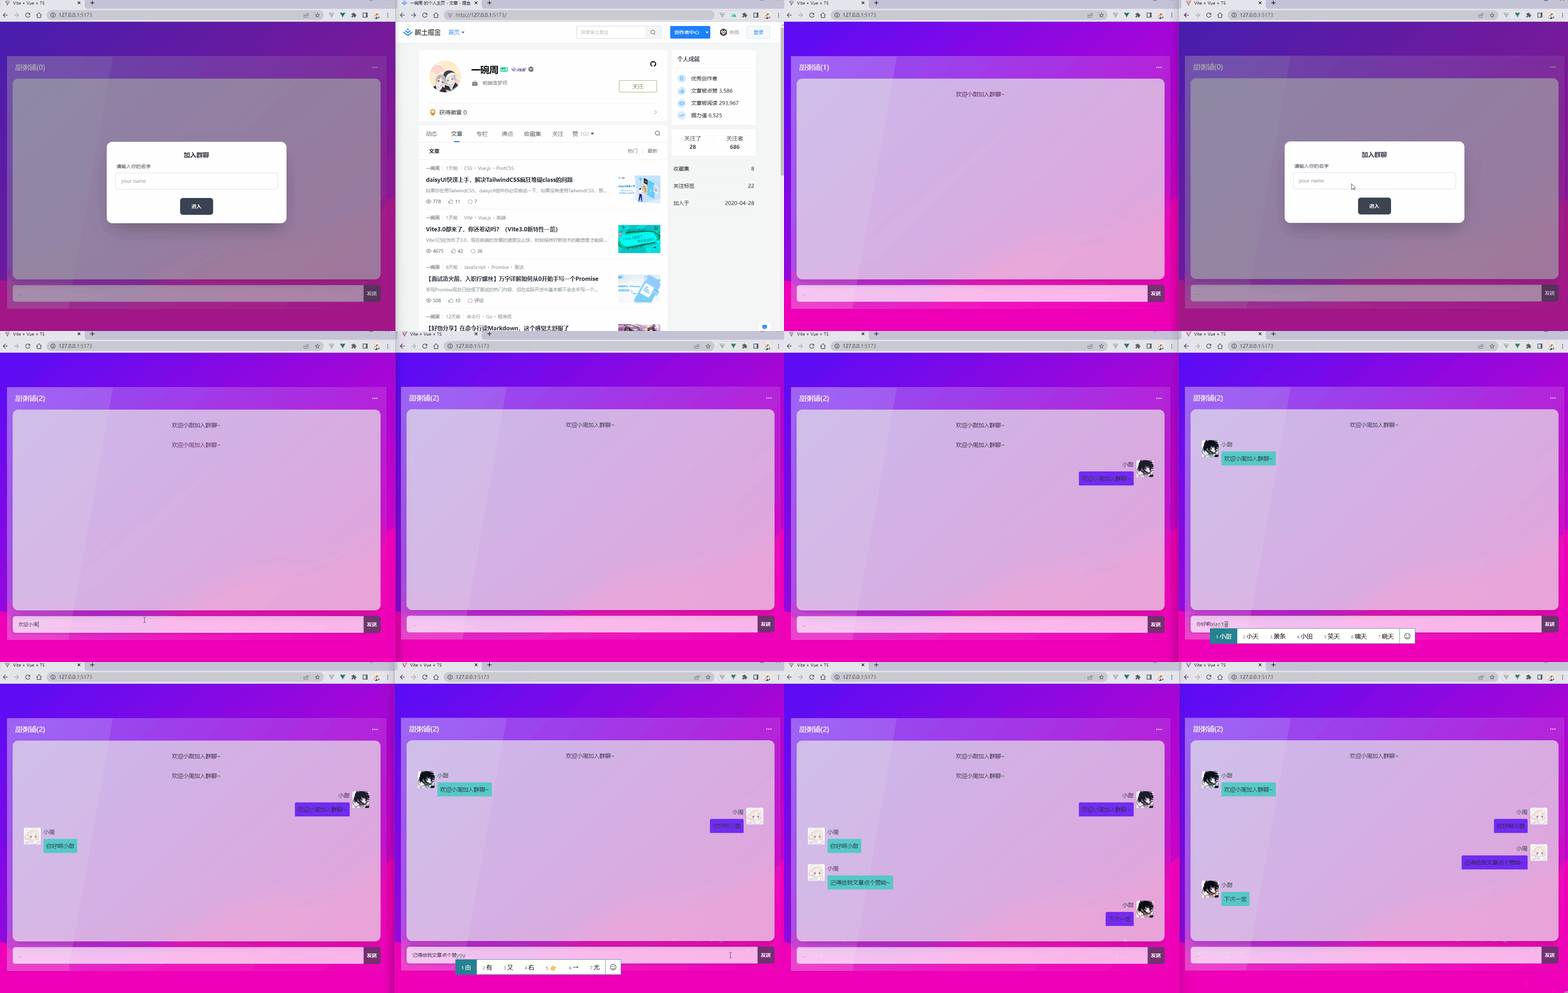
<template>
  <view>
    <view v-for="(msg, index) in messages" :key="index">
      {{ msg }}
    </view>
    <input v-model="inputMsg" type="text" placeholder="请输入消息" @confirm="sendMessage" />
  </view>
</template>

<script>
export default {
  data() {
    return {
      socket: null,
      inputMsg: '',
      messages: []
    };
  },
  onLoad() {
    this.initWebSocket();
  },
  methods: {
    initWebSocket() {
      this.socket = new WebSocket('ws://your_websocket_server_url');

      this.socket.onopen = () => {
        console.log('WebSocket连接已打开');
      };

      this.socket.onmessage = (event) => {
        this.messages.push(event.data);
      };

      this.socket.onerror = (event) => {
        console.error('WebSocket连接发生错误:', event);
      };

      this.socket.onclose = () => {
        console.log('WebSocket连接已关闭');
      };
    },
    sendMessage() {
      if (this.inputMsg.trim() !== '') {
        this.socket.send(this.inputMsg);
        this.inputMsg = '';
      }
    }
  }
};
</script>
- 在
App.vue中添加路由配置:<template> <view> <router-view /> </view> </template> <script> export default {}; </script> - 在
main.js中配置全局引入的WebSocket库(如果有的话):import Vue from 'vue'; import App from './App'; Vue.config.productionTip = false; App.mpType = 'app'; const app = new Vue({ ...App }); app.$mount();
文章来源地址https://www.toymoban.com/news/detail-834117.html
文章来源:https://www.toymoban.com/news/detail-834117.html
到了这里,关于webScoket实时通讯聊天的文章就介绍完了。如果您还想了解更多内容,请在右上角搜索TOY模板网以前的文章或继续浏览下面的相关文章,希望大家以后多多支持TOY模板网!


