参考:
https://pytorch.org/vision/0.13/models.html
https://blog.csdn.net/weixin_42357472/article/details/131747022
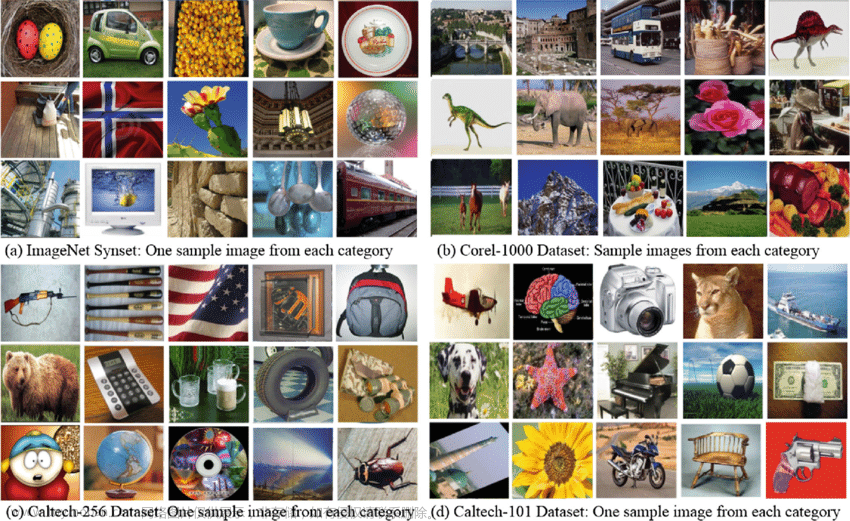
有分类、检测、分割相关预训练模型
1、目标检测
https://pytorch.org/vision/0.13/models.html#object-detection-instance-segmentation-and-person-keypoint-detection
from torchvision.io.image import read_image
from torchvision.models.detection import fasterrcnn_resnet50_fpn_v2, FasterRCNN_ResNet50_FPN_V2_Weights
from torchvision.utils import draw_bounding_boxes
from torchvision.transforms.functional import to_pil_image


# Step 1: Initialize model with the best available weights
weights = FasterRCNN_ResNet50_FPN_V2_Weights.DEFAULT
model = fasterrcnn_resnet50_fpn_v2(weights=weights, box_score_thresh=0.9)
model.eval()


# Step 2: Initialize the inference transforms

img = read_image(r"C:\Users\loong\Downloads\people3.jpg")

preprocess = weights.transforms()

# Step 3: Apply inference preprocessing transforms
batch = [preprocess(img)]

# Step 4: Use the model and visualize the prediction
prediction = model(batch)[0]
labels = [weights.meta["categories"][i] for i in prediction["labels"]]
box = draw_bounding_boxes(img, boxes=prediction["boxes"],
                          labels=labels,
                          colors="red",
                          width=4, font_size=30)
im = to_pil_image(box.detach())
im.show()

 文章来源:https://www.toymoban.com/news/detail-841519.html
微调代码finetuning 参考:
https://h-huang.github.io/tutorials/intermediate/torchvision_tutorial.html
https://www.youtube.com/watch?v=qC4yEiJOJtM文章来源地址https://www.toymoban.com/news/detail-841519.html
到了这里,关于torchvision pytorch预训练模型目标检测使用的文章就介绍完了。如果您还想了解更多内容,请在右上角搜索TOY模板网以前的文章或继续浏览下面的相关文章,希望大家以后多多支持TOY模板网!