接上文:从零开始部署ubuntu+Anaconda3+langchain-chatchat+chatglm3-6b大模型,本地知识库
四、通过Anaconda安装langchain-chatchat需要的python环境
4.1 安装、激活python虚拟环境
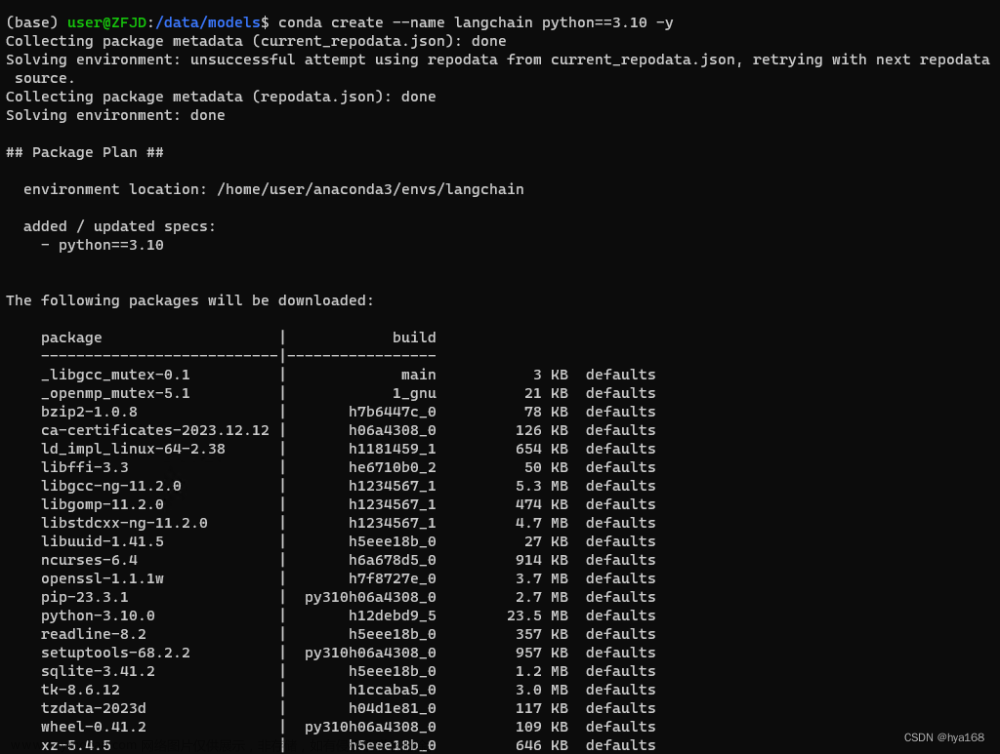
Langchain-chatchat 0.2.10 推荐使用python3.11.7,通过下面命令进行python环境创建。
conda create --name langchain python==3.11.7 -y #创建一个名字为langchain的python3.11.7虚拟环境如下图


安装完毕后,通过以下命令激活python虚拟环境
conda activate langchain如下图,shell命令行前面会出现(langchain)这个虚拟环境名。

4.2 安装langchain-chatchat pip依赖组件
转到langchain chatchat目录下,安装langchain的一些pip依赖
cd /data/webui/langchainchatchat
pip install -r requirements.txt -i https://mirrors.aliyun.com/pypi/simple/
-i https://mirrors.aliyun.com/pypi/simple/ 为使用阿里云的pip源,安装过程类似下图:
等待安装完成,pytorch之类比较大,下载过程会比较长。安装完成如下图:

4.3 检查torch,cuda是否安装正确
安装完成后,进入python命令行,使用如下命令检查torch,cuda。
python
import torch
torch.__version__
torch.cuda.is_available()
运行结果类似如下图(版本号可能有所不同):
如果发现不是cu版本呢,可能是因为nvidia显卡的驱动以及cuda版本没有安装正确,解决方案是去官方下载对应显卡的驱动,nvidia-tool kit, cuda,python等(我会单独写一篇文章)。文章来源:https://www.toymoban.com/news/detail-842083.html
langchain-chatchat的基础运行环境安装完毕。文章来源地址https://www.toymoban.com/news/detail-842083.html
到了这里,关于从零开始部署ubuntu+Anaconda3+langchain-chatchat+chatglm3-6b大模型,本地知识库(二)的文章就介绍完了。如果您还想了解更多内容,请在右上角搜索TOY模板网以前的文章或继续浏览下面的相关文章,希望大家以后多多支持TOY模板网!


