一、多种方法创建Pod
1、kubectl直接创建
# kubectl run nginx --image=nginx
pod/nginx created
# 查看pod运行情况
# kubectl get pods -w
NAME      READY   STATUS    RESTARTS   AGE
nginx     1/1     Running   0          34s
web-app   1/1     Running   0          86m
# kubectl get pods -o wide
NAME      READY   STATUS    RESTARTS   AGE   IP           NODE        NOMINATED NODE   READINESS GATES
nginx     1/1     Running   0          43s   10.24.0.13   k8s-node1   <none>           <none>
web-app   1/1     Running   0          86m   10.24.0.12   k8s-node1   <none>           <none>
2、yaml文件创建
$ sudo vim test.yaml
apiVersion: v1
kind: Pod
metadata:
        name: web-app
        labels:
                role: approle
spec:
        containers:
          - name: web-app-cont
            image: nginx
            imagePullPolicy: IfNotPresent
            ports:
                    - name: web-app-port
                      containerPort: 8080
                      hostPort: 8080
                      protocol: TCP
$ kubectl apply -f test.yaml
3、删除Pod
$ kubectl delete web-app4、问题汇总
(1)Pod处于一直Pending状态
解决方法参考:0/1 nodes are available: 1 node(s) had taint {node-role.kubernetes.io/master: }, that the pod didn‘t-CSDN博客
# 问题描述
root@K8s-node1:~# kubectl get pod --all-namespaces
NAMESPACE      NAME                                READY   STATUS    RESTARTS   AGE
default        web-app                             0/1     Pending   0          3s
kube-flannel   kube-flannel-ds-vjp9v               1/1     Running   4          23h
kube-system    coredns-59d64cd4d4-8fr84            1/1     Running   4          24h
kube-system    coredns-59d64cd4d4-954k4            1/1     Running   4          24h
kube-system    etcd-k8s-node1                      1/1     Running   18         24h
kube-system    kube-apiserver-k8s-node1            1/1     Running   27         24h
kube-system    kube-controller-manager-k8s-node1   1/1     Running   61         24h
kube-system    kube-proxy-8br54                    1/1     Running   4          24h
kube-system    kube-scheduler-k8s-node1            1/1     Running   60         24h
# 查看问题
root@K8s-node1:~# kubectl describe pod web-app
Name:         web-app
Namespace:    default
# 中间省略,主要看event描述
Events:
  Type     Reason            Age                  From               Message
  ----     ------            ----                 ----               -------
  Warning  FailedScheduling  26s (x4 over 2m37s)  default-scheduler  0/1 nodes are available: 1 node(s) had taint {node-role.kubernetes.io/master: }, that the pod didn't tolerate.

# 问题分析,master节点 默认不允许调度 pod
# 1个节点有pod不能容忍的污点{node-role.kubernetes.io/master:}。

# 解决方法
kubectl taint nodes --all node-role.kubernetes.io/master-
(2)Pod处于CrashLoopBackOff状态
原因:python不能够常驻,只能运行一次,且是后台运行情况,则会出错。
解决方法:将程序设置成能够常驻的,并且在创建容器时使用交互式,即可看到输出以及Pod运行正常。
(3)容器运行python程序不能输出图像
原因:没有安装相关成像的包
解决方法:文章来源地址https://www.toymoban.com/news/detail-842259.html
二、Python程序部署到K8s
1、导出python程序
# 编写main.py程序
if __name__ == "__main__":
    print("hello world")
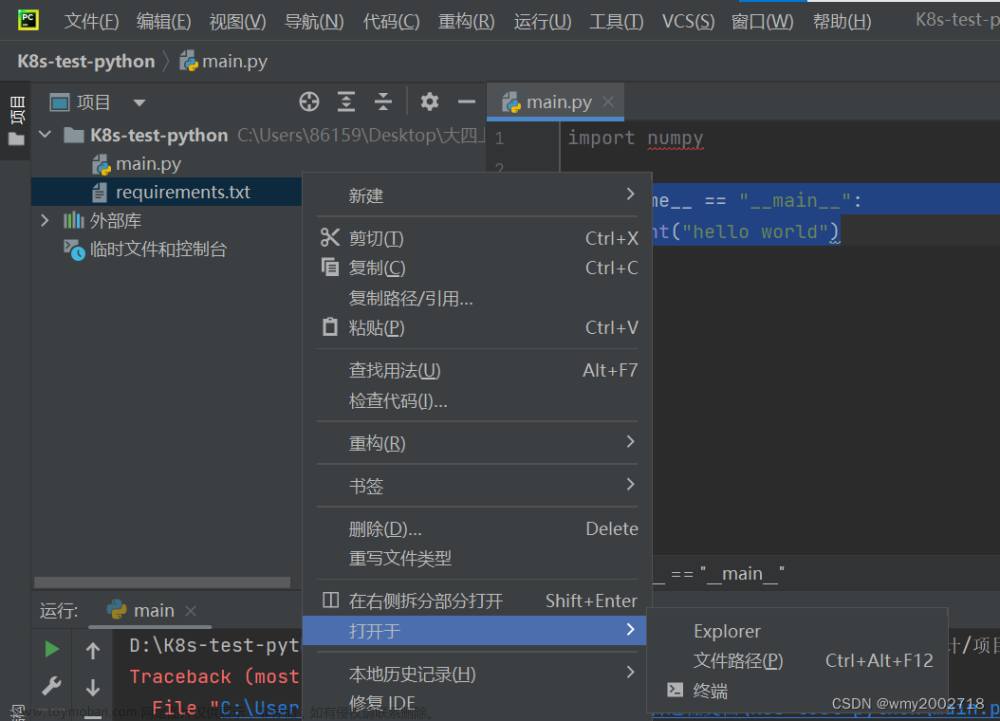
打开终端

# 在终端中输入
pip freeze > requirements.txt

# 生成requirements.txt文件,存于main.py同文件夹下
# 将.py文件同.txt文件拷贝到盒子所在Linux系统中
2、通过Dockerfile创建镜像
# 在Linux系统下查看文件所在位置
ubuntu@K8s-node1:~/K8s-test-python$ cd ~
ubuntu@K8s-node1:~$ ls
Desktop  device_test  Documents  Downloads  examples.desktop  k8s  K8s-test-python  Music  Pictures  Public  Templates  Videos  VisionWorks-SFM-0.90-Samples
ubuntu@K8s-node1:~$ cd ~/K8s-test-python
ubuntu@K8s-node1:~/K8s-test-python$ ls
Dockerfile  main.py  requirements.txt
ubuntu@K8s-node1:~/K8s-test-python$ sudo vim Dockerfile
# Dockerfile 内容
FROM python:3.7
WORKDIR ./K8s-test-python
ADD . .
# RUN pip install -r requirements.txt
CMD ["python","./main.py"]
# 创建镜像
$ sudo docker build -t test:v1 .
Sending build context to Docker daemon  12.29kB
Step 1/4 : FROM python:3.7
 ---> 622939041855
Step 2/4 : WORKDIR ./K8s-test-python
 ---> Using cache
 ---> de94df403dc1
Step 3/4 : ADD . .
 ---> 204c379a4116
Step 4/4 : CMD ["python","./main.py"]
 ---> Running in 0ab10ec63e4d
Removing intermediate container 0ab10ec63e4d
 ---> 7489ba0c4dca
Successfully built 7489ba0c4dca
Successfully tagged test:v1
# 查看是否成功创建镜像
ubuntu@K8s-node1:~/K8s-test-python$ docker image ls
REPOSITORY                                                        TAG        IMAGE ID       CREATED             SIZE
test                                                              v1         7489ba0c4dca   About an hour ago   852MB
nginx                                                             latest     eeb9db34b331   2 years ago         134MB
python                                                            3.7        622939041855   2 years ago         852MB
registry.aliyuncs.com/google_containers/pause                     3.4.1      d055819ed991   3 years ago         484kB
registry.aliyuncs.com/google_containers/coredns                   v1.8.0     1a1f05a2cd7c   3 years ago         39.3MB
registry.aliyuncs.com/google_containers/etcd                      3.4.13-0   05b738aa1bc6   3 years ago         312MB
3、创建容器和Pod
ubuntu@K8s-node1:~/K8s-test-python$ docker run test:v1
hello world
root@K8s-node1:~# kubectl run pod-demo --image=test:v1
pod/pod-demo created
root@K8s-node1:~# kubectl get pod
NAME       READY   STATUS    RESTARTS   AGE
nginx      1/1     Running   1          4h17m
pod-demo   1/1     Running   0          4s
web-app    1/1     Running   1          5h42m

root@K8s-node1:~# kubectl get pod
NAME       READY   STATUS             RESTARTS   AGE
nginx      1/1     Running            1          5h20m
pod-demo   0/1     CrashLoopBackOff   17         63m
web-app    1/1     Running            1          6h46m
4、实例
(1)Hello World
(2)计算器
(3)基于Flask框架实现通讯
Ⅰ.Flask库安装
# 终端输入指令
pip install Flask

# 报错
[notice] A new release of pip available: 22.1.2 -> 23.3.2
[notice] To update, run: python.exe -m pip install --upgrade pip

# 原因:pip需要升级
python.exe -m pip install --user --upgrade pip

# 显示以下信息表明pip安装成功
Successfully installed pip-23.3.2

# 再次安装Flask
Requirement already satisfied: Flask in c:\programdata\anaconda3\lib\site-packages (1.1.2)
Requirement already satisfied: Werkzeug>=0.15 in c:\programdata\anaconda3\lib\site-packages (from Flask) (1.0.1)
Requirement already satisfied: Jinja2>=2.10.1 in c:\programdata\anaconda3\lib\site-packages (from Flask) (2.11.2)
Requirement already satisfied: itsdangerous>=0.24 in c:\programdata\anaconda3\lib\site-packages (from Flask) (1.1.0)
Requirement already satisfied: click>=5.1 in c:\programdata\anaconda3\lib\site-packages (from Flask) (7.1.2)
Requirement already satisfied: MarkupSafe>=0.23 in c:\programdata\anaconda3\lib\site-packages (from Jinja2>=2.10.1->Flask) (1.1.1)
Ⅱ.基于Flask框架的Python程序
# client.py

import requests

if __name__ == '__main__':
    # get 请求
    url = "http://localhost:9979/get-test"
    r = requests.get(url)
    print(r.text)

    # post 请求
    url = "http://localhost:9979/post-test"
    data = {"aaa": 1, "bbb": 2, }
    r = requests.post(url, json={"data": data})
    print(r.text)
# server.py
from flask import Flask, request
app = Flask(__name__)
@app.route('/get-test', methods=['GET'])
def testget():
if request.method == 'GET':
return "get request success"
@app.route('/post-test', methods=['POST'])
def testpost():
if request.method == 'POST':
temp = request.json.get('data')
print(temp)
return "post request success"
if __name__ == '__main__':
app.run(host="localhost", port=9979, threaded=True)三、问题归纳
1、IP问题
问题描述:盒子联网时地IP并不总是固定的,如果在配置文件没有同步更改IP的情况下,就会出现集群无法使用的情况
解决方法:
(1)修改admin.conf等配置文件,并且应用配置,但是在其中也会报错。使用 source 语句应用时会卡顿,不成功;
source ~/.bash_profile(2)使用kubeadm生成新的admin.conf文件
⚠注:在工作节点中,很可能一开始就不存在admin.conf文件,需要将主节点中的文件复制到工作节点上的对应位置;
2、kubectl命令
问题描述:使用kubectl指令时报错,内容如下,
# 工作节点报错
The connection to the server “工作节点IP地址” was refused - did you specify the right host or port?
# 虚拟机工作节点报错
The connection to the server localhost:8080 was refused - did you specify the right host or port?
解决方法:
(1)配置文件法
Ⅰ.将主节点(master)中的“/etc/kubernetes/admin.conf”文件拷贝到从节点相同目录下
Ⅱ.配置环境变量
echo "export KUBECONFIG=/etc/kubernetes/admin.conf" >> ~/.bash_profile
Ⅲ.立即生效
source ~/.bash_profileⅣ.重新启动kubelet服务(记得关闭swap)
3、基于Flask 的python通信程序测试
问题描述:服务器文件可以成功运行,这里没有截图,但是post文件在导入库上面报错文章来源:https://www.toymoban.com/news/detail-842259.html
解决方法:
到了这里,关于Python应用程序部署至K8s——循序渐进版的文章就介绍完了。如果您还想了解更多内容,请在右上角搜索TOY模板网以前的文章或继续浏览下面的相关文章,希望大家以后多多支持TOY模板网!

![【Go】K8s 管理系统项目[Jenkins Pipeline K8s环境–应用部署]](https://imgs.yssmx.com/Uploads/2024/01/401963-1.png)


