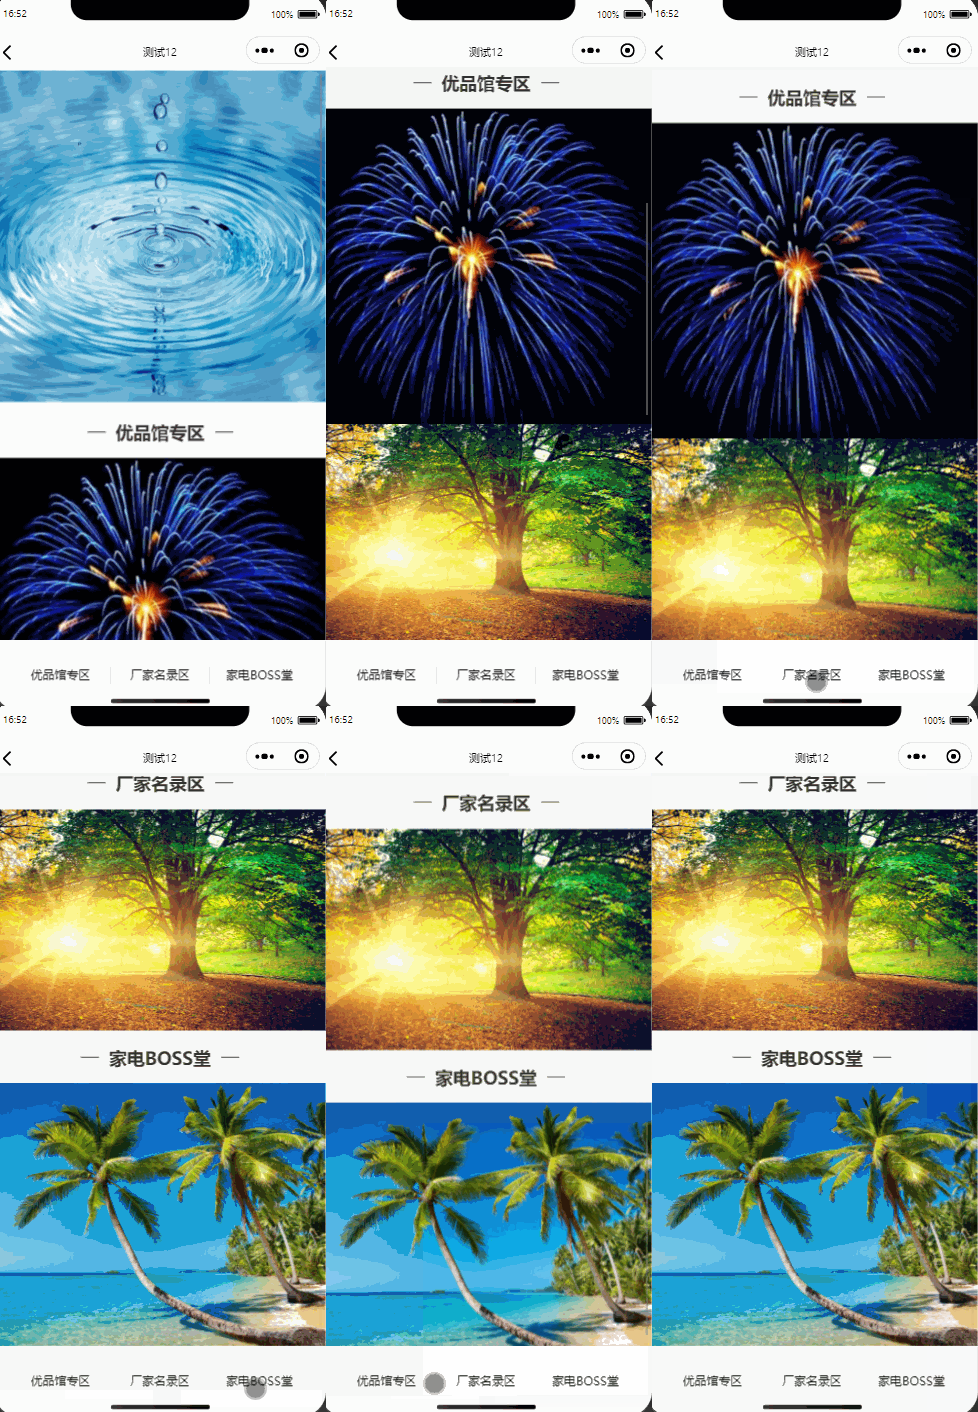
前几天遇到一个需求,做一个答题的界面,顶部是题目编号列表,下面是题目,点击题目编号跳转到相应题目。一开始想用vant weapp中的Tab标签页组件来做,也试着用过,中间遇到了某些问题效果不太理想。具体我也忘了啥问题。最后还是用scroll-view+swiper来实现了这一个功能。最后实现效果图如下。

主要是通过在scroll-view中设置 scroll-with-animation="{{ scrollWithAnimation }}" scroll-into-view="{{toview}}" 来实现这个点击自动滚动的效果。

废话不多说,直接上代码了。
wxml
<view>
    <scroll-view scroll-x="true" style="height: 134rpx;width: 100%; box-sizing: border-box;overflow: hidden;line-height: 134rpx;background: white; font-size: 16px; white-space: nowrap;position: fixed;top: 0; left: 0; z-index: 99;" scroll-with-animation="{{ scrollWithAnimation }}" scroll-into-view="{{toview}}" show-scrollbar="false" enhanced="true">
        <view wx:for="{{questionList}}" style="display: inline-block;" class="questionListClass" bindtap="questionClick" data-index="{{index}}" id="tab{{index}}">
            <view class="questionClass {{currentTab==index?'now':item.answered?'active':''}}">{{index+1}} </view>
        </view>
    </scroll-view>
    <view style="margin-top: 150rpx;">
        <swiper style="height: {{swiperHeight}}px;" current="{{currentTab}}" bindchange="swiperChange">
            <swiper-item wx:for="{{questionList}}" style="position: relative;display: flex;flex-direction: column;overflow:scroll">
                <scroll-view scroll-y="true">
                    <view style="display: flex;flex-direction: column;">
                        <view style="background: white;padding: 32rpx;align-items: center;font-size: 28rpx;">
                            <text>{{index+1}}、</text>
                        </view>
                    </view>
                </scroll-view>
            </swiper-item>
        </swiper>

    </view>
    <view style="display: flex;position: absolute;bottom: 0;height: 128rpx;width: 100%;align-items: center;justify-content: center;">
        <view wx:if="{{currentTab==0}}" style="height: 74rpx;background: #EB3722;border-radius: 128rpx;width: 80%;display: flex;justify-content: center;align-items: center;color:white" bindtap="nextClick">下一题</view>
        <view wx:else style="display: flex;align-items: center;justify-content:space-evenly;width: 100%">
            <view style="height: 74rpx;background: #EEEEEE;border-radius: 128rpx;width: 40%;display: flex;justify-content: center;align-items: center;color: #666666;" bindtap="preClick">上一题</view>
            <view style="height: 74rpx;background: #EB3722;border-radius: 128rpx;width: 40%;display: flex;justify-content: center;align-items: center;color:white" bindtap="nextClick">{{currentTab==questionList.length-1?'交卷':'下一题'}}</view>
        </view>
    </view>
</view>wxss文章来源:https://www.toymoban.com/news/detail-842442.html
.container {
    position: relative;
    width: 100%;
}

::-webkit-scrollbar {
    display: none;
    width: 0;
    height: 0;
    color: transparent;
  }

.questionListClass .questionClass {
    background: #F6F7FB;
    width: 64rpx;
    height: 64rpx;
    align-items: center;
    display: flex;
    justify-content: center;
    margin-left: 16rpx;
    margin-right: 16rpx;
    border-radius: 64rpx;
    color: #333333;
    font-size: 32rpx;
    /* margin-top: 50%; */
    border: 2rpx solid white;
}

.questionClass.active {
    background: linear-gradient(180deg, #FE5196 0%, #F77062 100%);
    width: 64rpx;
    height: 64rpx;
    align-items: center;
    display: flex;
    justify-content: center;
    margin-left: 16rpx;
    margin-right: 16rpx;
    border-radius: 64rpx;
    color: white;
    font-size: 32rpx;
    /* margin-top: 50%; */
    border: 2rpx solid white;
}

.questionClass.now {
    background: white;
    width: 64rpx;
    height: 64rpx;
    align-items: center;
    display: flex;
    justify-content: center;
    margin-left: 16rpx;
    margin-right: 16rpx;
    border-radius: 64rpx;
    color: #EB3722;
    font-size: 32rpx;
    /* margin-top: 50%; */
    border: 2rpx solid #EB3722;
}js文章来源地址https://www.toymoban.com/news/detail-842442.html
Page({
    /**
     * 页面的初始数据
     */
    data: {
        questionList: [,,,,,,,,,,],
        currentTab: 0,
        swiperHeight: 300,
        toview: 'tab0',
        scrollWithAnimation: true,
    },

    questionClick(e) {
        console.log(e)
        this.setData({
            currentTab: e.currentTarget.dataset.index
        })

        if (e.currentTarget.dataset.index - 3 > 0) {
            this.setData({
                toview: 'tab' + (e.currentTarget.dataset.index - 3)
            })
        } else {
            this.setData({
                toview: 'tab0'
            })
        }

        console.log(this.data.toview)
        // if (this.currentIndex < 10) {
        //     this.scrollinto = 'tab0'
        // }

    },
    nextClick(e) {
        if (this.data.currentTab == this.data.questionList.length - 1) {//交卷

        } else {
            this.setData({
                currentTab: this.data.currentTab + 1
            })
            if (this.data.currentTab - 3 > 0) {
                this.setData({
                    toview: 'tab' + (this.data.currentTab - 3)
                })
            } else {
                this.setData({
                    toview: 'tab0'
                })
            }
        }
    },
    preClick(e) {
        this.setData({
            currentTab: this.data.currentTab - 1
        })
        if (this.data.currentTab - 3 > 0) {
            this.setData({
                toview: 'tab' + (this.data.currentTab - 3)
            })
        } else {
            this.setData({
                toview: 'tab0'
            })
        }
    },
})
到了这里,关于【小程序】scrollview制作tab导航栏,点击tab自动滚动到指定位置的文章就介绍完了。如果您还想了解更多内容,请在右上角搜索TOY模板网以前的文章或继续浏览下面的相关文章,希望大家以后多多支持TOY模板网!


![[快速上手RN] 3. React native 制作底部导航栏 Bottom Tab Bar](https://imgs.yssmx.com/Uploads/2024/02/448872-1.png)


