# 安装相应的包
# linux 安装

curl -fsSL https://ollama.com/install.sh | sh

pip install ollama
# 开启ollama服务端!
$ ollama serve# 启动llama2大模型(新开一个终端)
# autodl开启加速(其他平台省略)
$ source /etc/network_turbo

$ ollama run llama2-uncensored:7b-chat-q6_K
# 如果不想启动运行,只下载可以
# 拉取模型

$ ollama pull llama2-uncensored:7b-chat-q6_K
在启动完后,就可以对话了

# python接口对话
import ollama

response = ollama.chat(model='llama2', messages=[
  {
    'role': 'user',
    'content': 'Why is the sky blue?',
  },
])
print(response['message']['content'])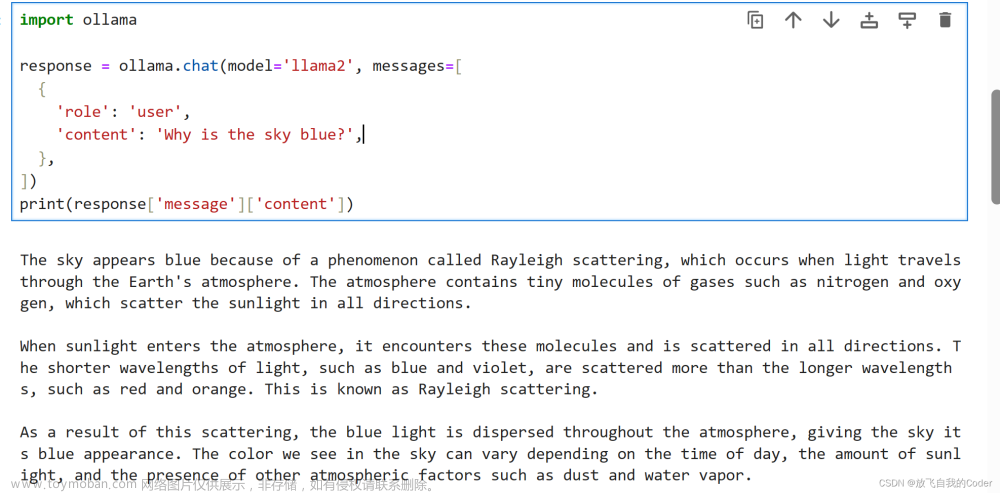
# OpenAI适配接口对话
from openai import OpenAI

client = OpenAI(
    base_url = 'http://localhost:11434/v1',
    api_key='ollama', # required, but unused
)

response = client.chat.completions.create(
  model="llama2",
  messages=[
    {"role": "system", "content": "You are a helpful assistant."},
    {"role": "user", "content": "Who won the world series in 2020?"},
    {"role": "assistant", "content": "The LA Dodgers won in 2020."},
    {"role": "user", "content": "Where was it played?"}
  ]
)
print(response.choices[0].message.content)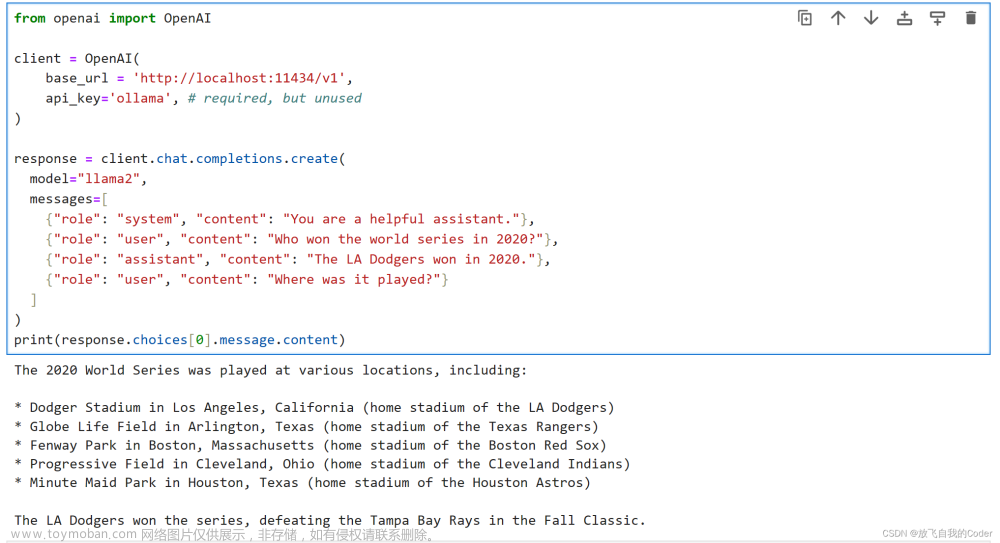
# CUR流式接口
curl -X POST http://localhost:11434/api/generate -d '{
  "model": "llama2",
  "prompt":"Why is the sky blue?"
 }'
# 参考
llama2 (ollama.com)https://ollama.com/library/llama2文章来源:https://www.toymoban.com/news/detail-843341.html
OpenAI compatibility · Ollama Bloghttps://ollama.com/blog/openai-compatibility文章来源地址https://www.toymoban.com/news/detail-843341.html
到了这里,关于【linux 使用ollama部署运行本地大模型完整的教程,openai接口, llama2例子】的文章就介绍完了。如果您还想了解更多内容,请在右上角搜索TOY模板网以前的文章或继续浏览下面的相关文章,希望大家以后多多支持TOY模板网!


