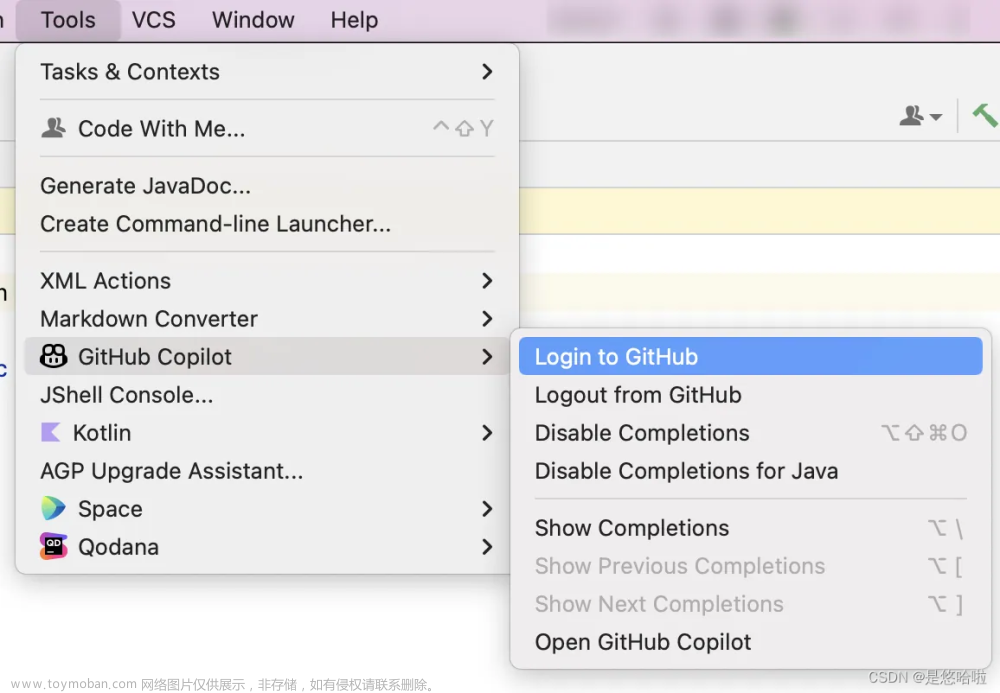
截图

1.在开发者网站的app id中添加Sign in with Apple功能
1.1 如果你新建app id,记得在新建的时候就选中Sign in with Apple功能
1.2 如果app已经上线了,后面再需要加苹果登录的功能,也可以在app id的配置中加这个功能,只是勾选Sign in with Apple点击Save后,profilex需要重新生成
2.在Xcode中添加Sign in with Apple功能

3.代码:只有第一次登录的时候可以获取到用户名
import AuthenticationServices
//MARK: Sign in with Apple 苹果第三方登录
extension LoginVC{
    func addAppleLoginBtn(){
        let appleLoginButton = ASAuthorizationAppleIDButton(type: .signIn, style: .black)
        view.addSubview(appleLoginButton)
        appleLoginButton.snp.makeConstraints { make in
            make.top.equalTo(fbLoginButton.snp_bottomMargin).offset(40*GLratioHeight)
            make.centerX.equalToSuperview()
            make.width.equalTo(200)
            make.height.equalTo(40)
        }
        appleLoginButton.addTarget(self, action: #selector(appleLoginButtonTapped), for: .touchUpInside)

    }

    @objc func appleLoginButtonTapped() {
        // 在这里处理按钮点击事件,启动苹果登录流程
        let appleIDProvider = ASAuthorizationAppleIDProvider()
        let request = appleIDProvider.createRequest()
        request.requestedScopes = [.fullName, .email]

        let authorizationController = ASAuthorizationController(authorizationRequests: [request])
        authorizationController.delegate = self
        authorizationController.presentationContextProvider = self
        authorizationController.performRequests()
    }

}

extension LoginVC: ASAuthorizationControllerDelegate {
    func authorizationController(controller: ASAuthorizationController, didCompleteWithAuthorization authorization: ASAuthorization) {
        printXY(#function, obj: self, line: #line)
        if let credential = authorization.credential as? ASAuthorizationAppleIDCredential {
            // 用户成功登录,可以获取用户身份信息并进行相应操作
            let userIdentifier = credential.user
            //名字只有第一登录的时候可以获取到,后面都是nil
            let fullName = credential.fullName
            let name = (fullName?.givenName ?? "xxx") + " " + (fullName?.familyName ?? "apple")
            let email = credential.email

            // 在这里处理用户身份信息,例如创建用户账户、进行授权等
        }
    }

    func authorizationController(controller: ASAuthorizationController, didCompleteWithError error: Error) {
        // 登录过程中出现错误,可以在这里处理错误情况
        print("Apple Login Error: \(error.localizedDescription)")
    }
}

extension LoginVC: ASAuthorizationControllerPresentationContextProviding {
    func presentationAnchor(for controller: ASAuthorizationController) -> ASPresentationAnchor {
        return self.view.window!
    }
}
参考博客
iOS 苹果登录(第三方登录) - csdn
集成AppleID登录 - 简书
chatGPT答案
要在你的 iOS 应用中接入苹果登录,你需要按照以下步骤进行:
苹果开发者账号: 确保你有一个苹果开发者账号,因为在使用苹果登录功能之前,你需要在苹果开发者网站上注册你的应用,并创建相应的身份验证密钥。
Xcode 中配置应用: 打开你的 Xcode 项目,然后转到你的应用目标设置。在 “Signing & Capabilities”(签名与能力)选项卡中,确保你的应用已启用 “Sign in with Apple”(使用苹果登录)功能。如果没有,请点击 “+” 按钮,然后添加该功能。
在苹果开发者网站上配置身份验证密钥: 登录苹果开发者网站,转到 “Certificates, Identifiers & Profiles”(证书、标识符与配置文件)部分。然后,创建一个新的认证密钥,选择 “Sign in with Apple”(使用苹果登录)选项。
集成苹果登录 SDK: 在你的应用中集成苹果登录 SDK。苹果提供了一个名为 “AuthenticationServices” 的框架,你可以使用它来处理苹果登录。确保在需要使用苹果登录功能的视图控制器中导入该框架,并按照苹果的文档进行配置。
实现登录流程: 在你的应用中添加适当的按钮或页面,用于触发苹果登录流程。在用户点击登录按钮时,调用苹果登录 SDK 提供的方法启动登录流程。然后,处理登录成功或失败的回调,并根据情况执行相应的操作。
处理用户数据: 登录成功后,你将收到一个包含用户身份信息的认证令牌。你可以使用这些信息来创建用户账户、进行授权或执行其他操作。确保遵循苹果的隐私政策和最佳实践,正确处理用户数据。
测试和优化: 在集成苹果登录后,进行全面的测试,确保它能够在各种情况下正常工作。此外,考虑优化用户体验,确保登录流程简单直观,并提供适当的错误处理和反馈。文章来源:https://www.toymoban.com/news/detail-845481.html
通过以上步骤,你应该能够在你的 iOS 应用中成功集成苹果登录功能。文章来源地址https://www.toymoban.com/news/detail-845481.html
到了这里,关于ios swift5 “Sign in with Apple“(使用苹果登录)怎样接入(第三方登录)集成AppleID登录的文章就介绍完了。如果您还想了解更多内容,请在右上角搜索TOY模板网以前的文章或继续浏览下面的相关文章,希望大家以后多多支持TOY模板网!


