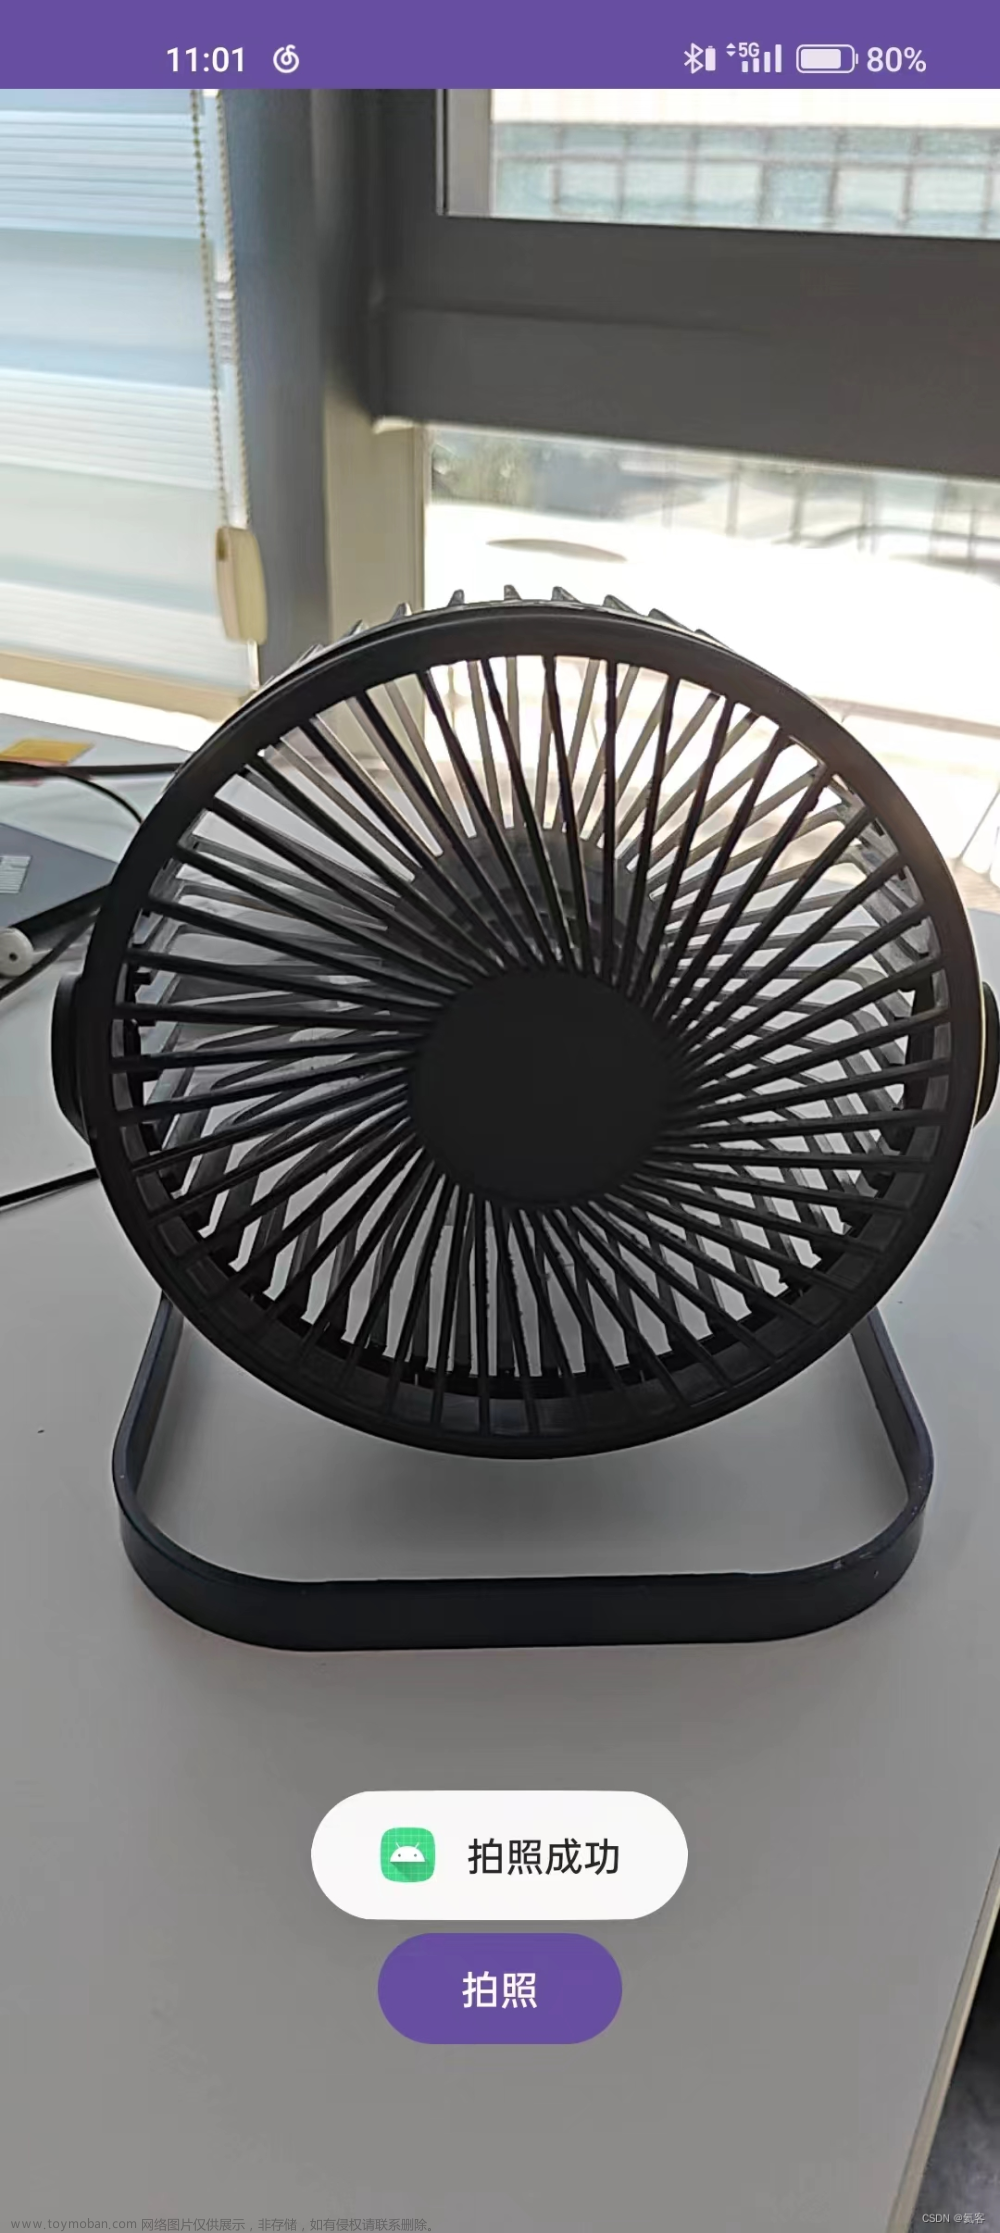
1、拍照功能
界面
<LinearLayout xmlns:android="http://schemas.android.com/apk/res/android"
    android:orientation="vertical"
    android:layout_width="match_parent"
    android:layout_height="match_parent" >
    <Button
        android:id="@+id/takePhotoBtn"
        android:layout_width="match_parent"
        android:layout_height="wrap_content"
        android:text="Take Photo" />
    <ImageView
        android:id="@+id/imageView"
        android:layout_width="wrap_content"
        android:layout_height="wrap_content"
        android:layout_gravity="center_horizontal"
        android:contentDescription="图片" />
</LinearLayout>
逻辑处理
package com.jpc.cameraalbumtest

import android.app.Activity
import android.content.Intent
import android.graphics.Bitmap
import android.graphics.BitmapFactory
import android.graphics.Matrix
import android.media.ExifInterface
import android.net.Uri
import android.os.Build
import androidx.appcompat.app.AppCompatActivity
import android.os.Bundle
import android.provider.MediaStore
import android.widget.Button
import android.widget.ImageView
import androidx.core.content.FileProvider
import java.io.File

/**
 * 首先这里创建了一个File对象,用于存放摄像头拍下的图片,这里我们把图片命名为
 * output_image.jpg,并存放在手机SD卡的应用关联缓存目录下。什么叫作应用关联缓存目录
 * 呢?就是指SD卡中专门用于存放当前应用缓存数据的位置,调用getExternalCacheDir()
 * 方法可以得到这个目录,具体的路径是/sdcard/Android/data/<package name>/cache。
 * 那么为什么要使用应用关联缓存目录来存放图片呢?因为从Android 6.0系统开始,读写SD卡
 * 被列为了危险权限,如果将图片存放在SD卡的任何其他目录,都要进行运行时权限处理才行,
 * 而使用应用关联目录则可以跳过这一步。另外,从Android 10.0系统开始,公有的SD卡目录已
 * 经不再允许被应用程序直接访问了,而是要使用作用域存储才行
 */
class MainActivity : AppCompatActivity() {
    private val takePhoto = 1
    private lateinit var imageUri: Uri
    //private lateinit var outputImage: File
    // 为了解决outputImage为空的问题,这里将outputImage声明为可空类型
    private var outputImage: File ?= null
    private lateinit var imageView: ImageView
    override fun onCreate(savedInstanceState: Bundle?) {
        super.onCreate(savedInstanceState)
        setContentView(R.layout.activity_main)

        val btnTakePhoto = findViewById<Button>(R.id.takePhotoBtn)
        imageView = findViewById(R.id.imageView)
        btnTakePhoto.setOnClickListener{
            // 创建File对象,用于存储拍照后的图片
            val outputImage = File(externalCacheDir, "output_image.jpg")
            if(outputImage.exists()){
                outputImage.delete()
            }
            outputImage.createNewFile()
            // 一般要检查一下版本
            imageUri = if (Build.VERSION.SDK_INT >= Build.VERSION_CODES.N) {
                    FileProvider.getUriForFile(this, "com.jpc.cameraalbumtest.fileprovider", outputImage)
                }else{
                    Uri.fromFile(outputImage)
                }
            // 启动相机程序
            val intent = Intent("android.media.action.IMAGE_CAPTURE")
            intent.putExtra(MediaStore.EXTRA_OUTPUT, imageUri)
            startActivityForResult(intent, takePhoto)
        }
    }

    override fun onActivityResult(requestCode: Int, resultCode: Int, data: Intent?) {
        super.onActivityResult(requestCode, resultCode, data)
        when(requestCode) {
            takePhoto -> {
                if(resultCode == Activity.RESULT_OK){
                    // 将拍摄的照片显示出来
                    val bitmap =
                        BitmapFactory.decodeStream(contentResolver.openInputStream(imageUri))
                    imageView.setImageBitmap(rotateIfRequired(bitmap))
                }
            }
        }
    }

    /**
     * 调用照相机程序去拍照有可能会在一些手机上发生照片旋转的情况。这是因为
     * 这些手机认为打开摄像头进行拍摄时手机就应该是横屏的,因此回到竖屏的情况下就会发生90
     * 度的旋转。为此,这里我们又加上了判断图片方向的代码,如果发现图片需要进行旋转,那么
     * 就先将图片旋转相应的角度,然后再显示到界面上
     */
    private fun rotateIfRequired(bitmap: Bitmap): Bitmap {
        // 这里使用let函数,如果outputImage不为空,就执行let函数中的代码
        val exif = outputImage?.let { ExifInterface(it.path) }
        val orientation = exif?.getAttributeInt(ExifInterface.TAG_ORIENTATION,
            ExifInterface.ORIENTATION_NORMAL)
        return when (orientation) {
            ExifInterface.ORIENTATION_ROTATE_90 -> rotateBitmap(bitmap, 90)
            ExifInterface.ORIENTATION_ROTATE_180 -> rotateBitmap(bitmap, 180)
            ExifInterface.ORIENTATION_ROTATE_270 -> rotateBitmap(bitmap, 270)
            else -> bitmap
        }
    }
    private fun rotateBitmap(bitmap: Bitmap, degree: Int): Bitmap {
        val matrix = Matrix()
        matrix.postRotate(degree.toFloat())
        val rotatedBitmap = Bitmap.createBitmap(bitmap, 0, 0, bitmap.width, bitmap.height,
            matrix, true)
        bitmap.recycle() // 将不再需要的Bitmap对象回收
        return rotatedBitmap
    }
}
<?xml version="1.0" encoding="utf-8"?>
<manifest xmlns:android="http://schemas.android.com/apk/res/android"
    xmlns:tools="http://schemas.android.com/tools">

<!-- 声明权限-->
    <uses-feature
        android:name="android.hardware.camera"
        android:required="false" />
    <uses-permission android:name="android.permission.CAMERA" />

    <application
        android:allowBackup="true"
        android:dataExtractionRules="@xml/data_extraction_rules"
        android:fullBackupContent="@xml/backup_rules"
        android:icon="@mipmap/ic_launcher"
        android:label="@string/app_name"
        android:roundIcon="@mipmap/ic_launcher_round"
        android:supportsRtl="true"
        android:theme="@style/Theme.CameraAlbumTest"
        tools:targetApi="31">
        <activity
            android:name=".MainActivity"
            android:exported="true">
            <intent-filter>
                <action android:name="android.intent.action.MAIN" />

                <category android:name="android.intent.category.LAUNCHER" />
            </intent-filter>
        </activity>

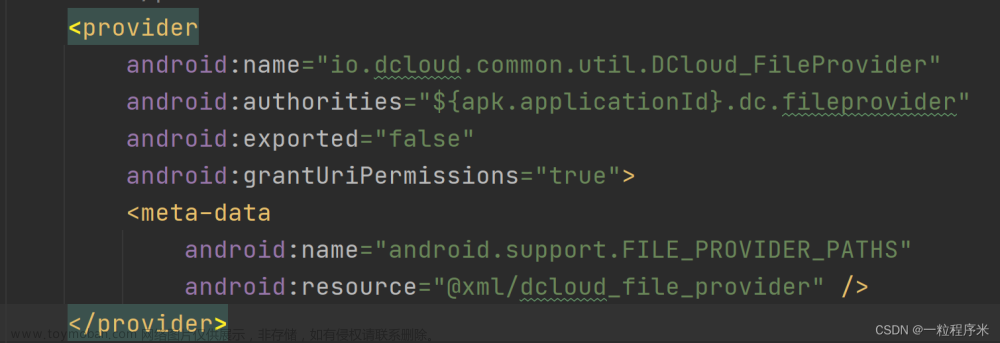
        <provider
            android:name="androidx.core.content.FileProvider"
            android:authorities="com.jpc.cameraalbumtest.fileprovider"
            android:exported="false"
            android:grantUriPermissions="true">
            <meta-data
                android:name="android.support.FILE_PROVIDER_PATHS"
                android:resource="@xml/file_paths" />
        </provider>
    </application>

</manifest>
存放路径文章来源:https://www.toymoban.com/news/detail-845983.html
<?xml version="1.0" encoding="utf-8"?>
<paths xmlns:android="http://schemas.android.com/apk/res/android">
    <external-path name="my_images" path="/" />
</paths>
2、从相册中选择图片的功能
在上面基本代码的基础之上添加文章来源地址https://www.toymoban.com/news/detail-845983.html
val fromAlbumBtn = findViewById<Button>(R.id.fromAlbumBtn)
        fromAlbumBtn.setOnClickListener{
            // 打开文件选择器
            val intent = Intent(Intent.ACTION_OPEN_DOCUMENT)
            intent.addCategory(Intent.CATEGORY_OPENABLE)
            // 指定只显示图片
            intent.type = "image/*"
            startActivityForResult(intent, fromAlbum)
        }
override fun onActivityResult(requestCode: Int, resultCode: Int, data: Intent?) {
        super.onActivityResult(requestCode, resultCode, data)
        when(requestCode) {
            takePhoto -> {
                if(resultCode == Activity.RESULT_OK){
                    // 将拍摄的照片显示出来
                    val bitmap =
                        BitmapFactory.decodeStream(contentResolver.openInputStream(imageUri))
                    imageView.setImageBitmap(rotateIfRequired(bitmap))
                }
            }
            fromAlbum -> {
                if(resultCode == Activity.RESULT_OK && data != null){
                    data.data?.let { uri ->
                        // 将选择的图片显示
                        val bitmap = getBitmapFromUri(uri)
                        imageView.setImageBitmap(bitmap)
                    }
                }
            }
        }
    }
到了这里,关于Android10以上版本调用相机拍照的文章就介绍完了。如果您还想了解更多内容,请在右上角搜索TOY模板网以前的文章或继续浏览下面的相关文章,希望大家以后多多支持TOY模板网!


