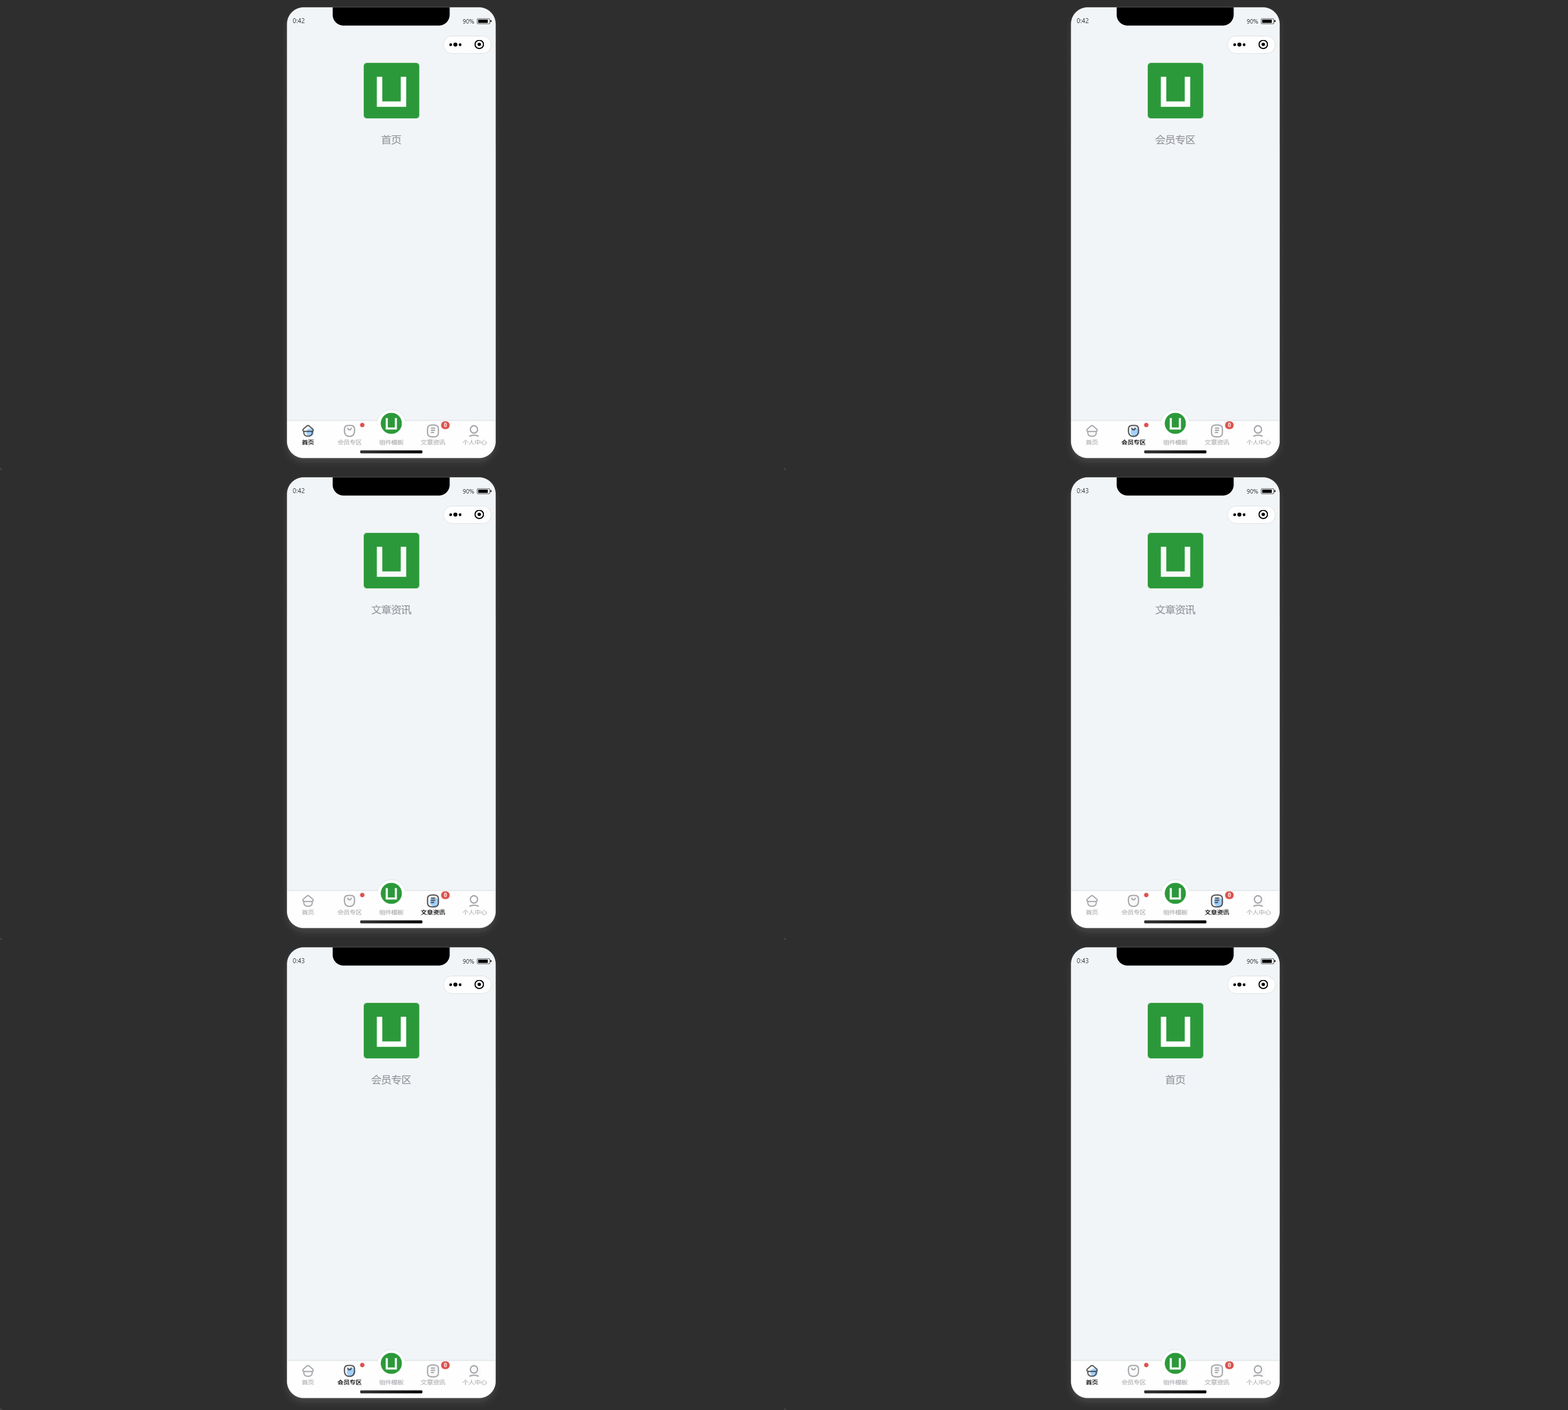
1.在App.vue文件里把原生的tabBar导航栏,隐藏掉
//App.vue
onLaunch: function() {
        //隐藏tabBar
		uni.hideTabBar()
		uni.removeStorageSync('selectedIndex');
	},
2.在components文件下,创建一个uni-tab-bar.vue文件
<template>
	<!-- <view class="tabBars">
		<view class="tabs" v-for="(item,index) in tabList" :key="index" @tap="switchTab(index)">
			<image class="imgs" :src="$jointImage(item.selectedIconPath)" v-if="item.state"></image>
			<image class="imgs" :src="$jointImage(item.iconPath)" v-else></image>
			<view class="text" :style="{color:isActive(item.pagePath) ? ' #76bd21' : '' }">{{item.text}}</view>
		</view>
	</view> -->
	<uni-transition mode-class="fade" :duration="200" :show="true">
		<view>
			<view class="tab-content">
				<slot />
			</view>
			<view class="tabbar">
				<view class="navigator">
					<view ref='warpper' class="warpper">
						<view ref="navItem" class="navigator-item" v-for="(item,index) in tabList" :key="item.pagePath"
							@click="switchTab(item,index)" :data-index='index'>
							<image class="icon" :src="$jointImage(item.iconPath)" v-if="selectedIndex !== index">
							</image>
							<image class="icon" :src="$jointImage(item.selectedIconPath)" v-else></image>
							<text :class="['item-text',{'text-active':selectedIndex === index}]">{{item.text}}</text>
						</view>
					</view>
				</view>
			</view>
		</view>
	</uni-transition>
</template>

<script>
	export default {
		data() {
			return {
				selectedIndex: uni.getStorageSync('selectedIndex') || 0,
				configuration: {},
				tabList: [],
			};
		},
		mounted() {
			this.alliconSet()
		},
		methods: {
			alliconSet() {
				uni.$http.post('index/iconSet', {}).then(res => {
					this.configuration = res.data.data
					this.tabList = [{
							pagePath: "/pages/index/index",
							text: "首页",
							state: true,
							iconPath: this.configuration.tabbar1_nocheck,
							selectedIconPath: this.configuration.tabbar1_check
						},

						{
							pagePath: "/pages/menu/menu",
							text: "点单",
							state: false,
							iconPath: this.configuration.tabbar2_nocheck,
							selectedIconPath: this.configuration.tabbar2_check
						},
						{
							pagePath: "/pages/order_two/order_two",
							text: "订单",
							state: false,
							iconPath: this.configuration.tabbar3_nocheck,
							selectedIconPath: this.configuration.tabbar3_check
						},
						{
							pagePath: "/pages/my/my",
							text: "我的",
							state: false,
							iconPath: this.configuration.tabbar4_nocheck,
							selectedIconPath: this.configuration.tabbar4_check
						},
					]
				})
			},
			switchTab(items, indexs) {
				uni.switchTab({
					url: `${this.tabList[indexs].pagePath}`
				});
				this.tabList.forEach((v, i) => {
					if (items.pagePath === v.pagePath) {
						uni.setStorageSync('selectedIndex', indexs);
					}
				})

			},
		},
	};
</script>

<style lang="scss" scoped>
	.tabbar {
		position: fixed;
		bottom: 0;
		left: 0;
		width: 100%;
		height: 140rpx;
		z-index: 999;
		background: #F5F5F5;
		border-top: 2rpx solid #eee;
	}

	.navigator {
		width: 85%;
		margin: 0 auto;
		padding: 20rpx;
		overflow: hidden;
	}

	.warpper {
		display: flex;
		justify-content: space-between;
		width: auto;
		transition-timing-function: ease-out;
	}

	.navigator-item {
		display: flex;
		align-items: center;
		flex-direction: column;
		width: 50rpx;
		height: 100%;
	}

	.item-text {
		margin-top: 6rpx;
		color: #777E86;
		font-size: 24rpx;
	}

	.text-active {
		color: #76bd21 !important;
	}

	.icon {
		width: 24px;
		height: 24px;
	}
</style>
3.在main.js引入组件
import UniTabBar from '@/components/uni-tab-bar.vue'
Vue.component('UniTabBar', UniTabBar)
4.在需要的页面,使用组件
//index.vue

<template>
	<view>
		<UniTabBar />
	</view>
</template>
文章来源地址https://www.toymoban.com/news/detail-847231.html
文章来源:https://www.toymoban.com/news/detail-847231.html
到了这里,关于uniapp 自定义tabBar导航栏的文章就介绍完了。如果您还想了解更多内容,请在右上角搜索TOY模板网以前的文章或继续浏览下面的相关文章,希望大家以后多多支持TOY模板网!


